
Lenovo LaptopLenovo Y50-70
Lenovo Y50-70 Disassembly
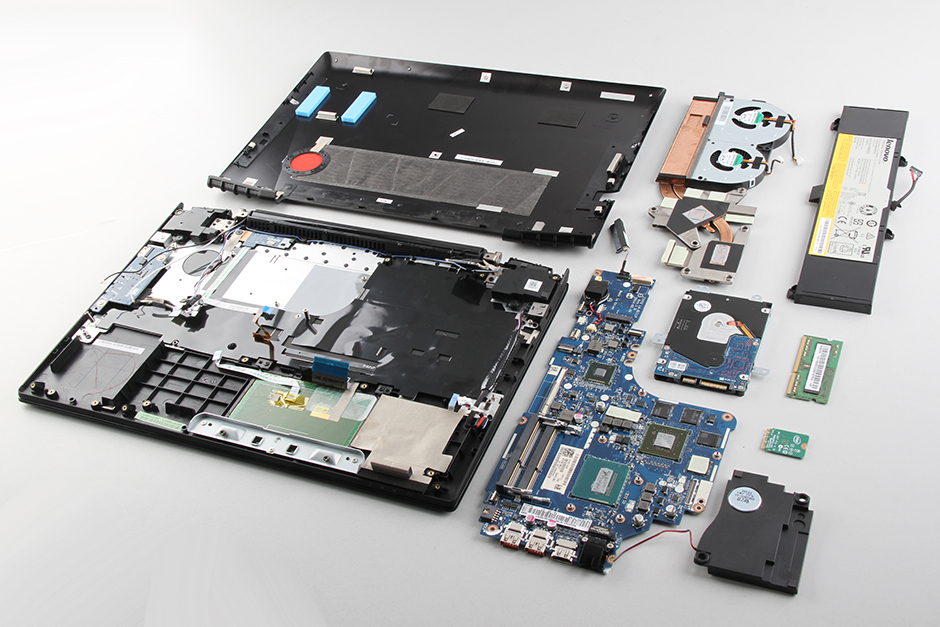
In this post, I’ll explain how to disassemble the Lenovo Y50-70 to remove and replace the battery, hard drive, RAM, wireless card, cooling fan, speakers, bottom case, and motherboard.
Want to be the first to see the latest smartphone and laptop inside? Follow us on Facebook for the latest teardown news.
Remove all screws from the bottom case.
There are some snaps fixed the bottom case, and you can use a pry bar to release all the snaps. Be careful, do not damage the snaps.
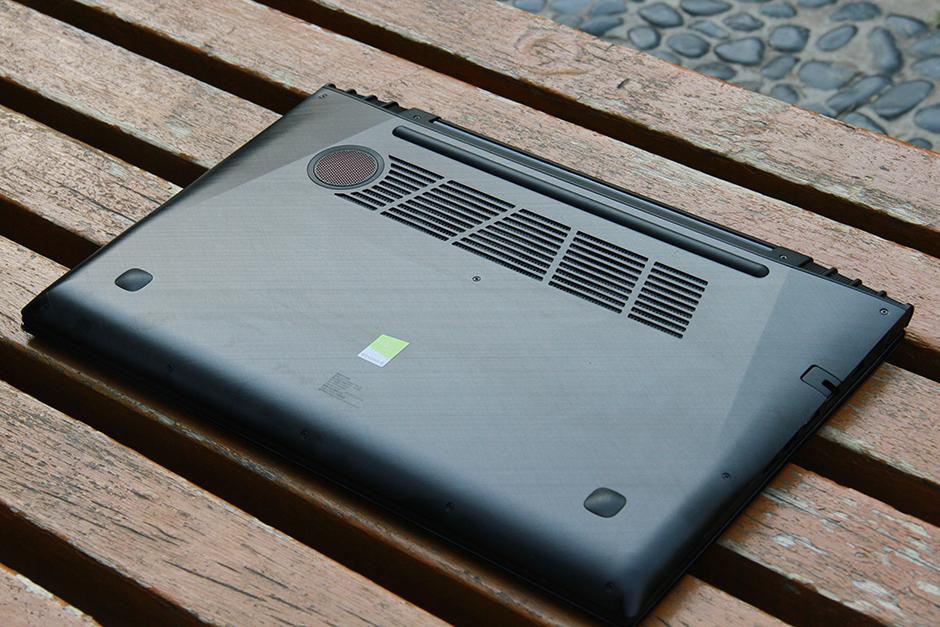
After all screws are removed, you can open the bottom case.
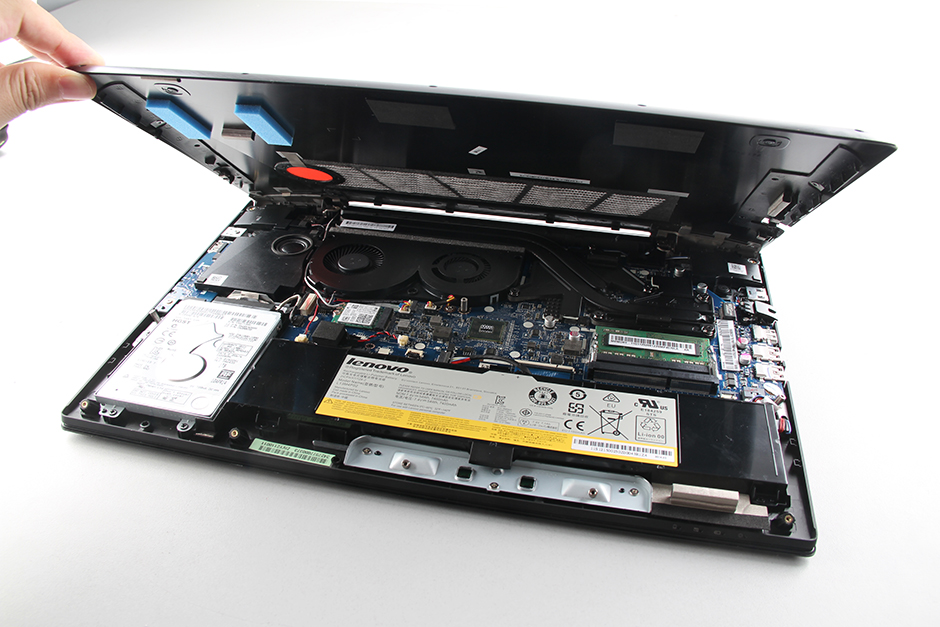
Under the bottom case, you can access the battery, hard drive, memory, wireless card, and speaker.
Remove four screws securing the battery.
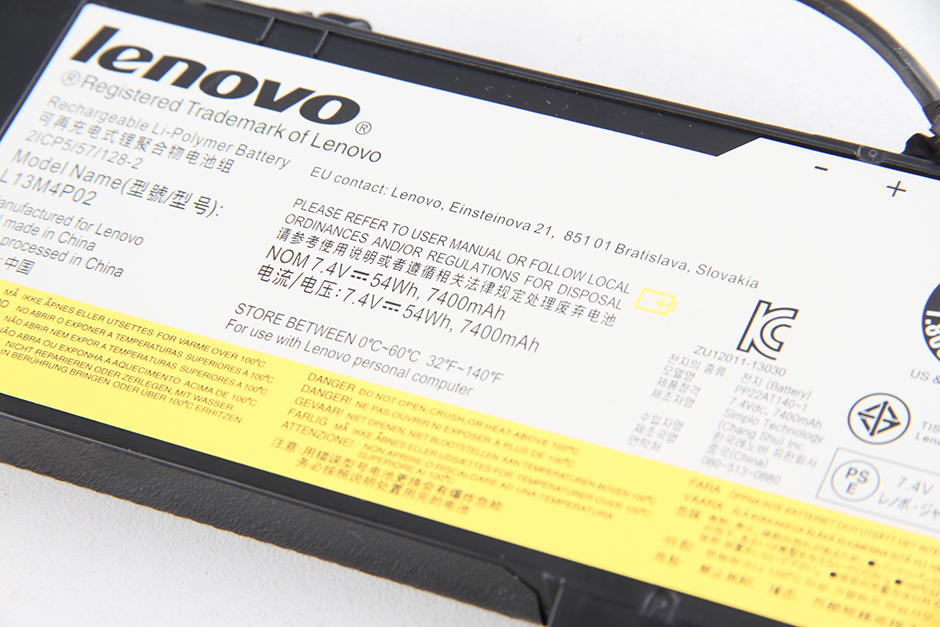
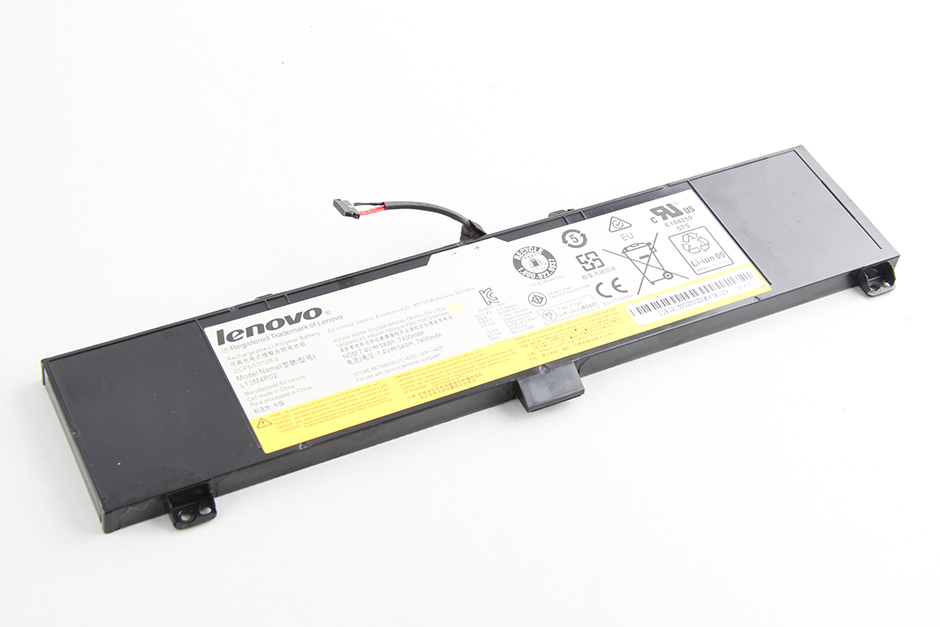
Disconnect the battery connector from the motherboard. You can remove the battery.
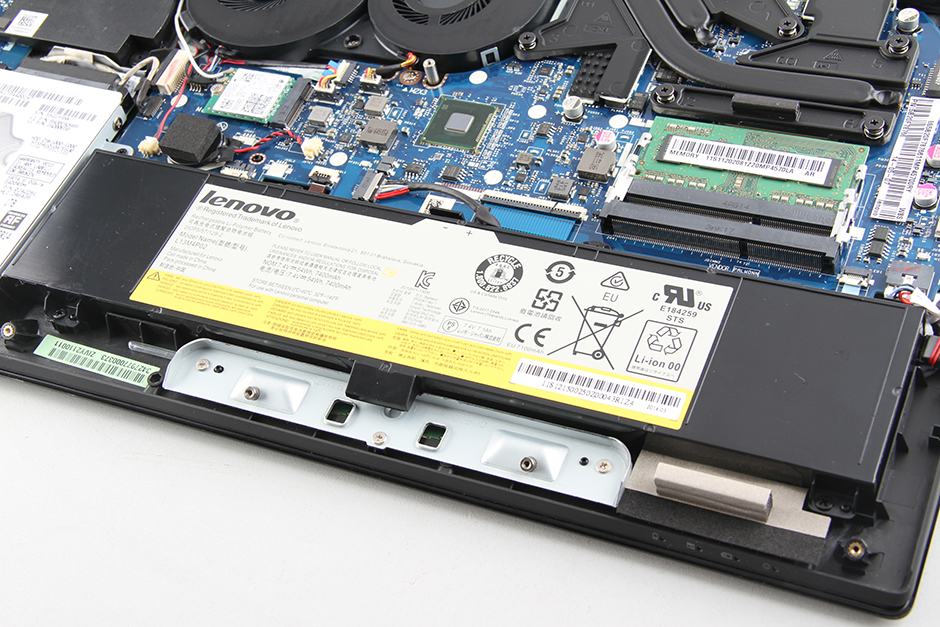
The laptop comes with a 7.4v, 7400mah Li-polymer battery, Lenovo P/N: L13M4P02.
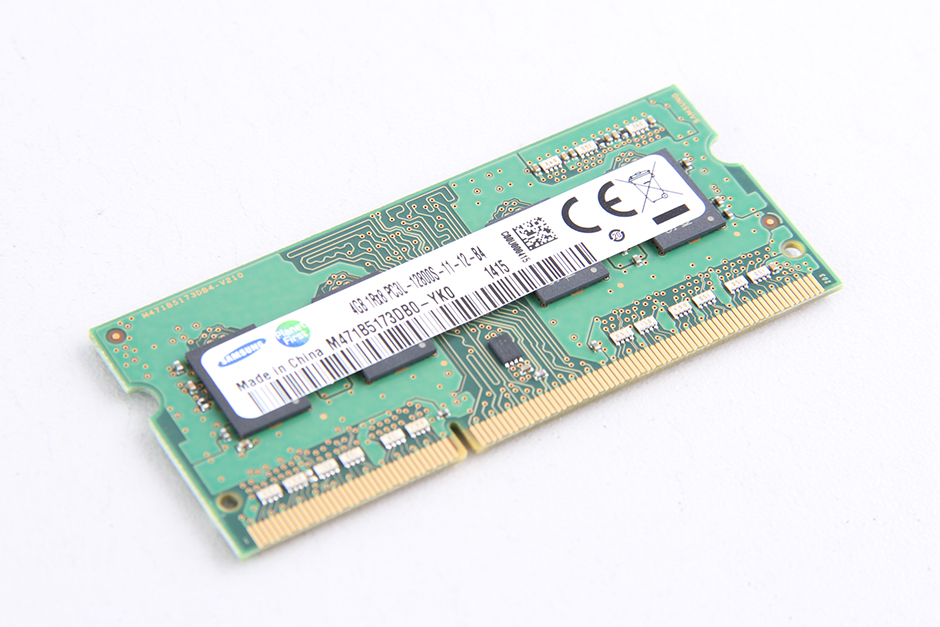
Carefully remove the memory, Lenovo Y50 have two memory slots, in my case, only one memory was installed.
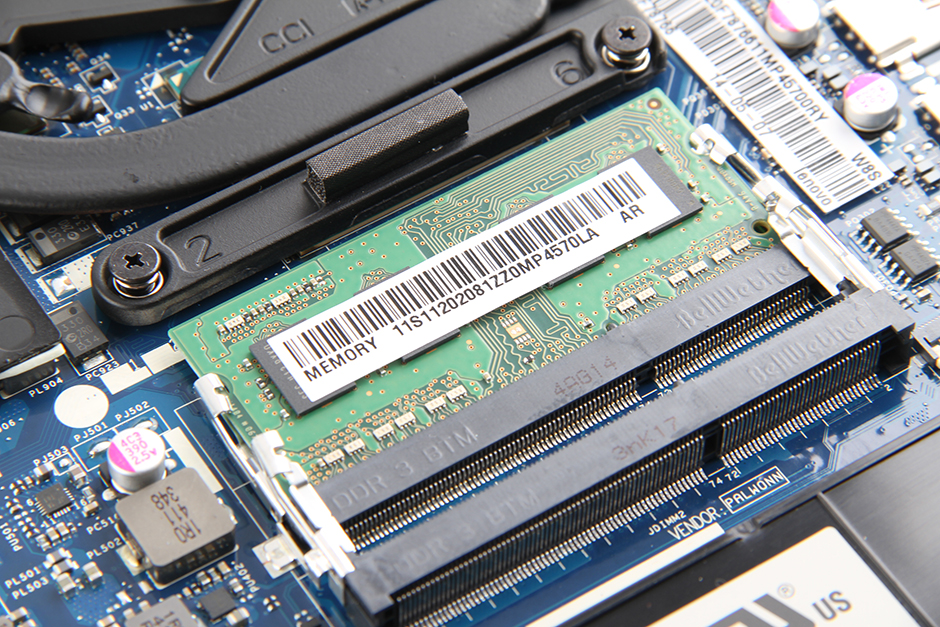
The laptop comes with a Samsung 4GB PC3L-12800S 1600MhZ memory.
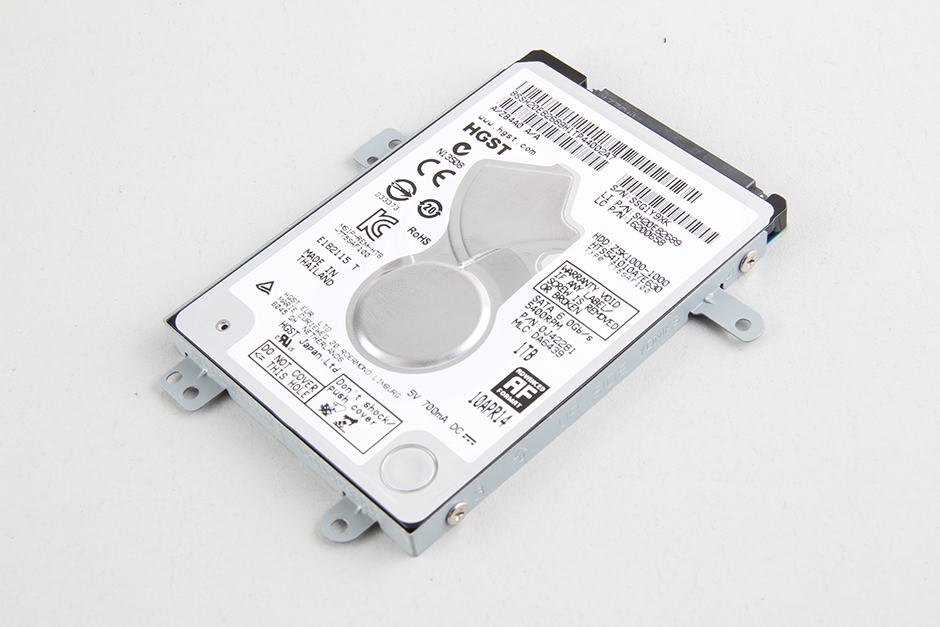
Remove four screws securing the hard drive module. Slide it to the left.
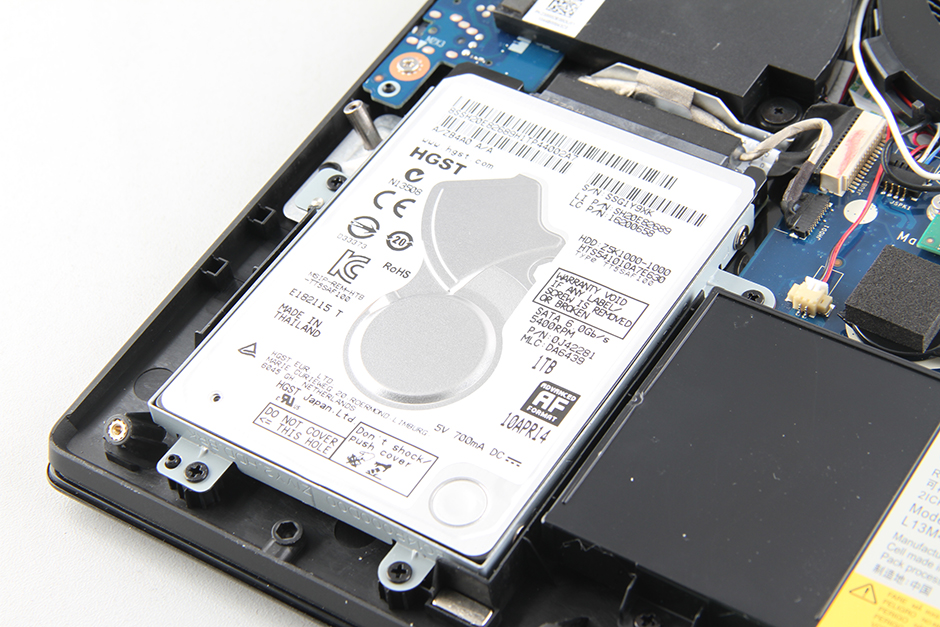
The Lenovo Y50-70 featured an HGST hard drive.
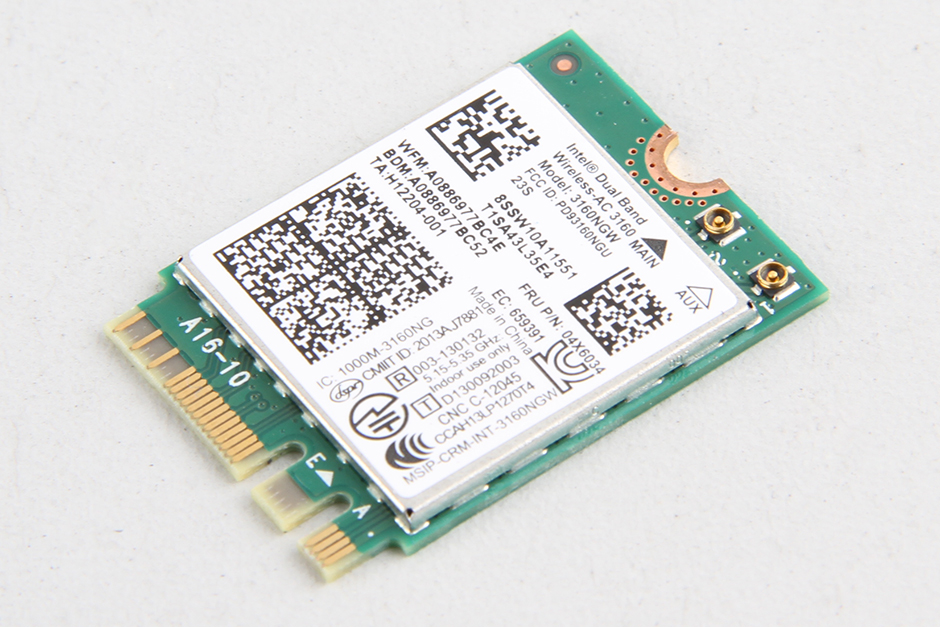
Remove one screw securing the wireless card
Disconnect two antenna cables and take them away from their slot.
Intel dual band wireless-ac 3160 wireless card, Lenovo P/N: 04X6034.
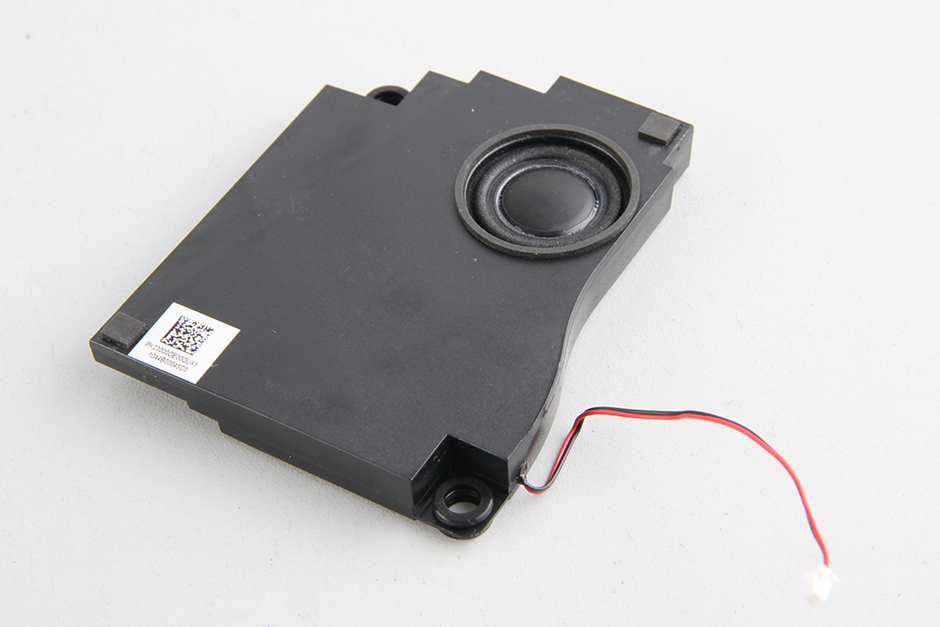
Now remove two securing the speaker.
Disconnect the speaker cable from the motherboard.
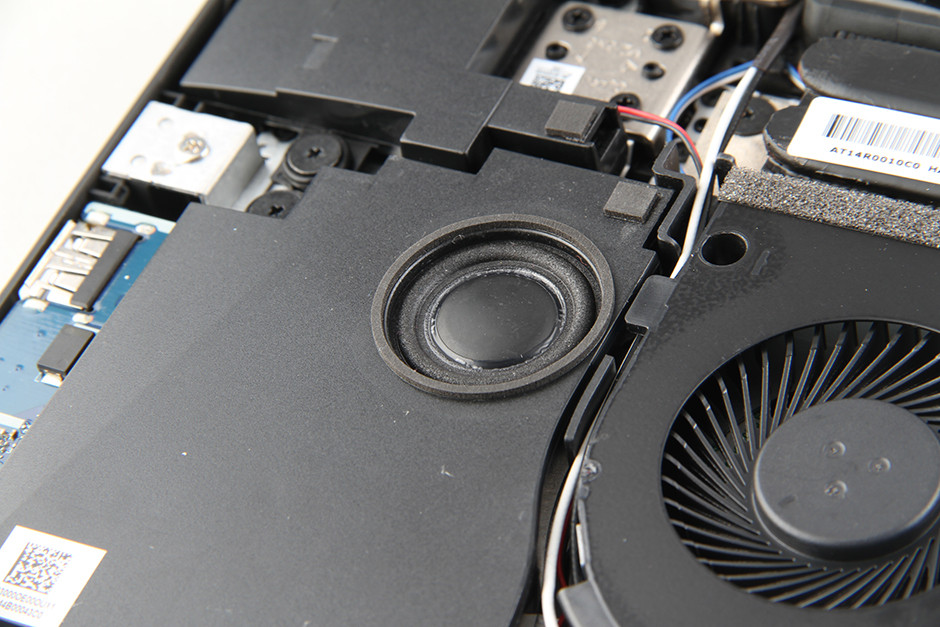
Speaker module
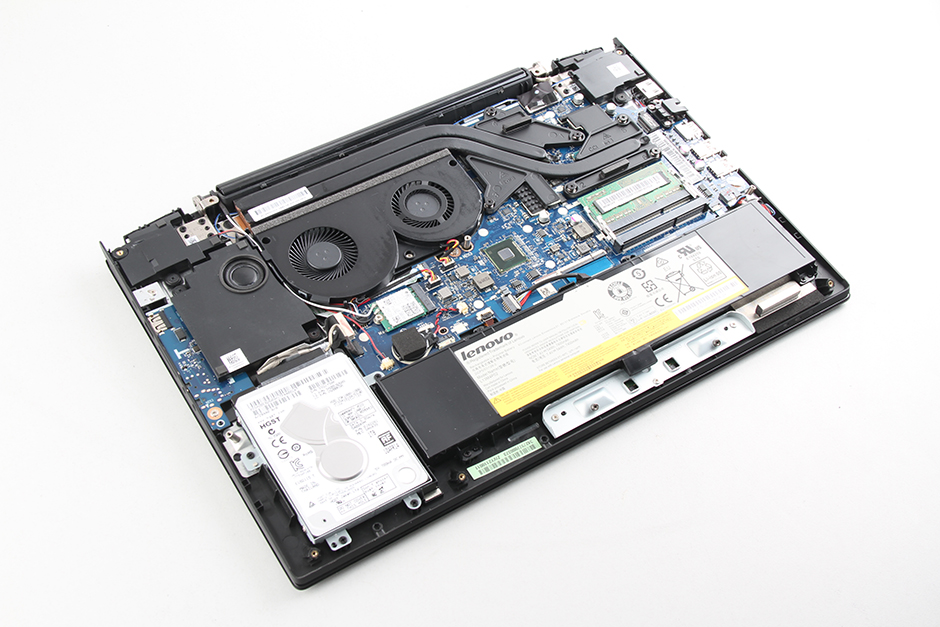
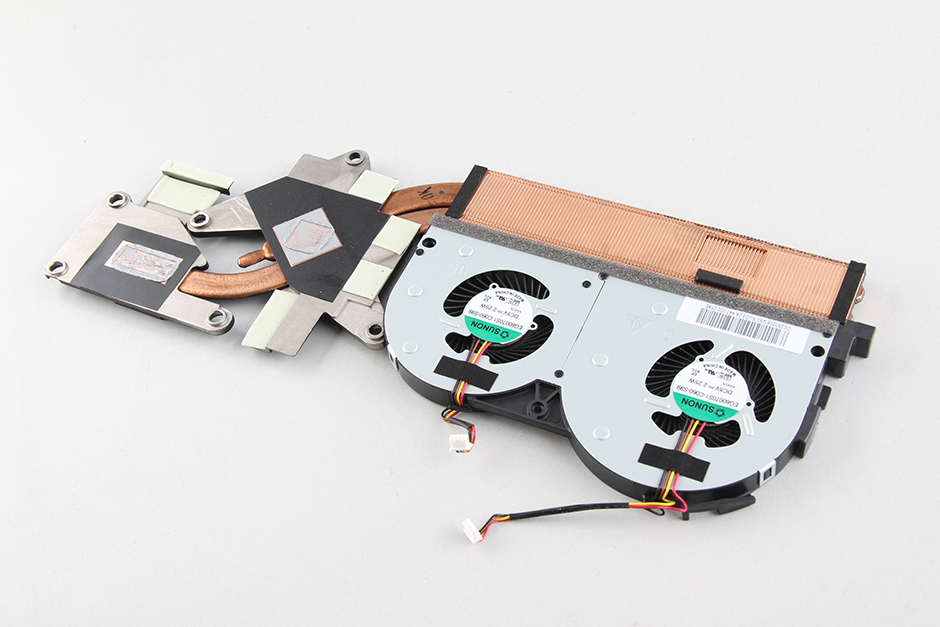
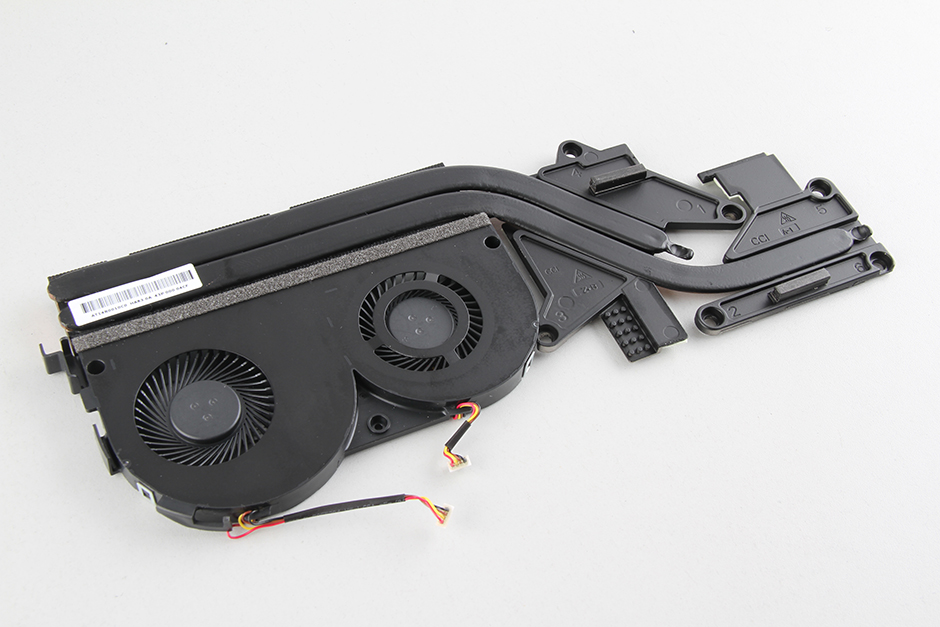
Remove all screws securing the heat sink.
Disconnect two power cables from the motherboard.
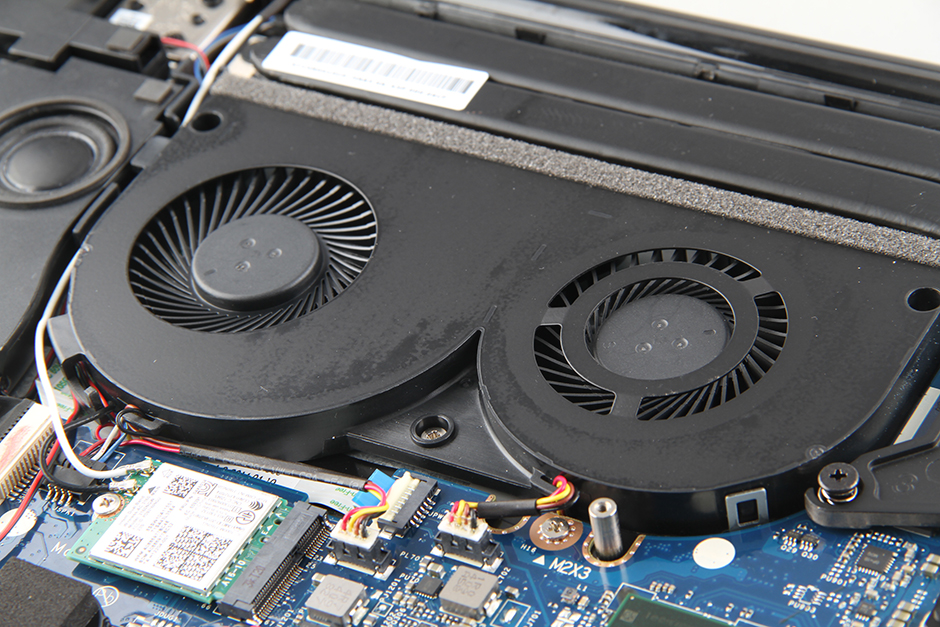
Lenovo Y50-70 using a dual cooling fan, OEM by Sunon.
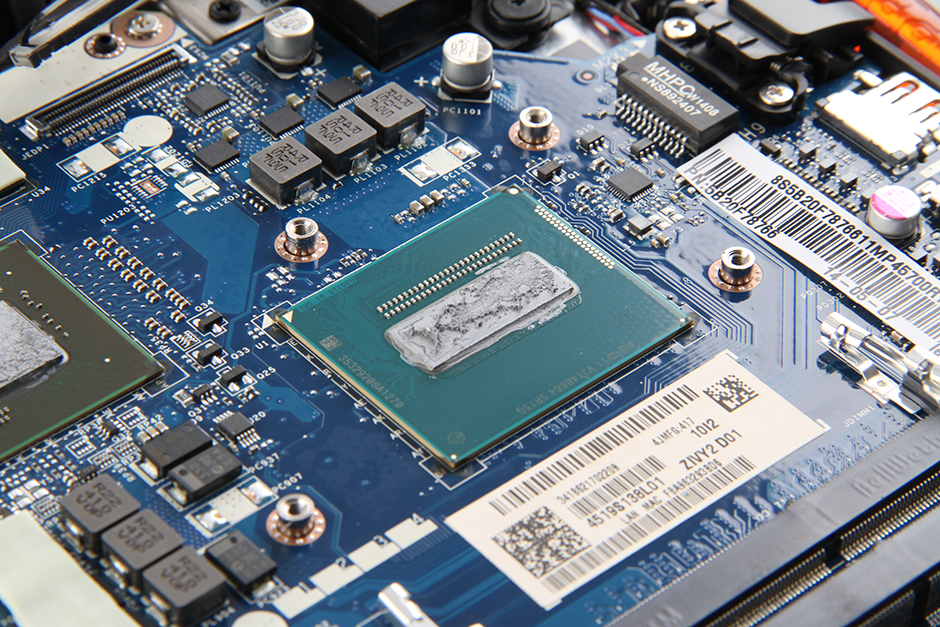
Intel processor
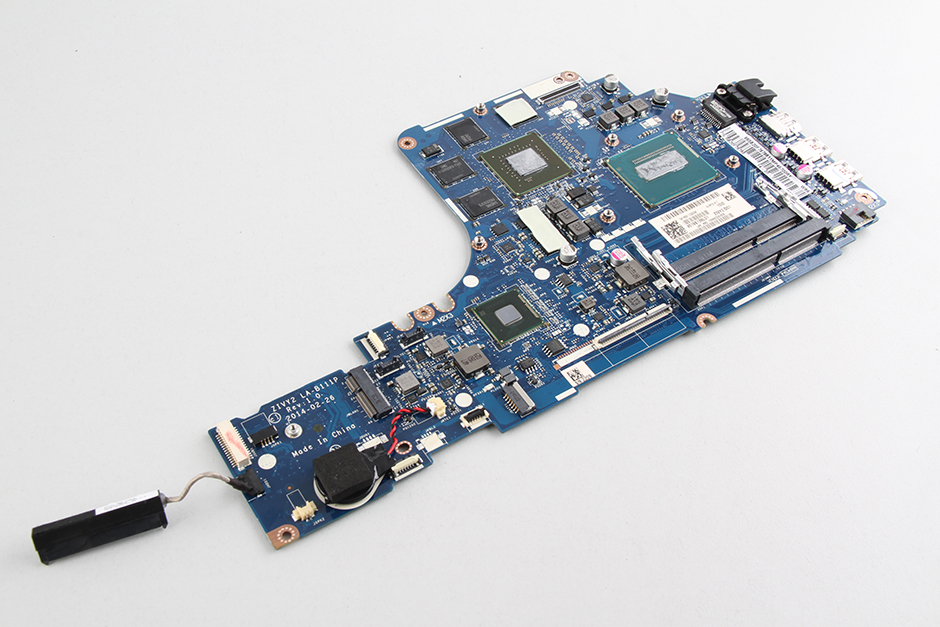
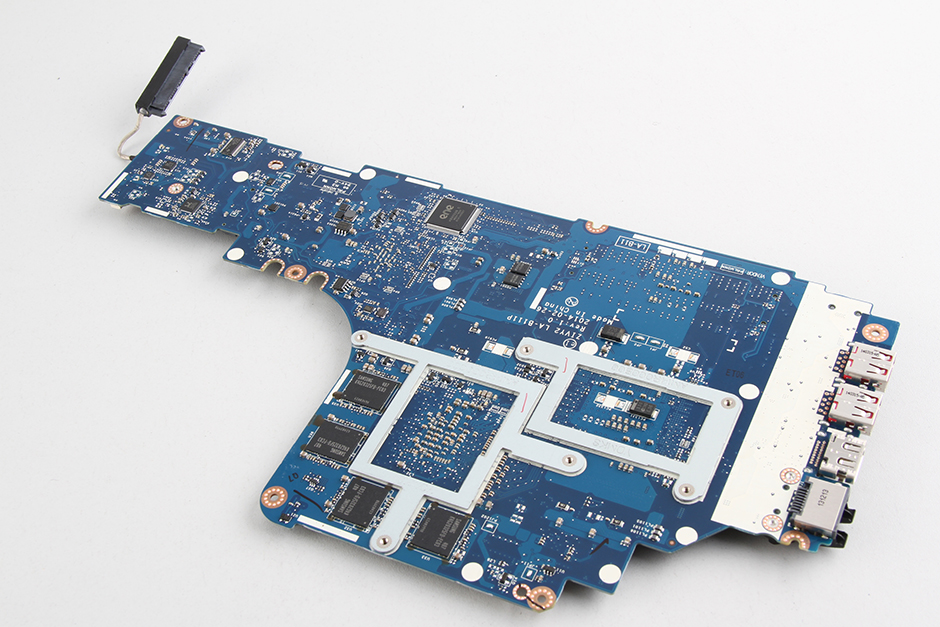
Motherboard

Hi, I can’t remove the bottom case. Can you please explain to me if I have to pull up the case or what to do? Of course, I removed all screws. Thanks!
You should pry up the bottom case with a pry bar or guitar pick, carefully release all the snaps, and please do not damage the snaps.
So what happens if you break the snaps? Is there any way to replace them? I broke all four of them up top towards the screen and a couple on the sides, and now whenever I press down on certain places on my laptop, it compresses and even makes a popping noise sometimes. Please help!
You may need to replace the back cover.
Hi,
I read online posts that the CPU is soldered on. Is it possible to upgrade the CPU for this laptop? I have a Lenovo Y50 with the Intel i5-4200H CPU, and I was hoping to upgrade to the i7-4700HQ CPU.
Thanks in advance.
Yes! The CPU is soldered on the motherboard; you can not upgrade it.
The rear four clips are impossible to reach, even with a plastic removal tool.
How do I unclip them?
I have a sound like a piece of paper is stuck in the fan, and I want to remove it if there is anything; the thing is brand new, and I do not want to take it to the local repair agents as they only employ retards. (Yes, they broke my previous one, and I had to wait 2 months for a replacement.)
Thanks
Erik
Bro, you just need to apply a lot of force and carefully break some of the clips, because that’s how they’re designed. I broke five of them with no problem. There are four left.
Hi, I unscrewed the laptop, and two of the screws broke in the process. Do you know what size these are, so I can order replacements? Thanks
I was trying to remove the back cover, but the plastic covering of the hinges was broken. The cover still works fine, but it leaves that open without protection. Does anyone know where I can buy a replacement cover for my Y50?
Be especially aware of the four rear clips right beneath the fan outlet on the back cover, as well as the ones by the network cable port. Installed a new SSD and broke all four of the rear clips, although they don’t seem to do a whole lot. Use a plastic pry bar (a spork works just fine) to unclip the ones at the network cable. I don’t know how to avoid breaking the four rear ones except to avoid lifting up the cover too much in the front. Good luck (you’re gonna need it!)
Is it possible to replace the keyboard? I found articles and videos showing a complete teardown of the keyboard. I’m a clutz and spilled liquid on my keyboard and shorted some keys.
Hi, can you mark or show which one is the BIOS chip on the motherboard? I kind of bricked mine and tried to fix it via the CH341A process. Thank you
Can I change the processor? I want to upgrade to a higher GHz processor.
The CPU and GPU are soldered to the motherboard, so they can’t be upgraded, unfortunately.
I’ve been trying to open the bottom case, but I can’t find any screws or snaps, and I haven’t been able to pry it open. I have a Lenovo G400. How do I get it open?