
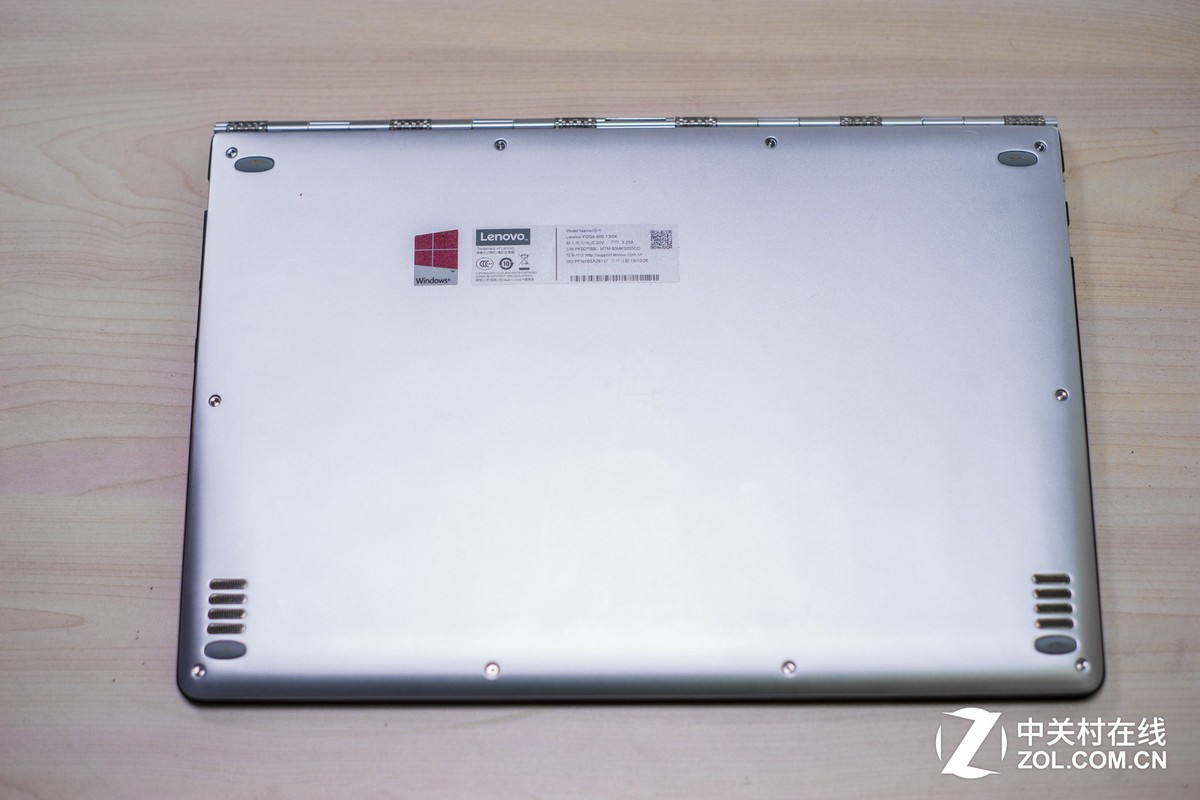
Lenovo LaptopLenovo Yoga 900
Lenovo Yoga 900 Disassembly
In this guide, I’ll explain how to disassemble the Lenovo Yoga 900 to remove the bottom case, SSD, cooling fan, heat sink, speaker, and motherboard. Refer to this guide.
Want to be the first to see inside the latest gadgets? Follow us on Facebook for the latest news from MyFixGuide.com.
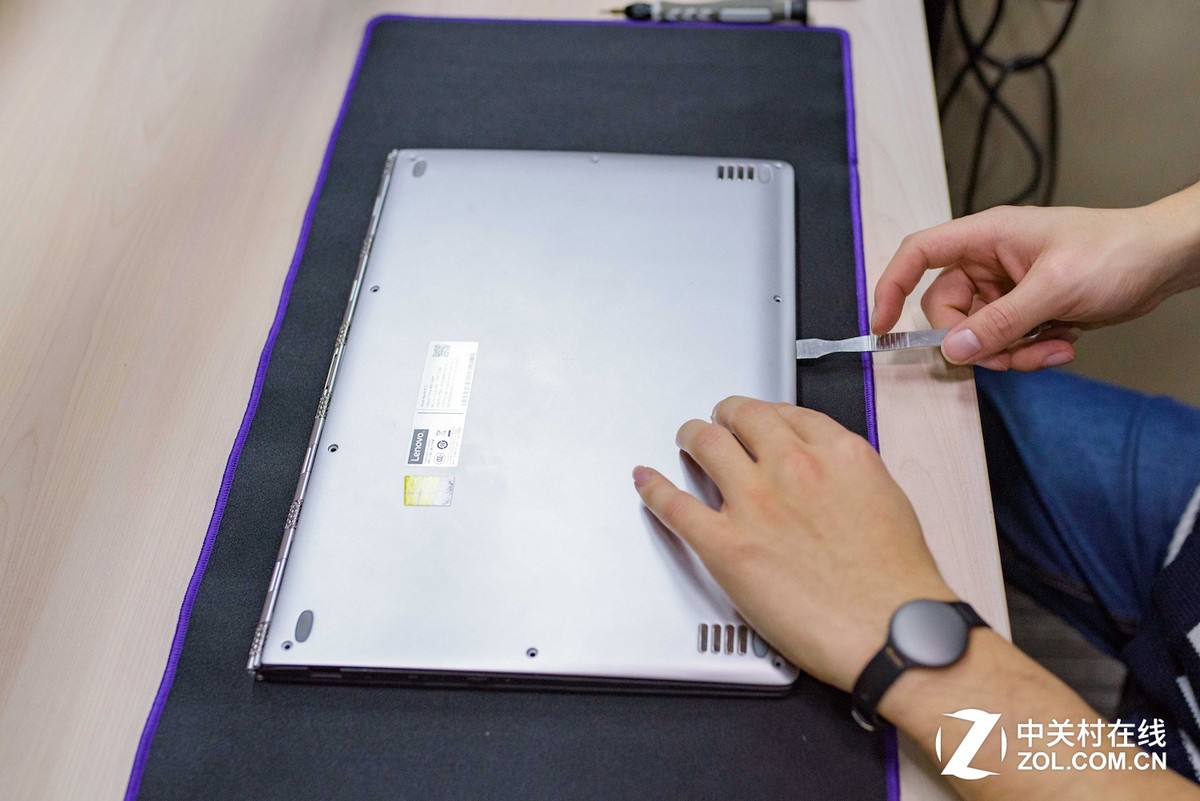
Remove ten screws securing the bottom case.
After unscrewing the fixing screws, insert a metal pry bar. Carefully pry up the snaps. This step especially needs patience. Please do not damage the snaps.
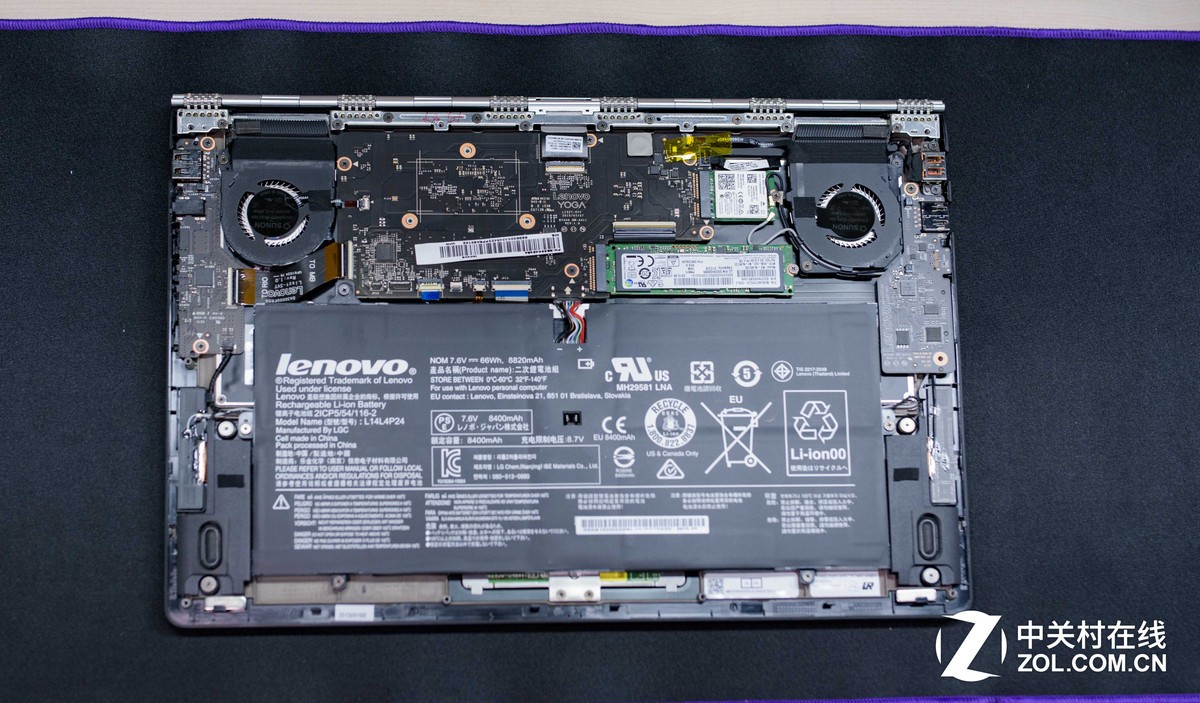
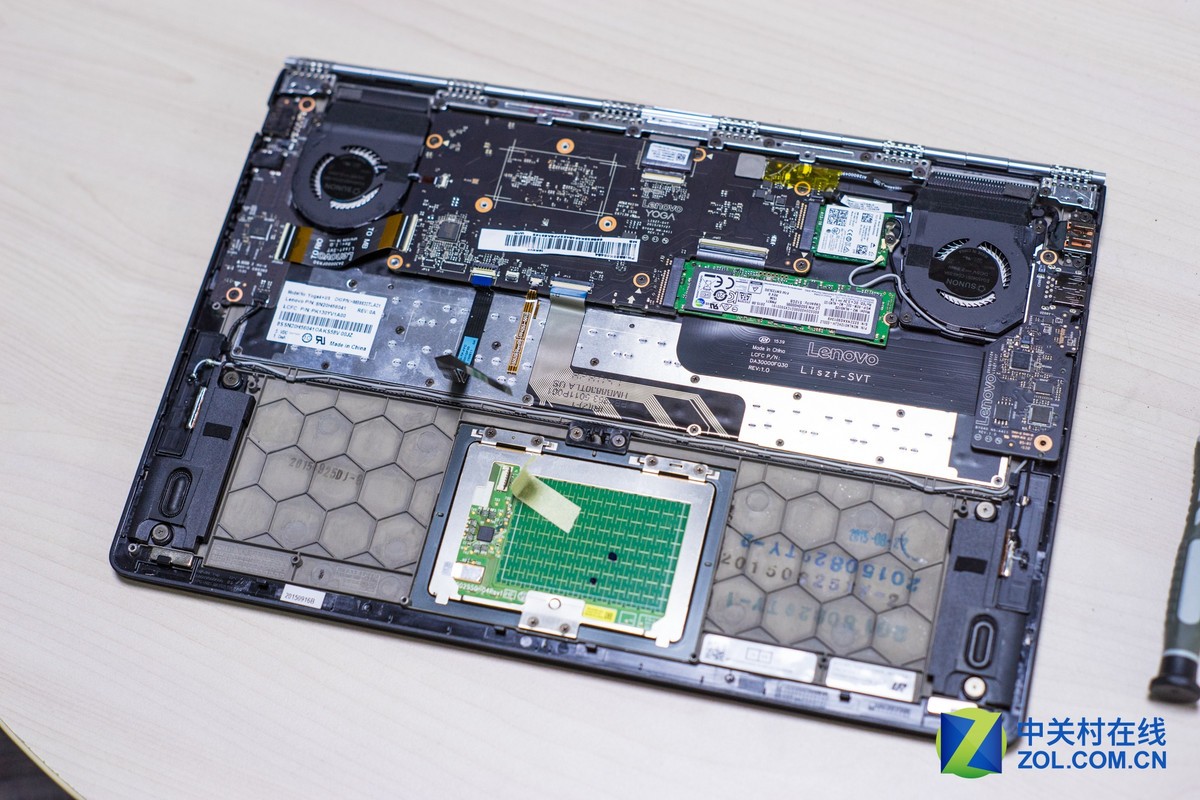
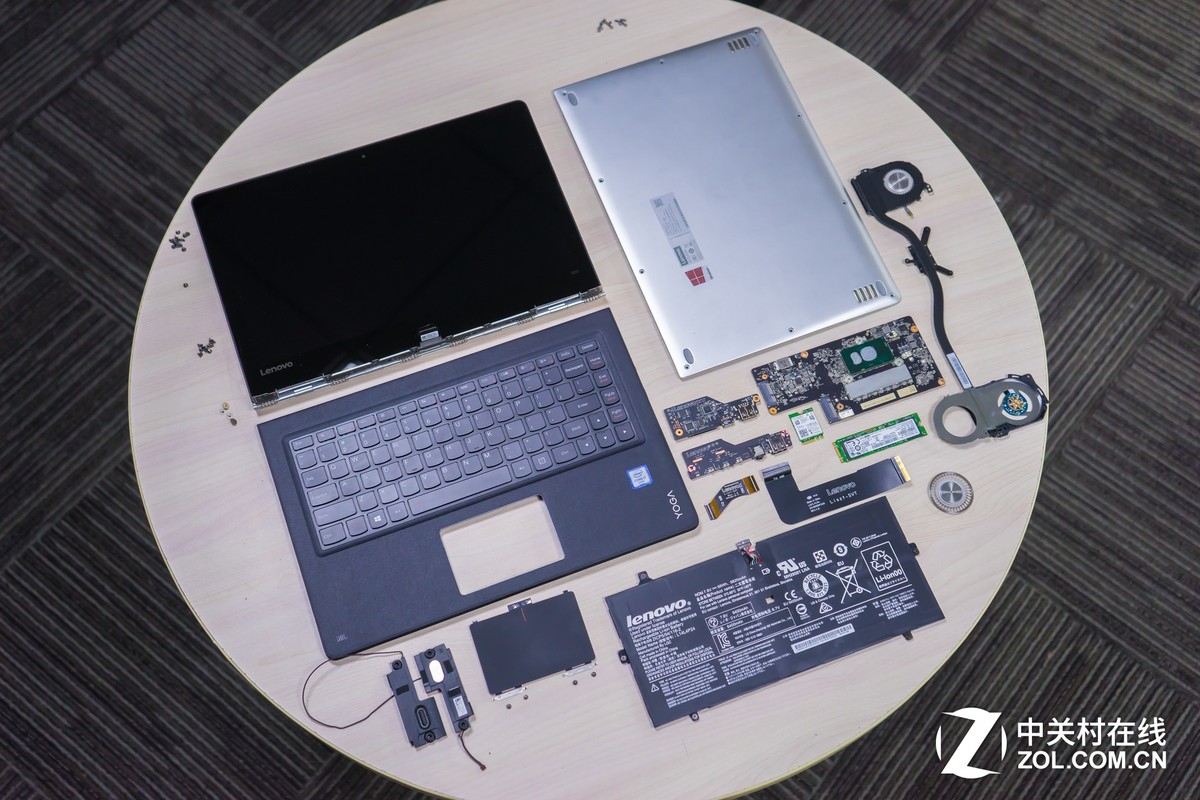
Once the bottom case is removed, you can access the battery, SSD, wireless card, heat sink, cooling fan, and motherboard.
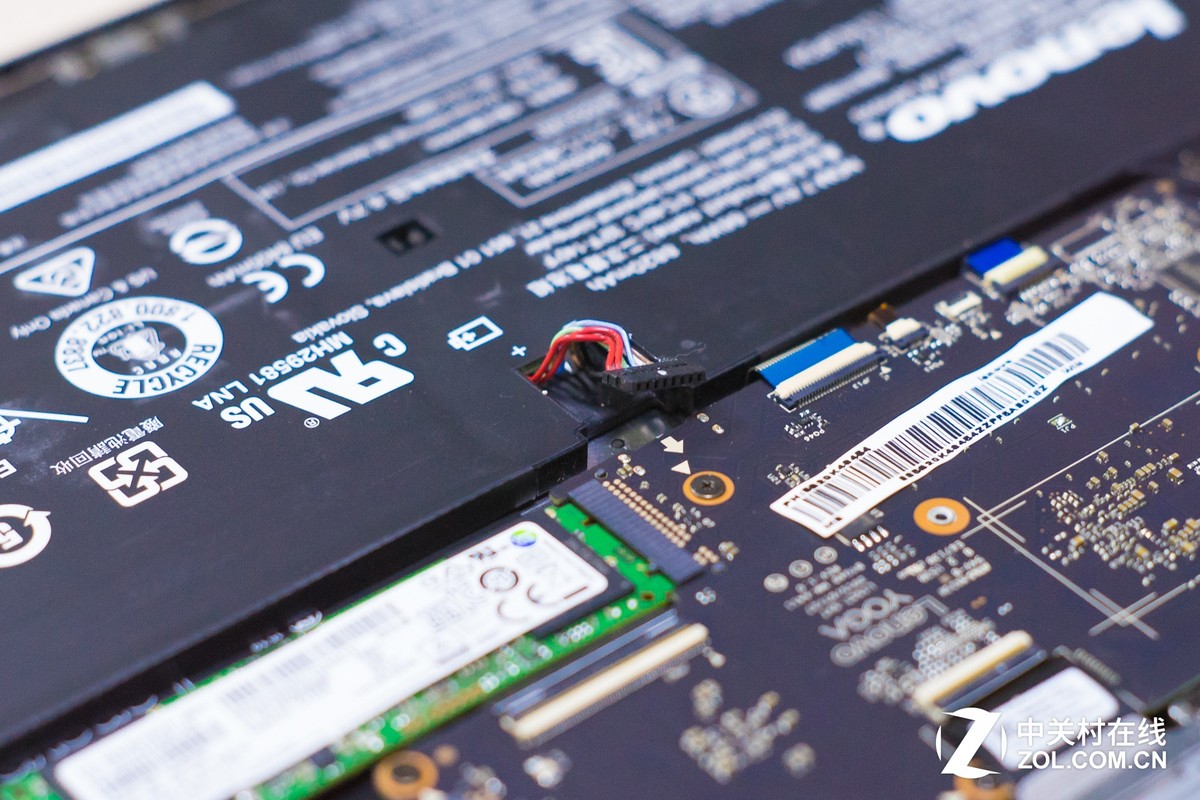
Before continuing dismantling, the first thing to do is disconnect the battery power to prevent short circuits and other surprises that can be avoided in the dismantling process, which is the necessary step before dismantling all electronic devices.
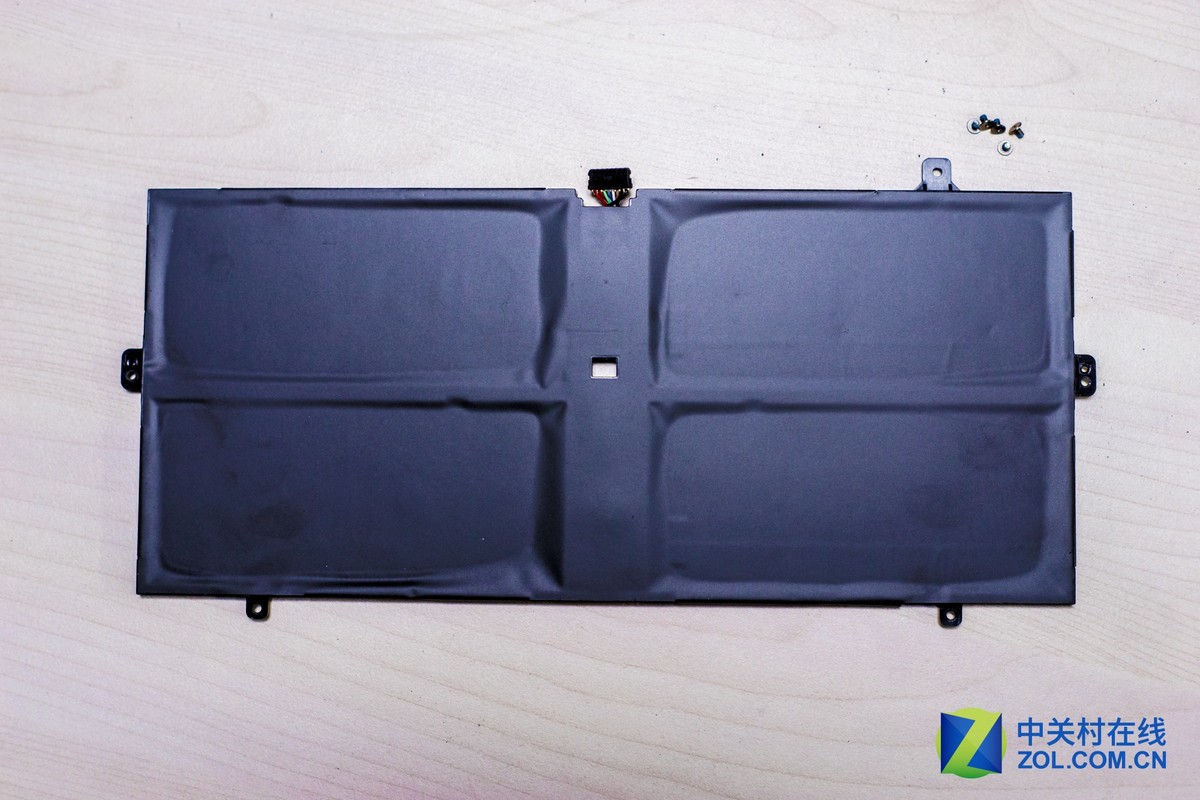
Remove five screws securing the battery. The battery can be removed.
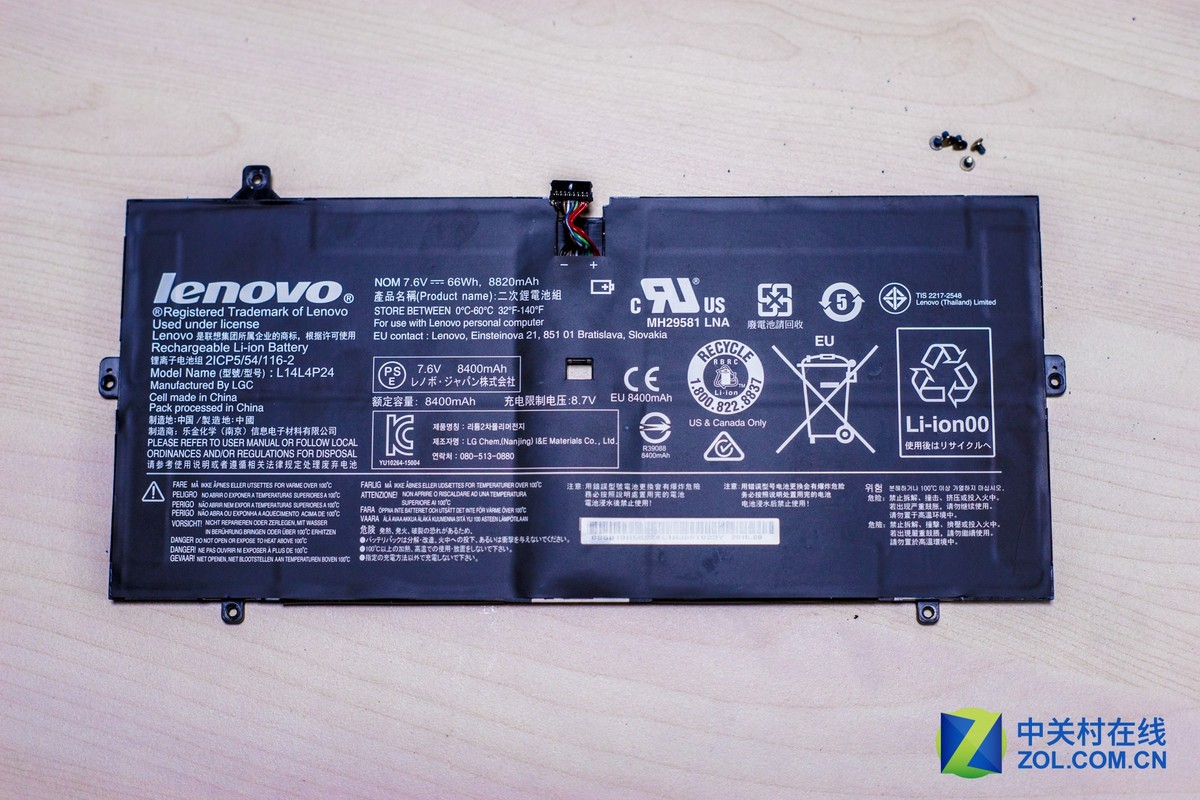
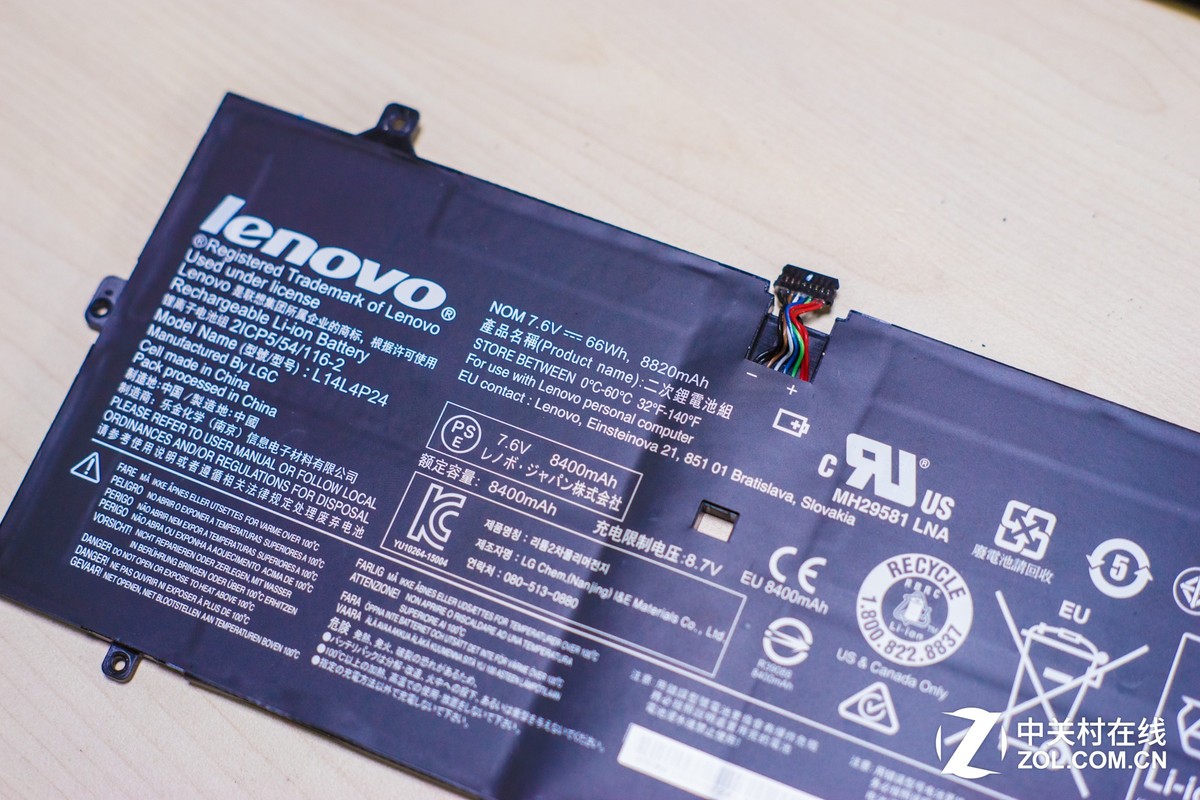
Lenovo Yoga 900 comes with a 7.6v, 66wh, 8820mah Li-ion battery. Lenovo model: L14L4P24.
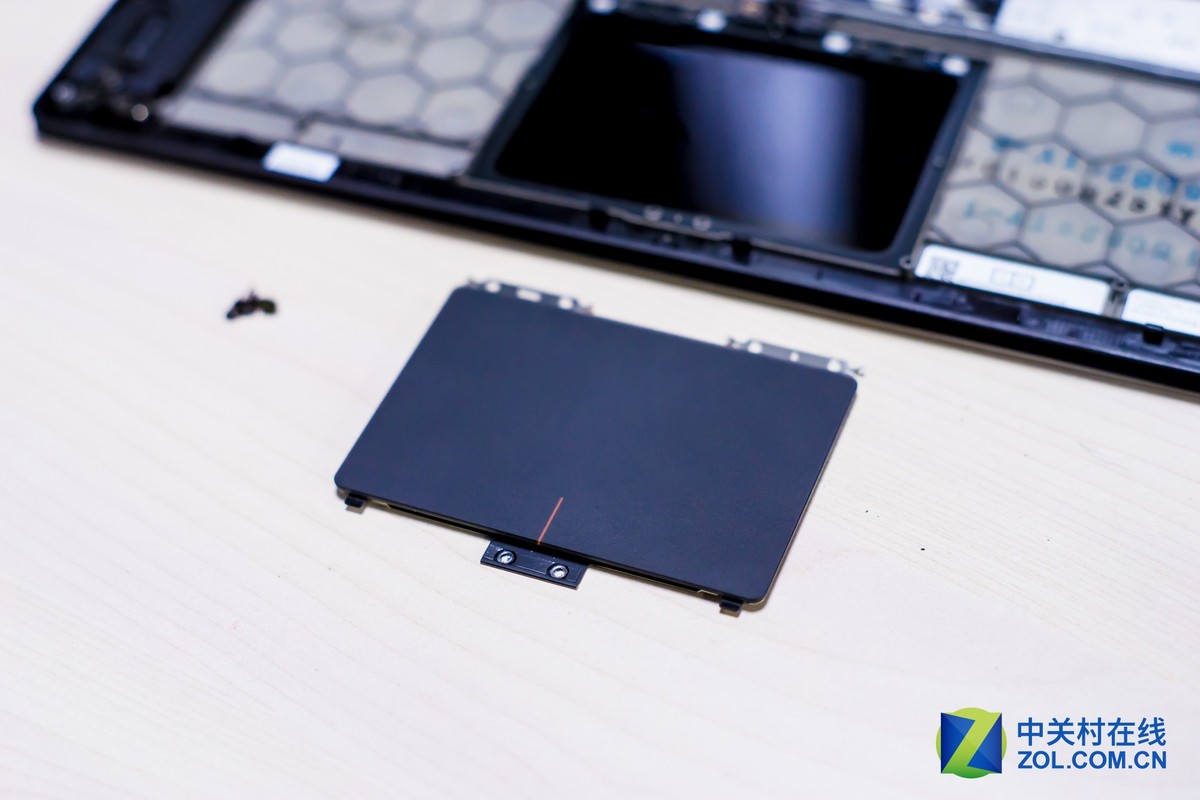
Under the battery, you can find the touchpad.
Disconnect the touchpad cable from the motherboard and remove six screws; you can remove the touchpad.
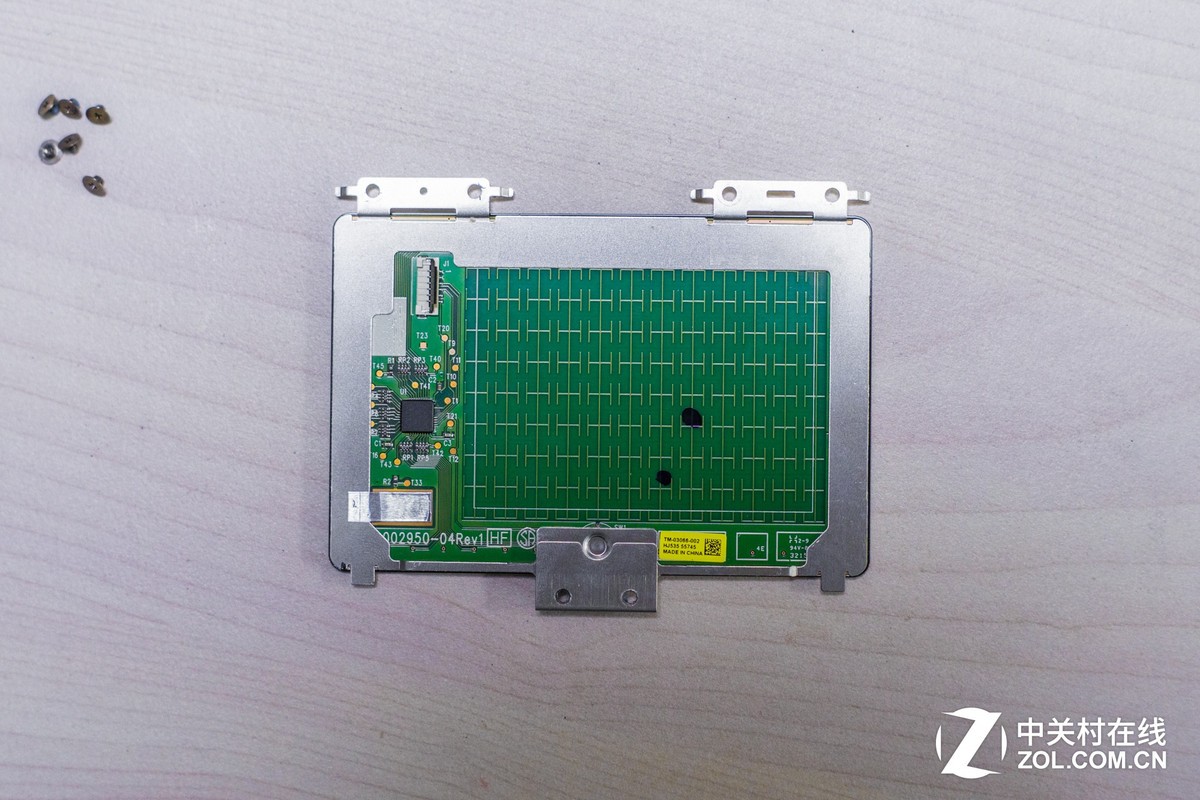
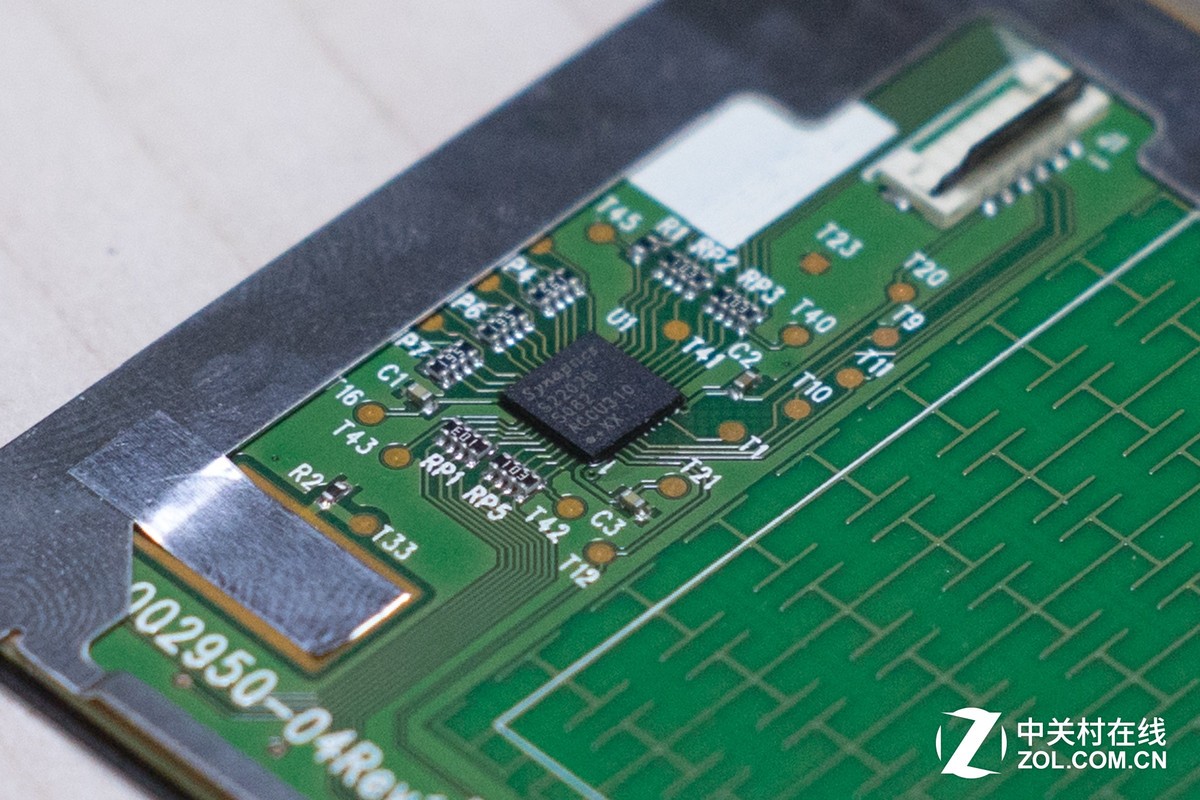
Synaptics Touchpad chip
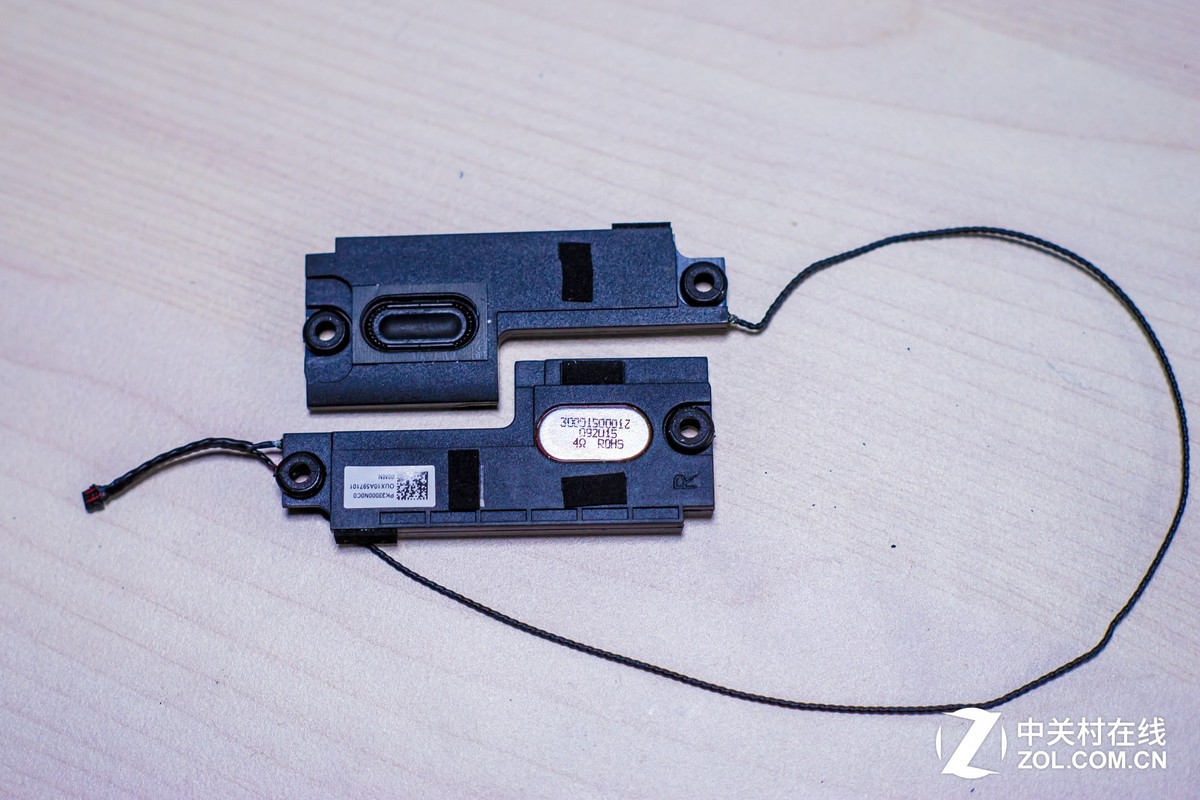
Remove four screws securing the speaker modules (left and right).
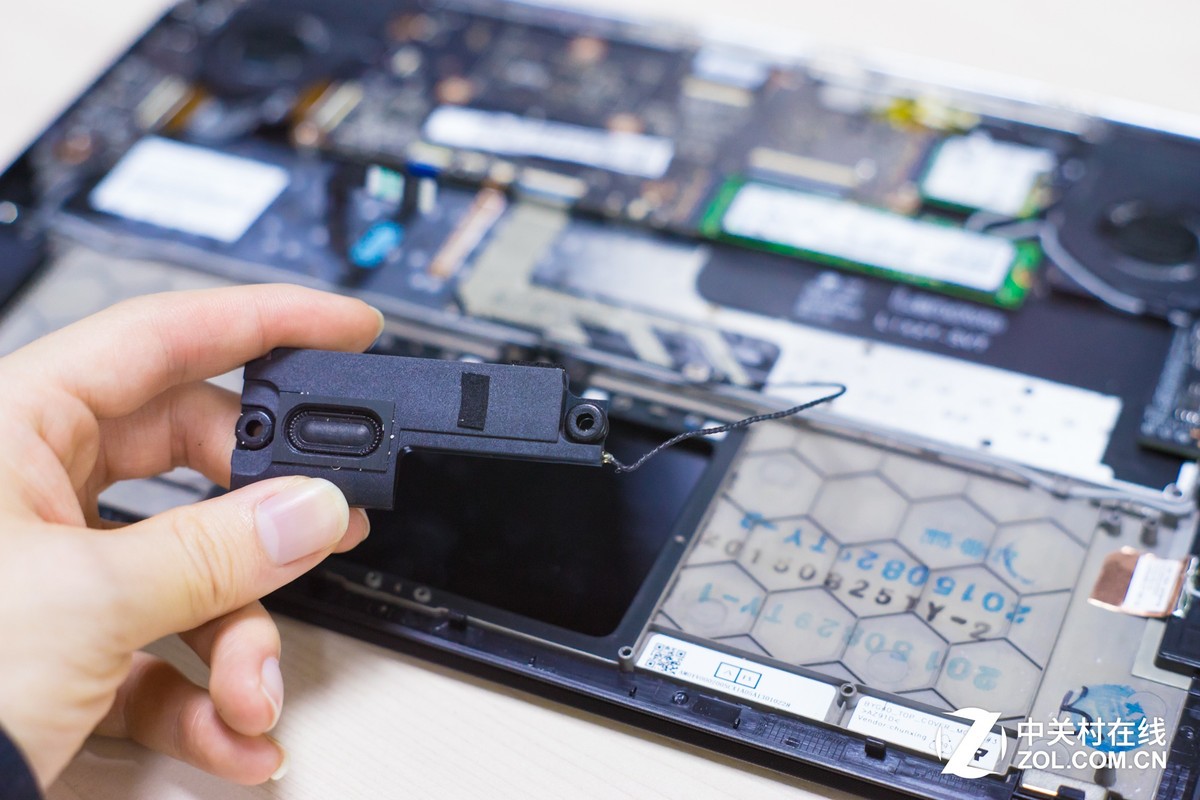
Disconnect the speaker cable from the motherboard.
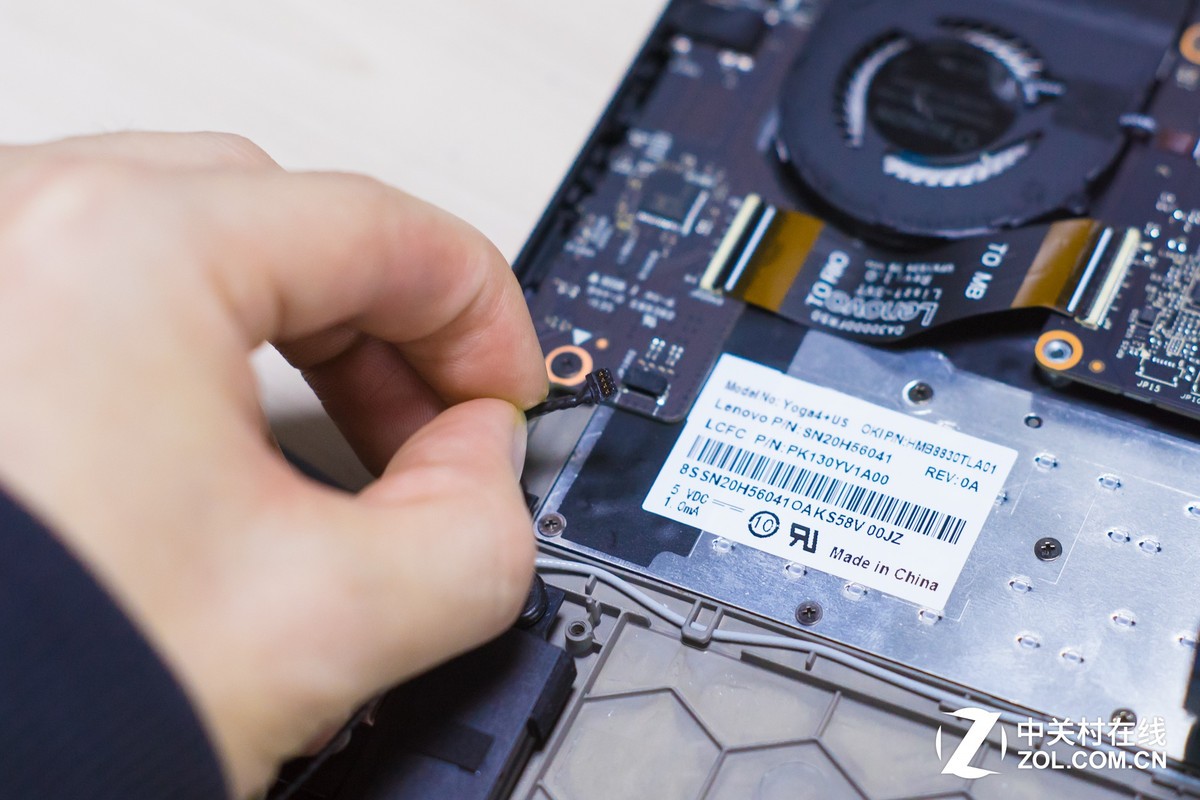
This Lenovo Yoga 900 features a JBL speaker audio module.
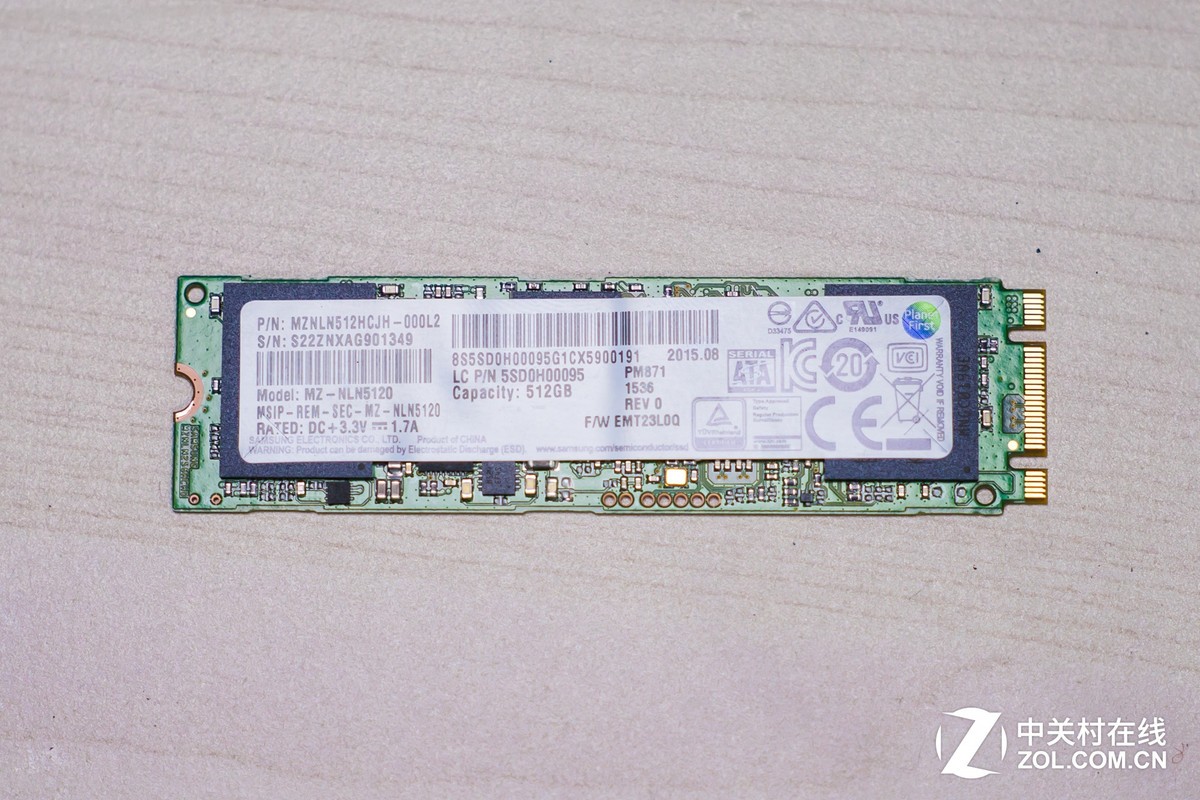
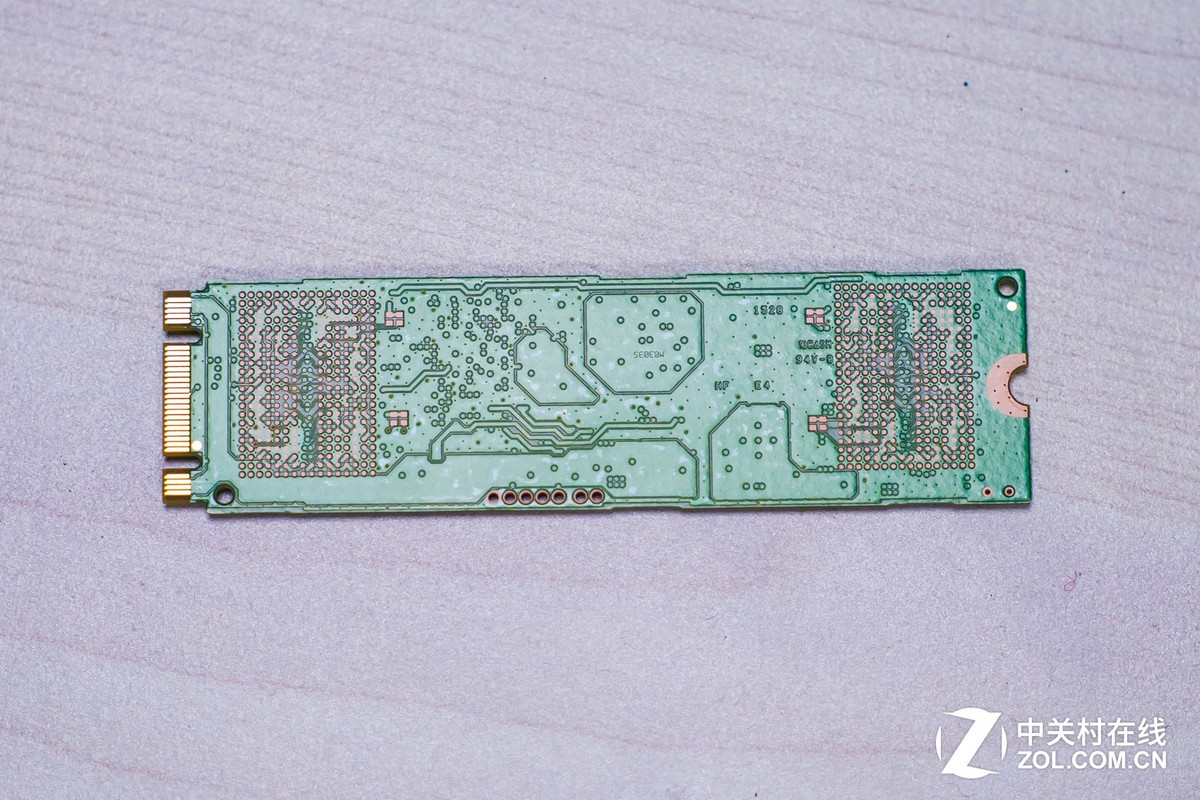
Remove the screw securing the SSD, and take it away from its slot.
This Lenovo Yoga 900 features a Samsung PM871 512GB SSD.
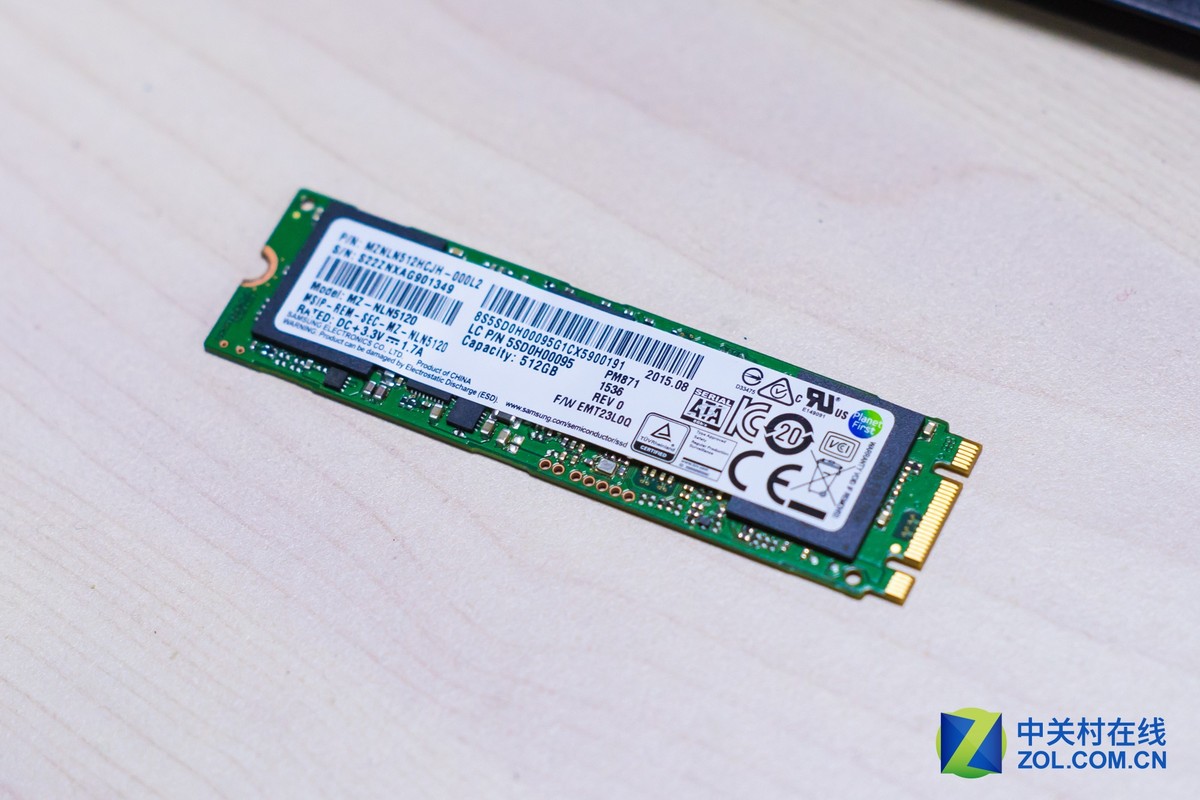
Samsung MZNLN512HCJH-000L2, MZ-NLN5120 PM871 SSD
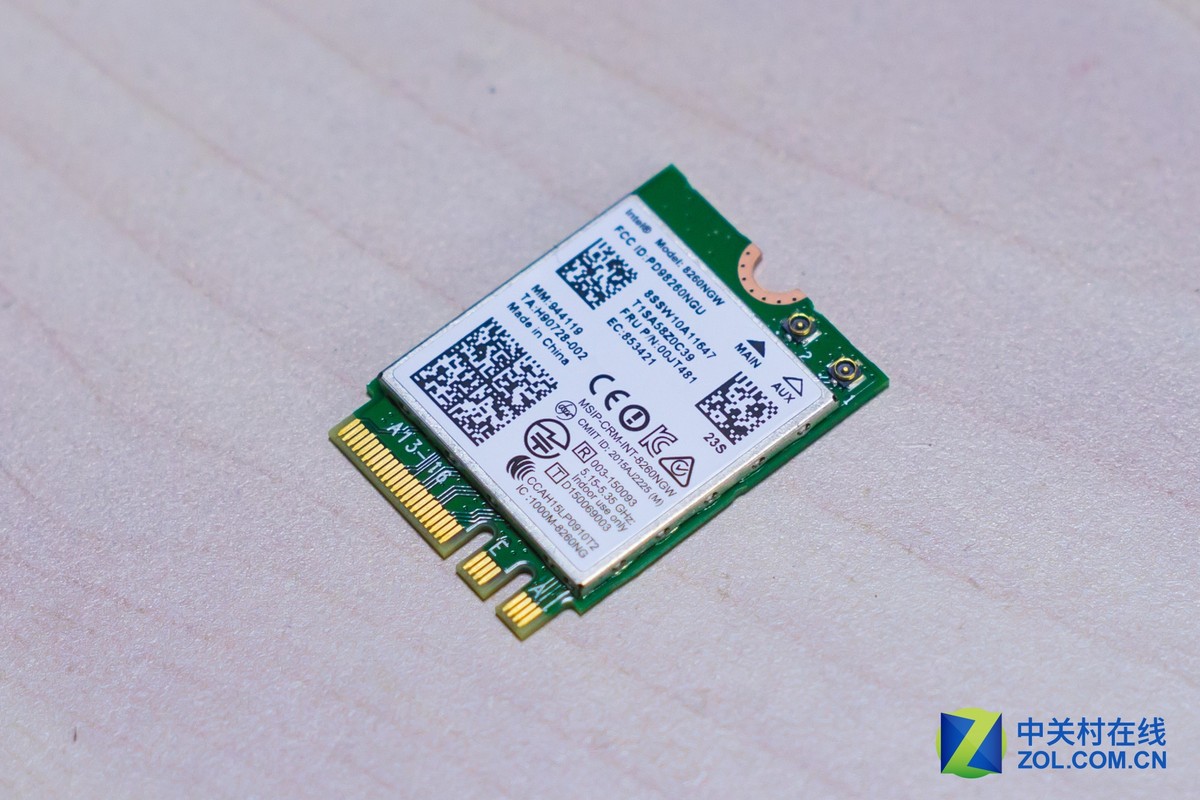
Remove one screw, disconnect two wireless antenna cables.
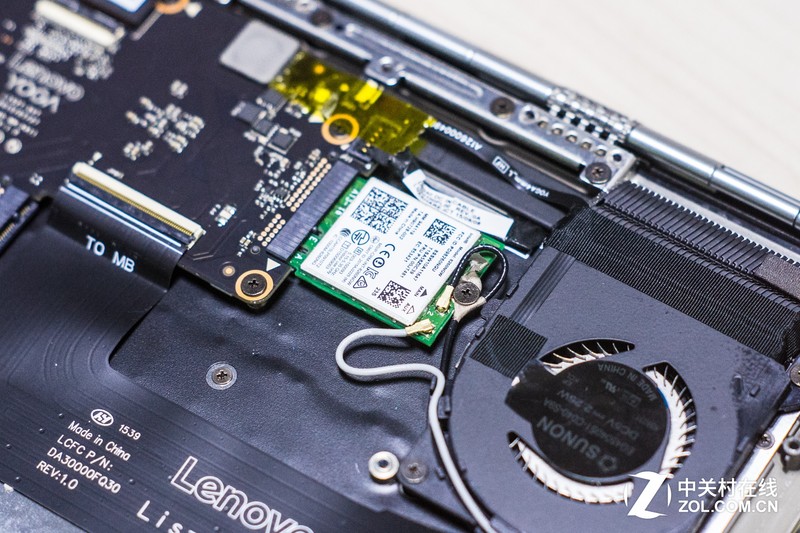
The Intel Dual Band Wireless-AC 8260NGW wireless card supports 802.11ac, 2×2 Wi-Fi, and Bluetooth 4.2. The Lenovo part number is 00JT481.
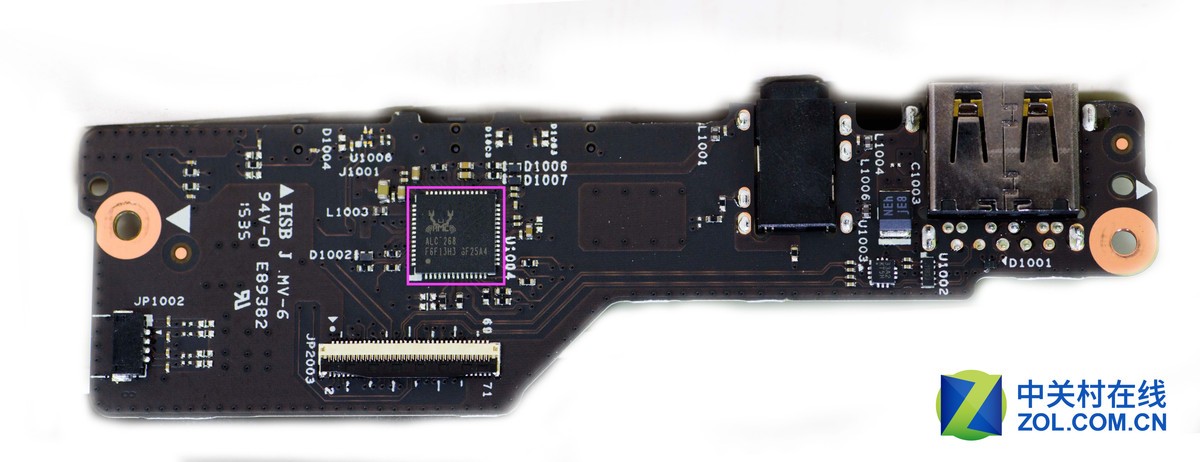
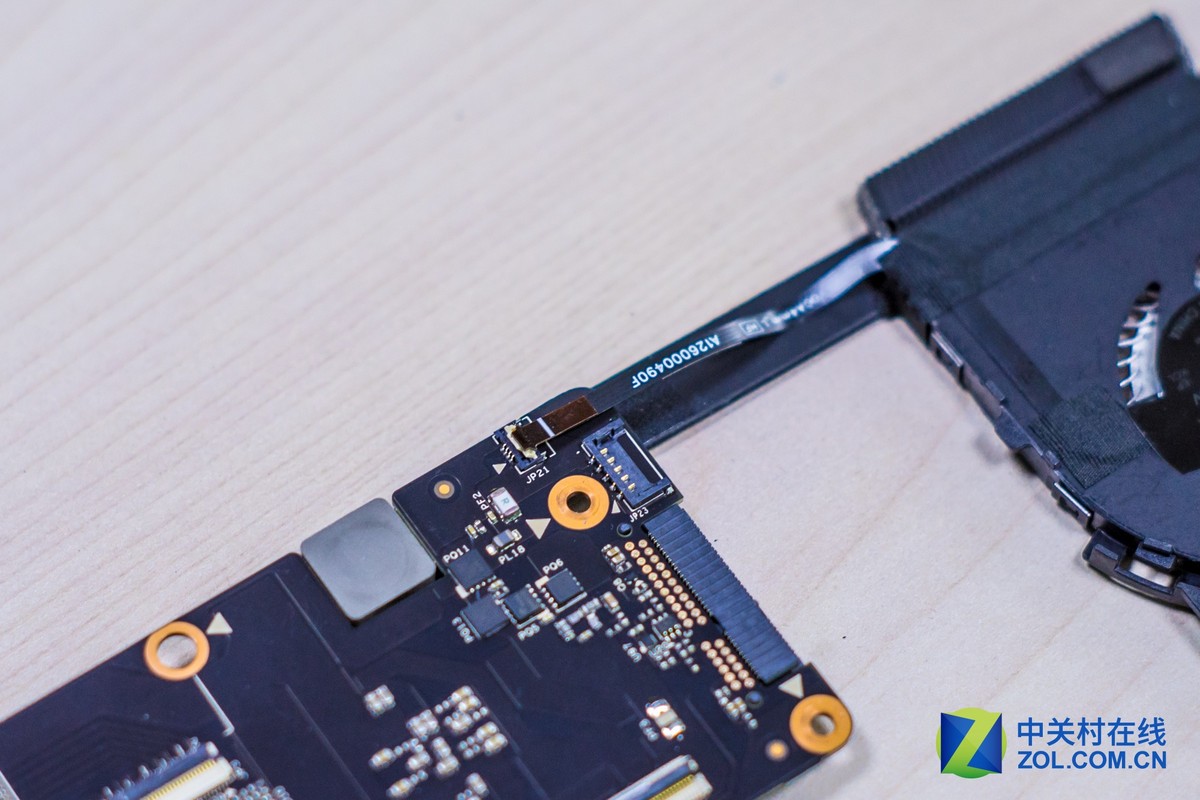
Disconnect the deputy board cable from the motherboard, unscrew two screws, and remove the deputy board.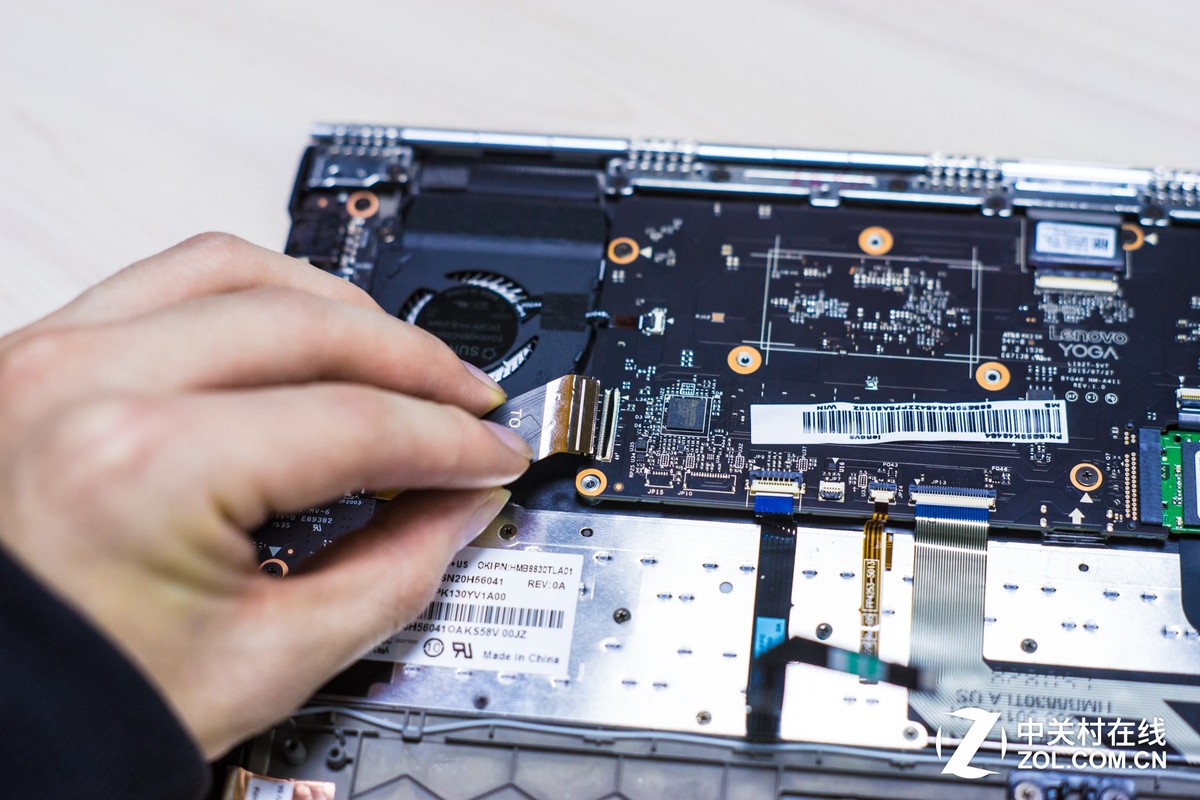
Purple: Realtek sound chip
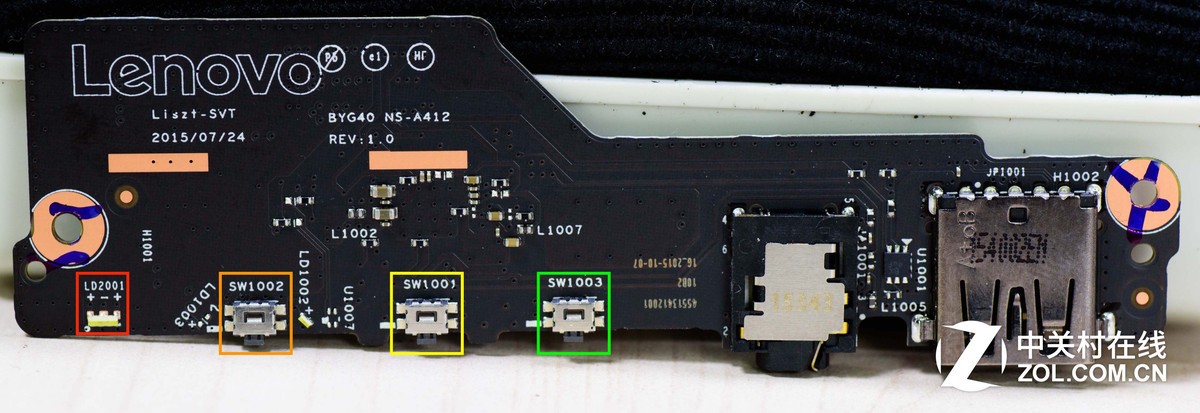
Red: Power LED light.
Orange: Power button.
Yellow: A key recovery button.
Green: Screen rotation lock button.
Remove the USB board.
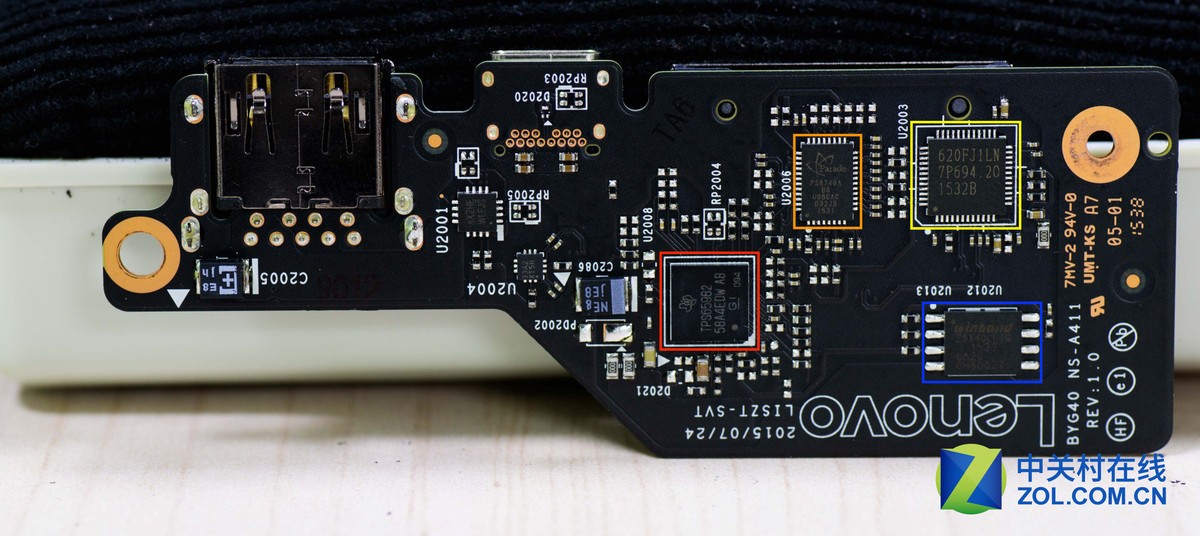
There is a card reader port, a USB Type-C port, and a USB 3.0 port on the board.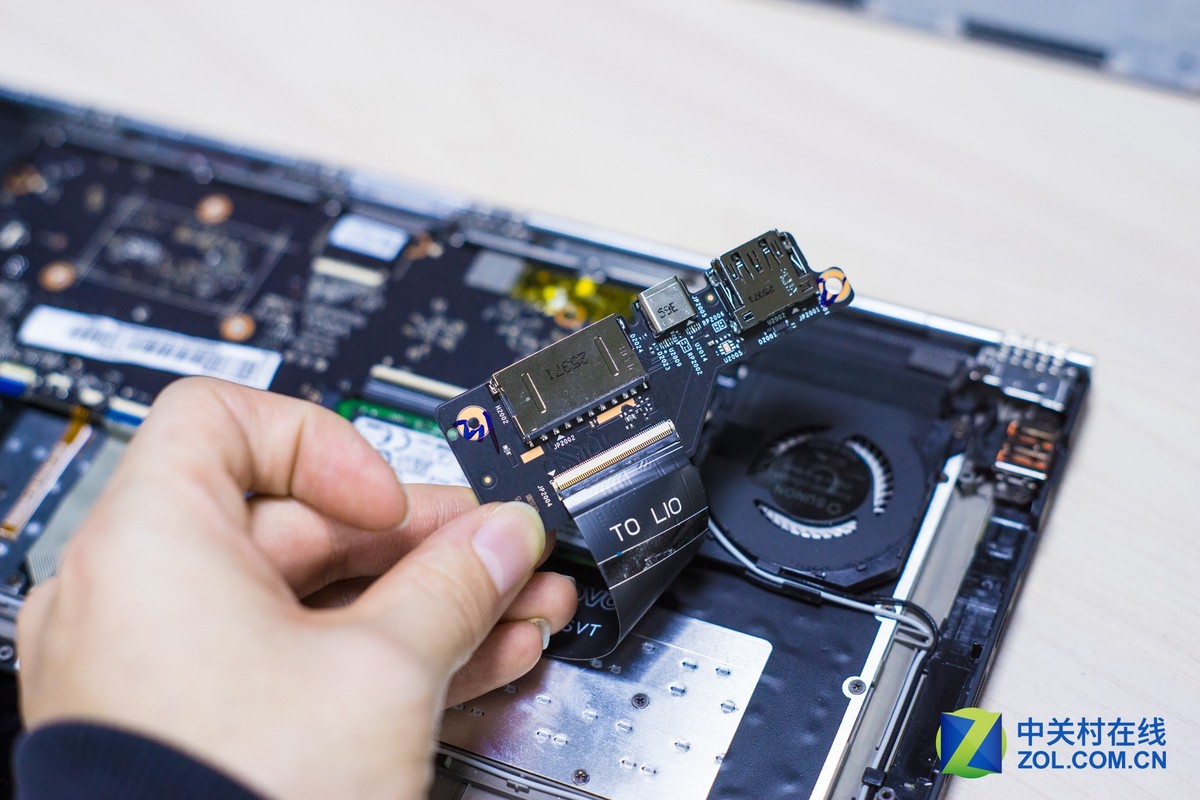
Red: TPS65982 USB Type-C power chip.
Orange: Paradetech PS8740. Makes USB Type-C supports Displayport signal transmission.
Yellow: 620FJ1LN (presumably reader control chip).
Blue: Winbond 25X40CL, Winbond BIOS chip.
Disconnect the LCD cable from the motherboard.
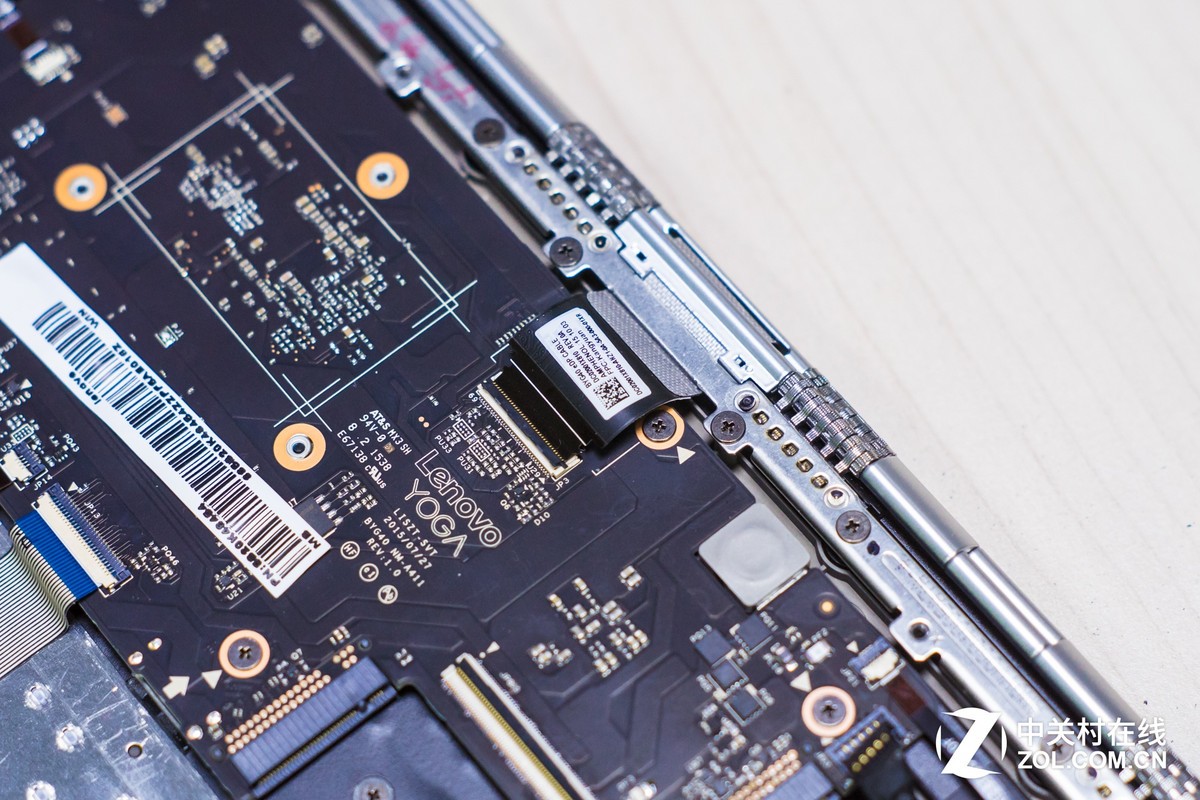
Disconnect the keyboard cable, backlit cable, and touchpad cable.
Remove six screws securing the motherboard.
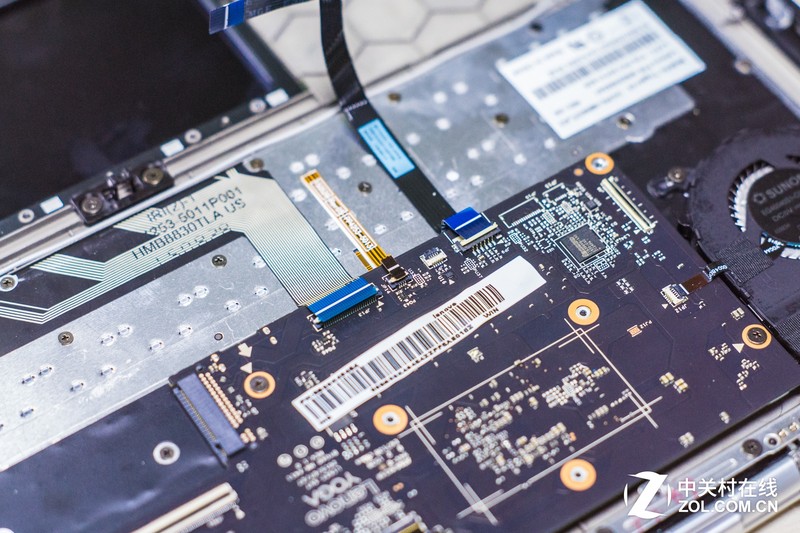
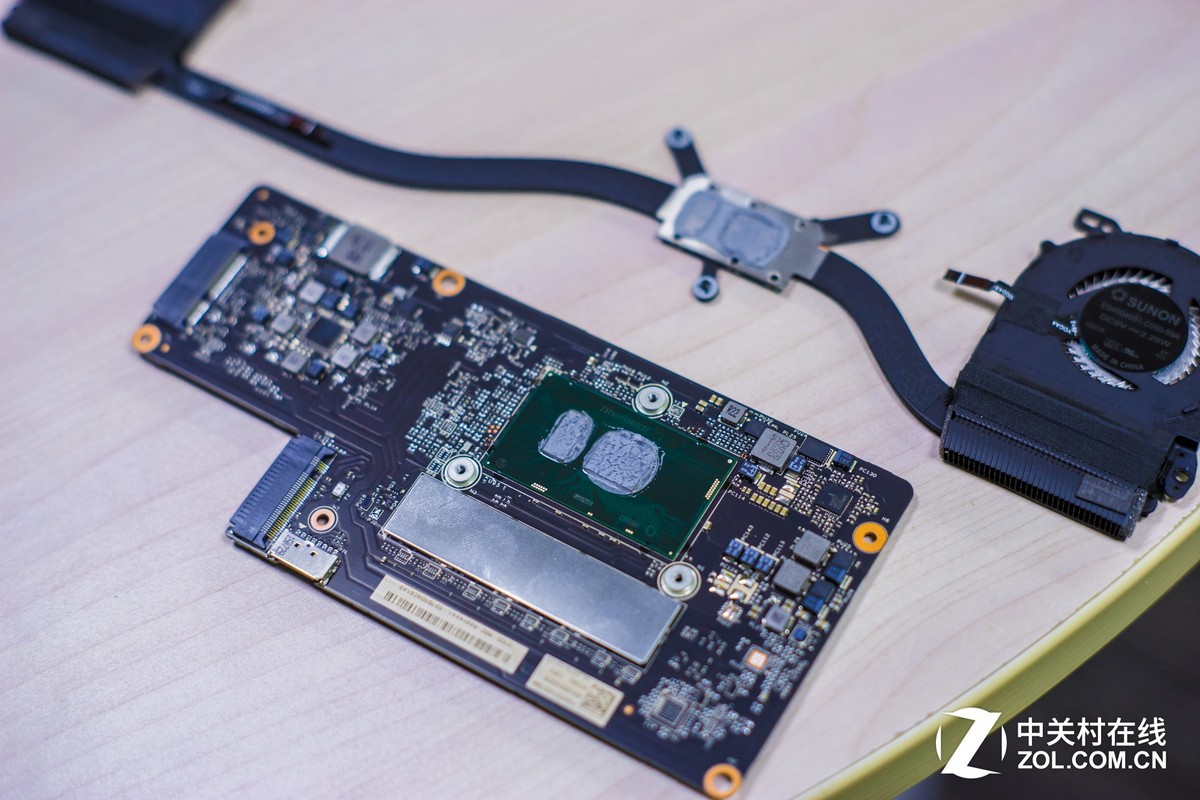
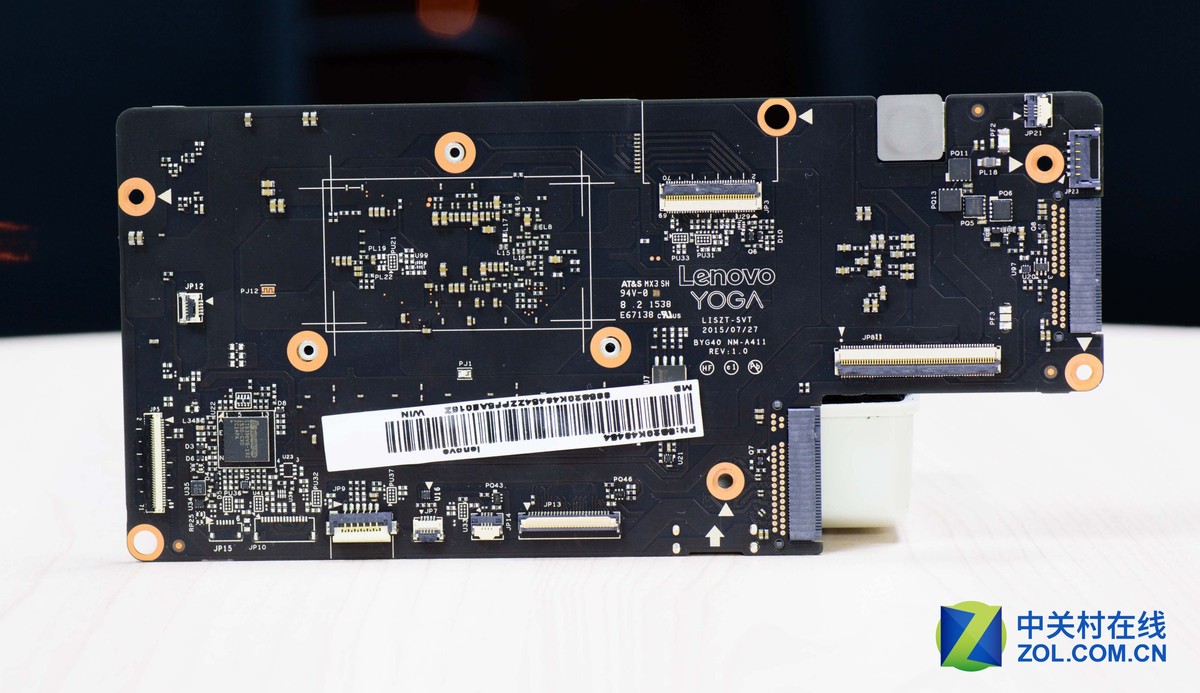
Lenovo Yoga 900 motherboard
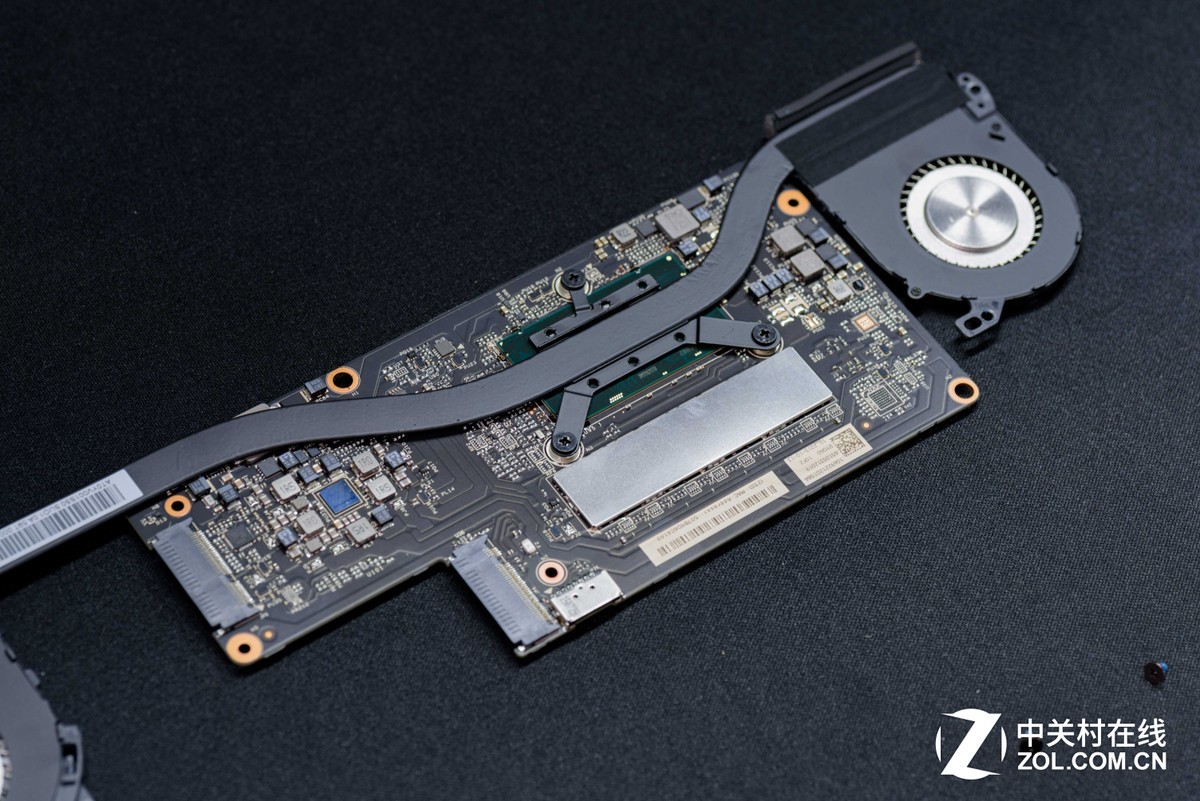
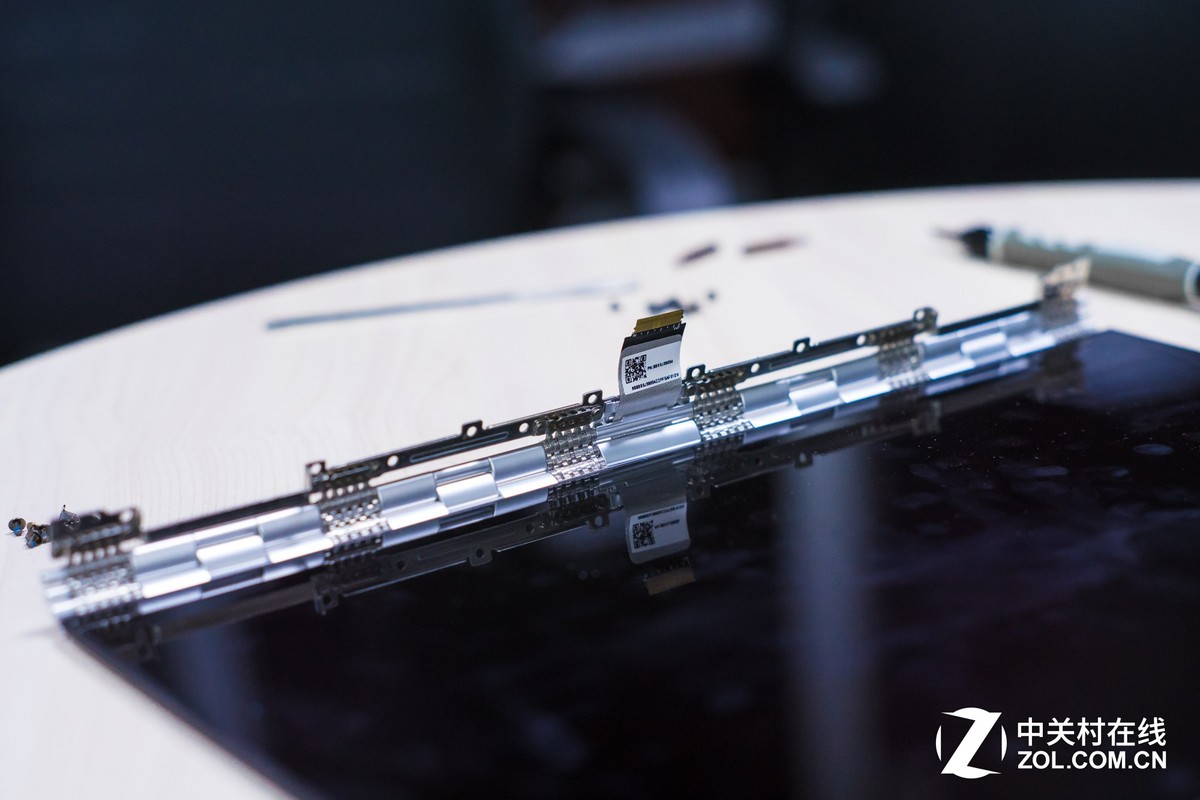
Disconnect the cooling fan cable and remove three screws securing the heat sink.
Lenovo Yoga 900’s heat sink and fan assembly can be removed.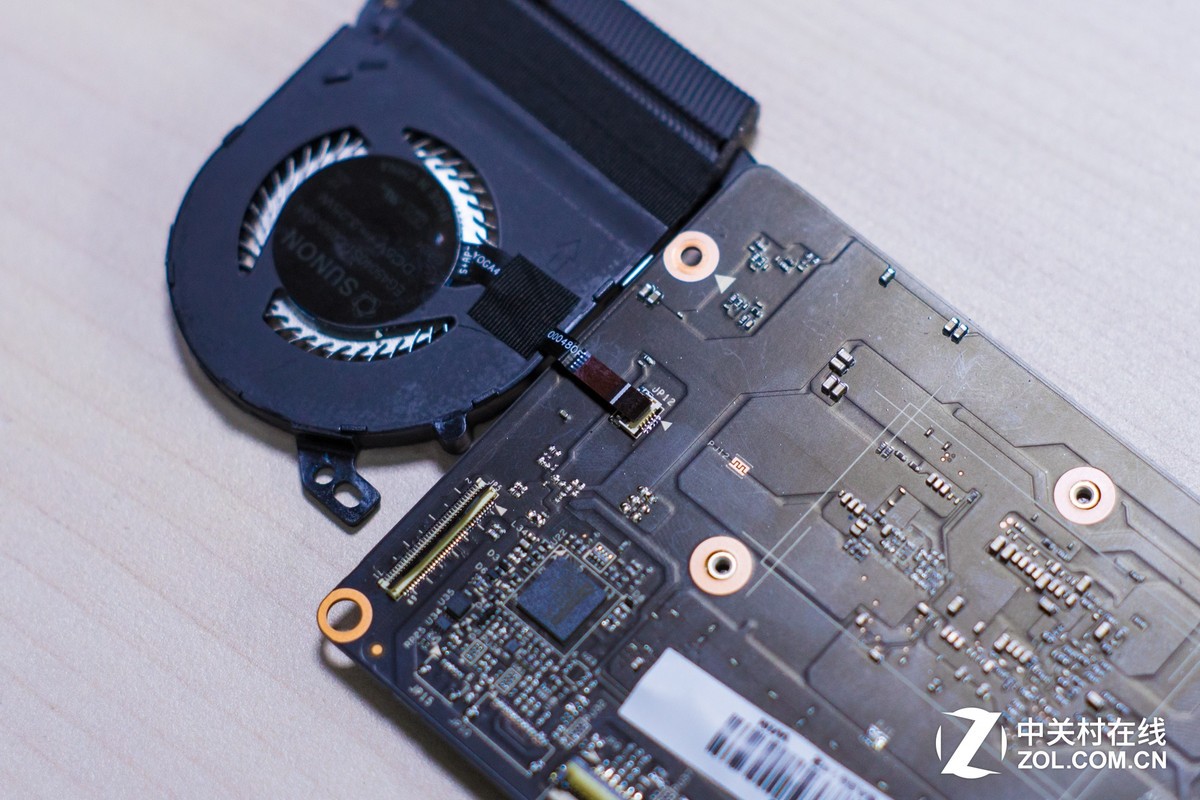
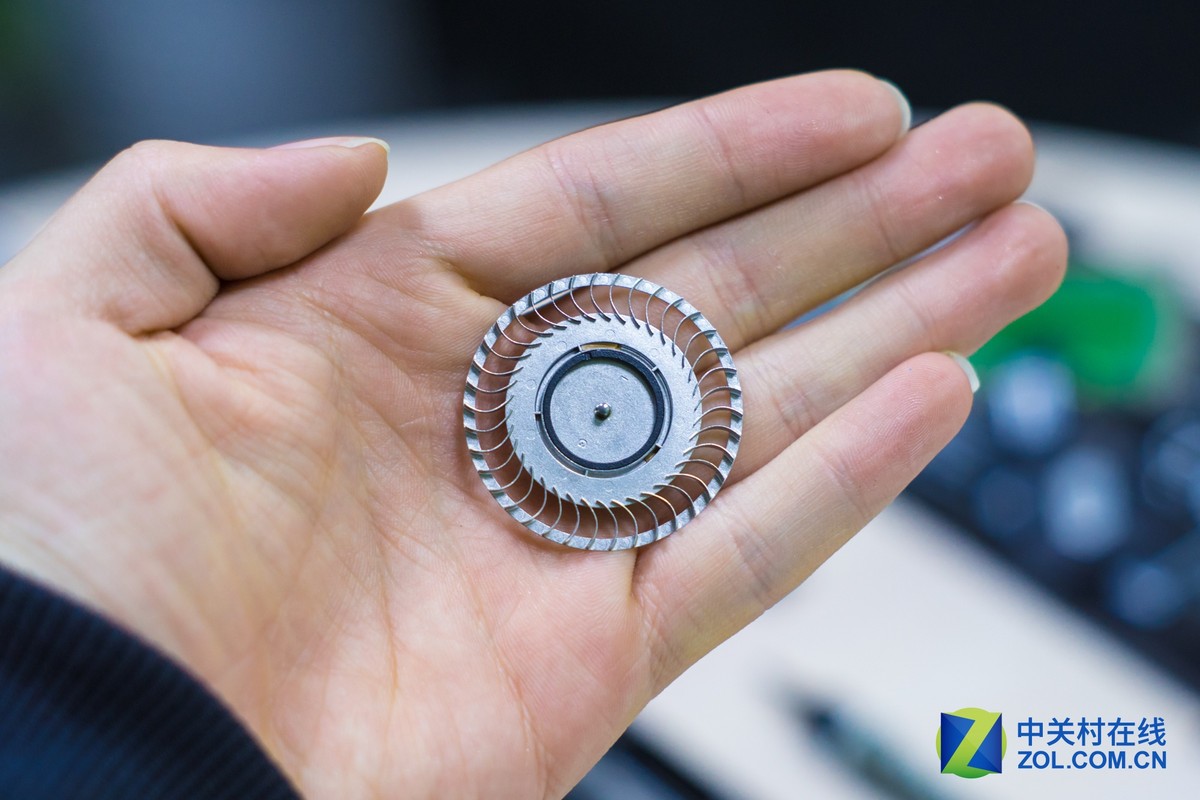
SUNON 2.25W cooling fan
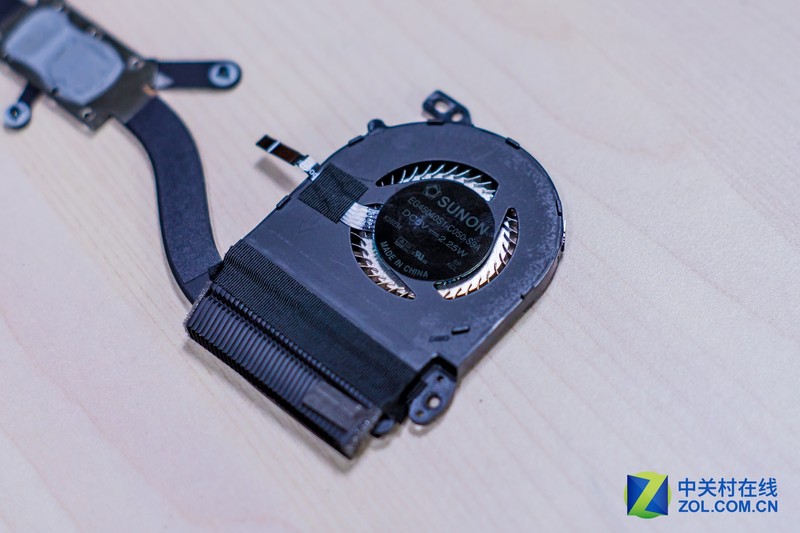
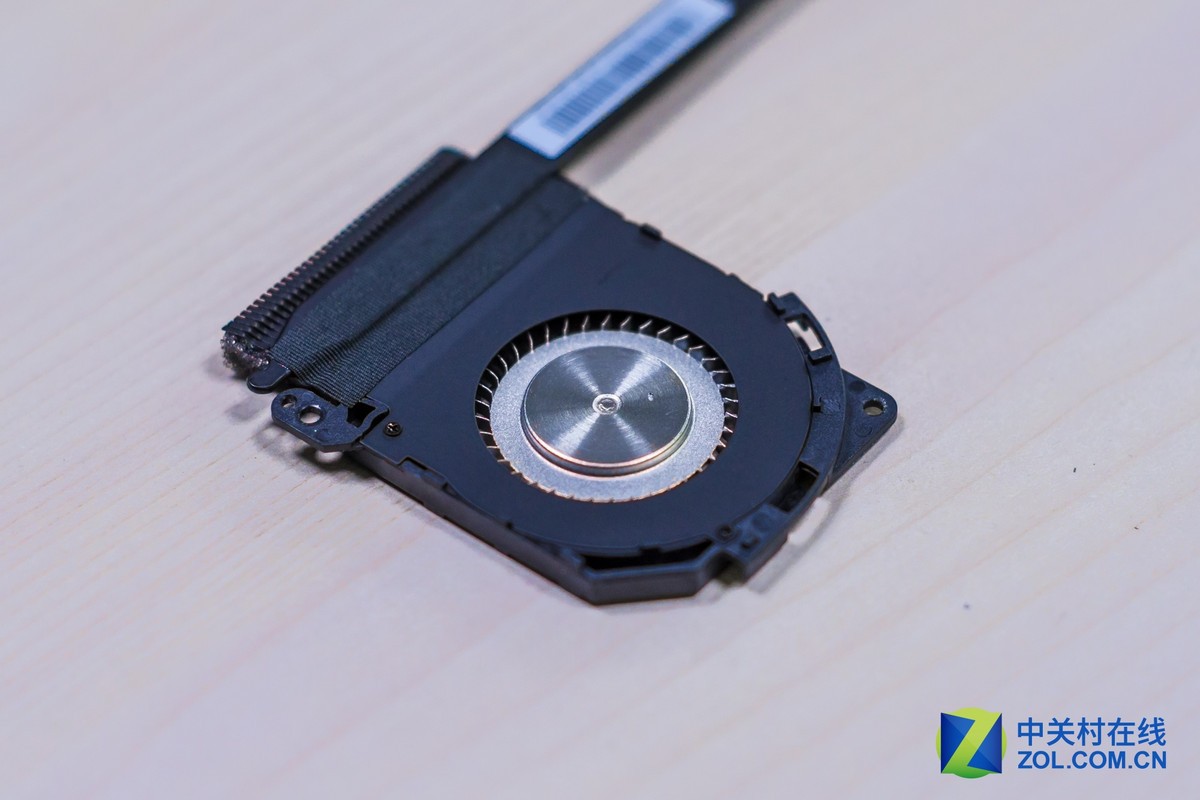
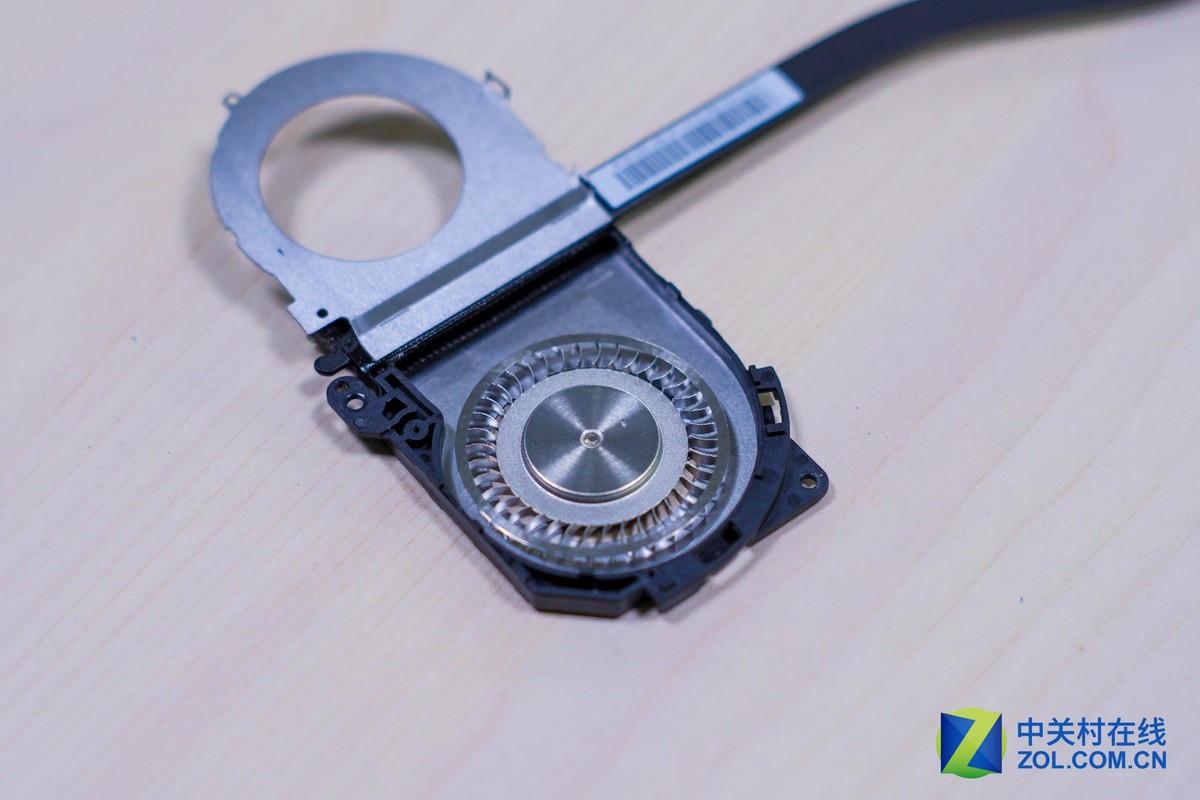
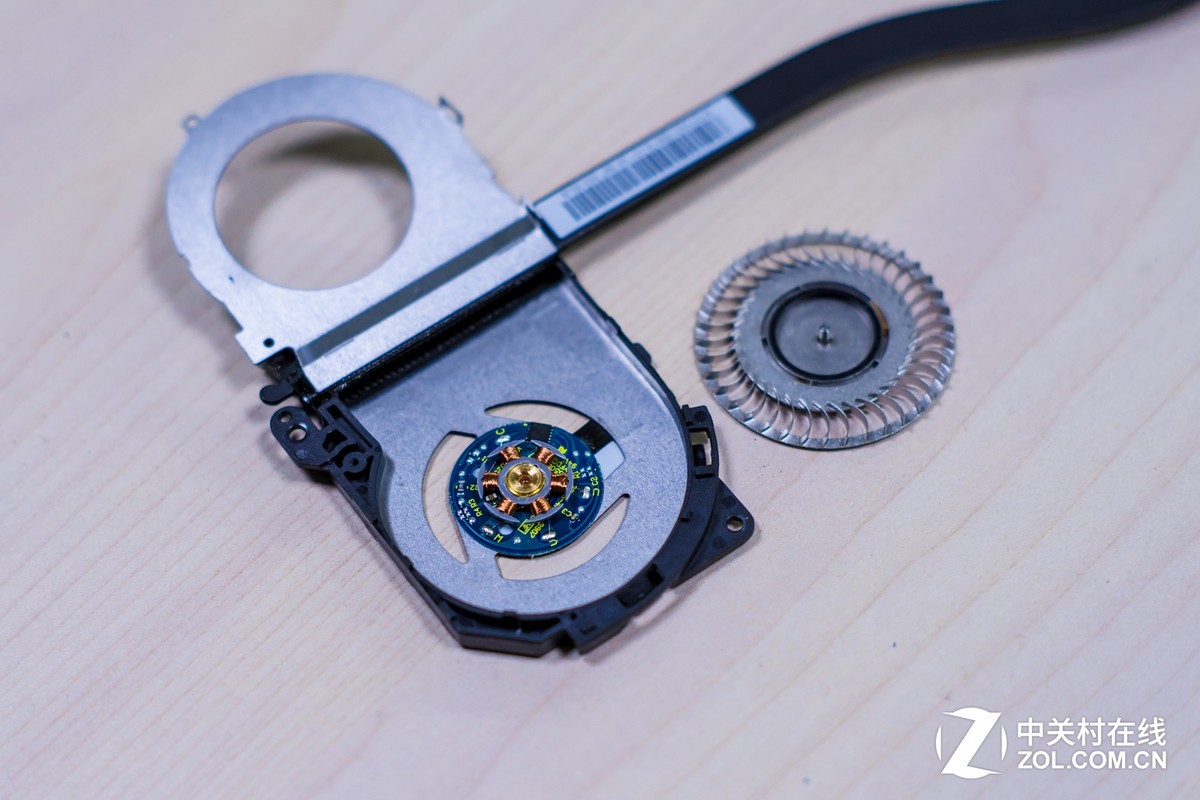
The cooling fan is made of aluminum alloy. The more blades you have, the more airflow you get, thus increasing the cooling efficiency.
Cyan: 16GB onboard RAM
Blue: Intel Core i7-6500U processor
Yellow: Intersil ISL95857HRTZ Power Management Chip
Red: model unknown, presumably Lenovo customized power management chip
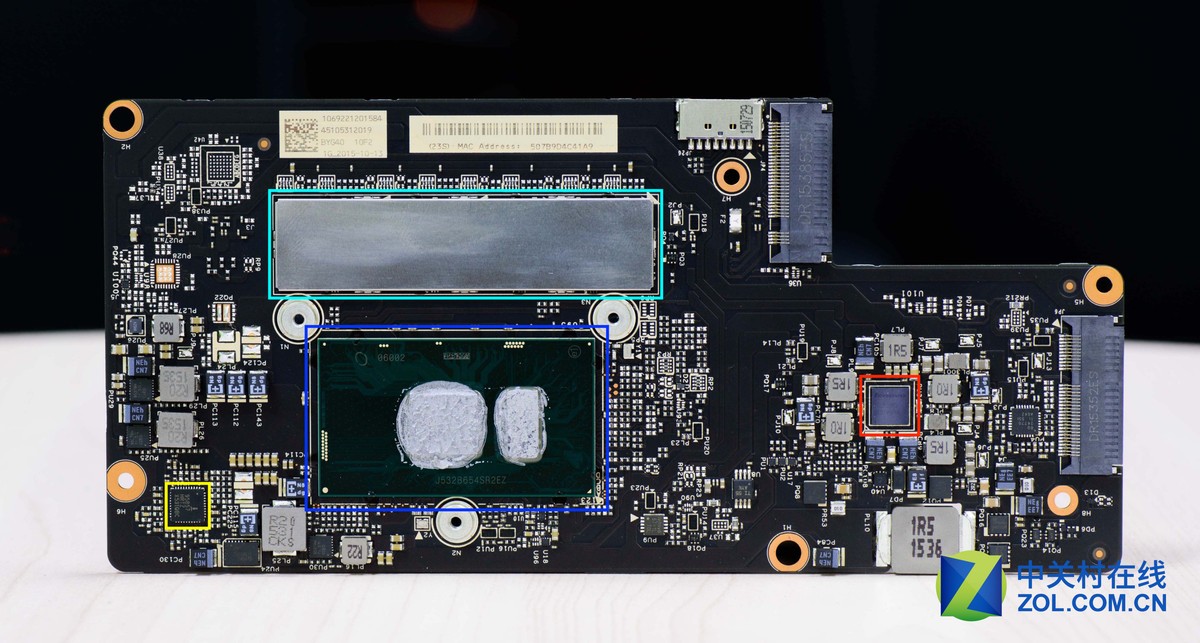
We did not find the Southbridge chipset on the motherboard. To find relevant information, it was discovered that this generation of Skylake U series low-voltage processor chipset will be integrated into the processor, which helps reduce board volume.
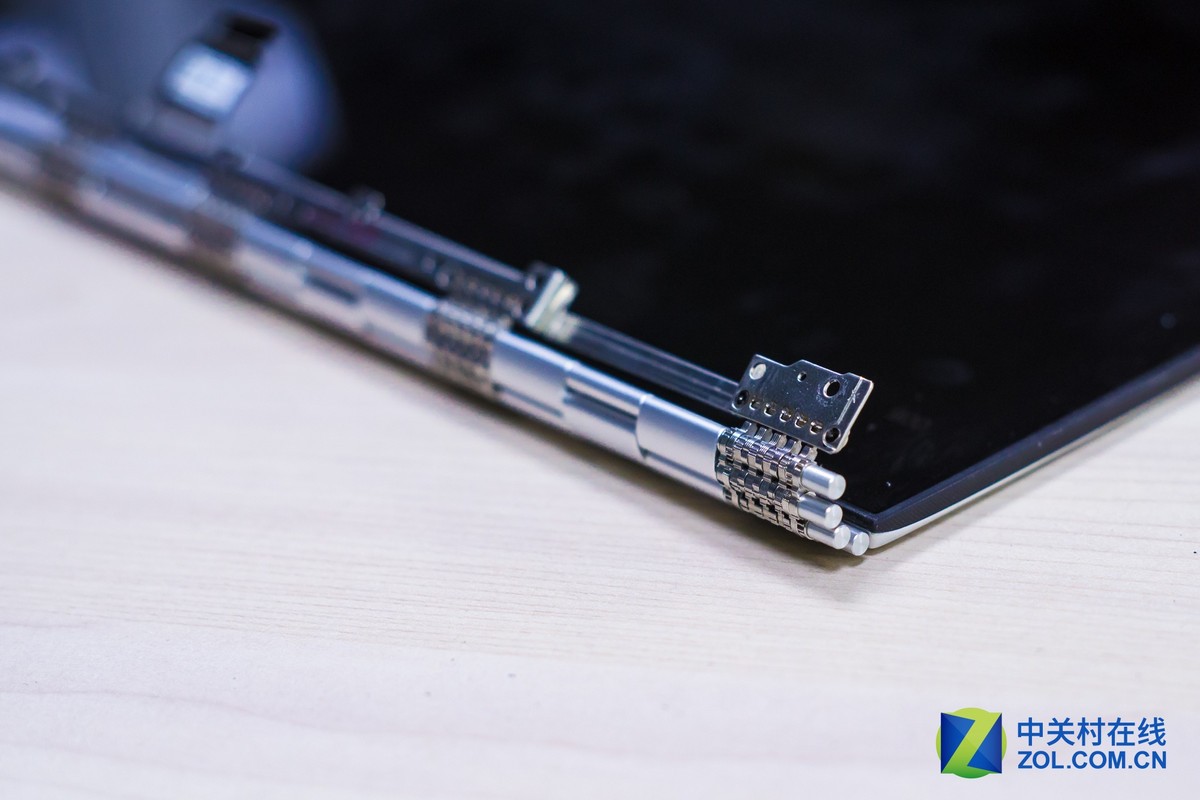
Remove all screws securing the LCD hinges.
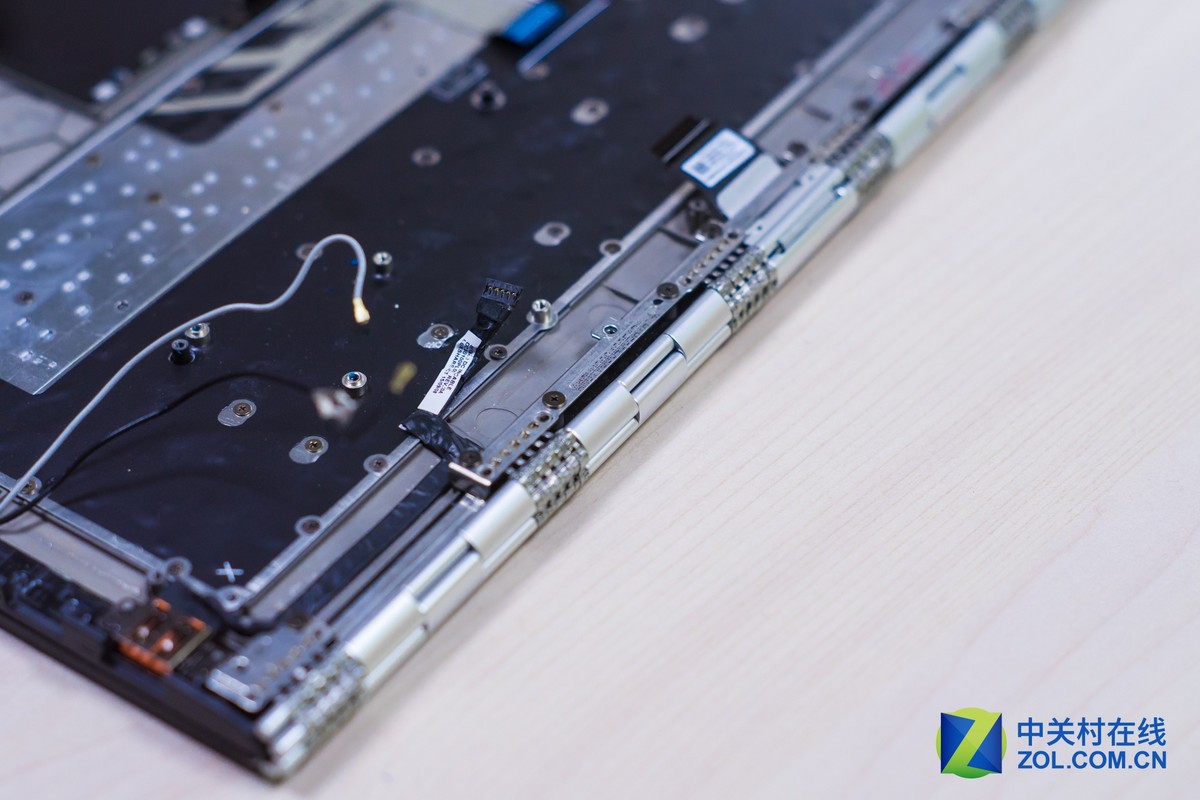
Now, the display assembly can be removed.
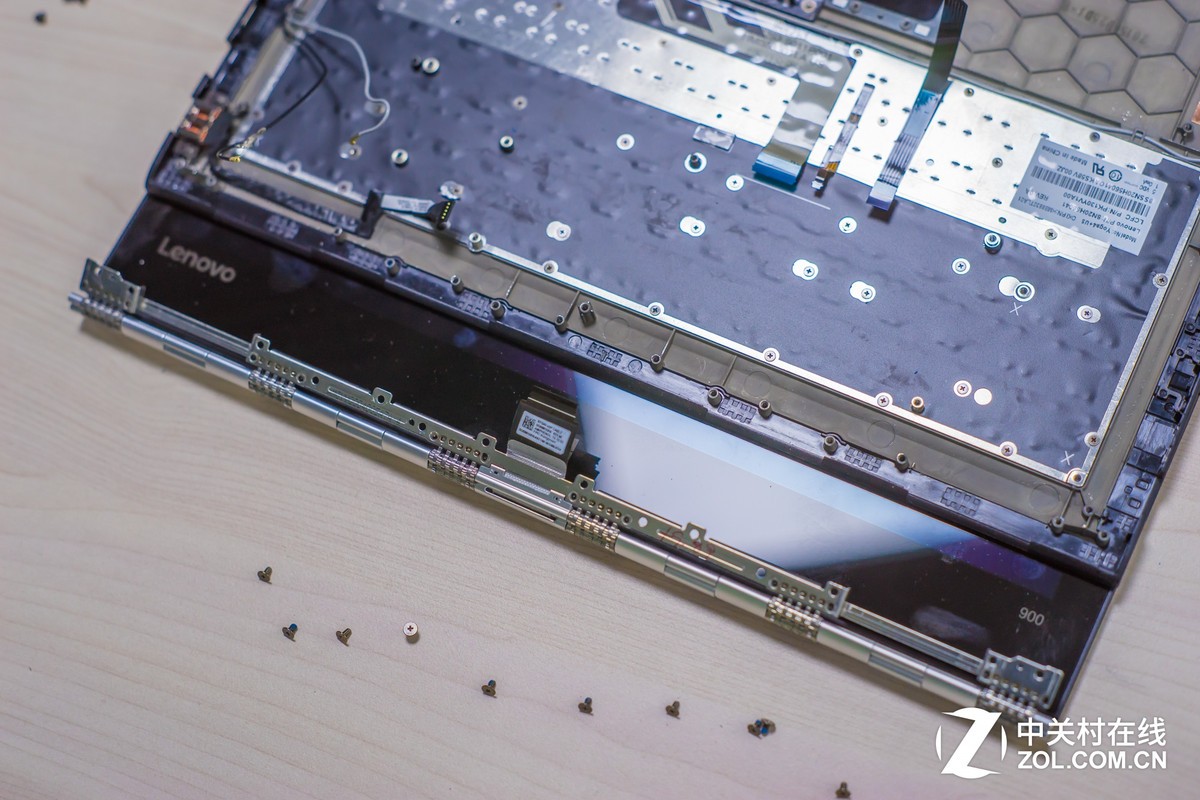
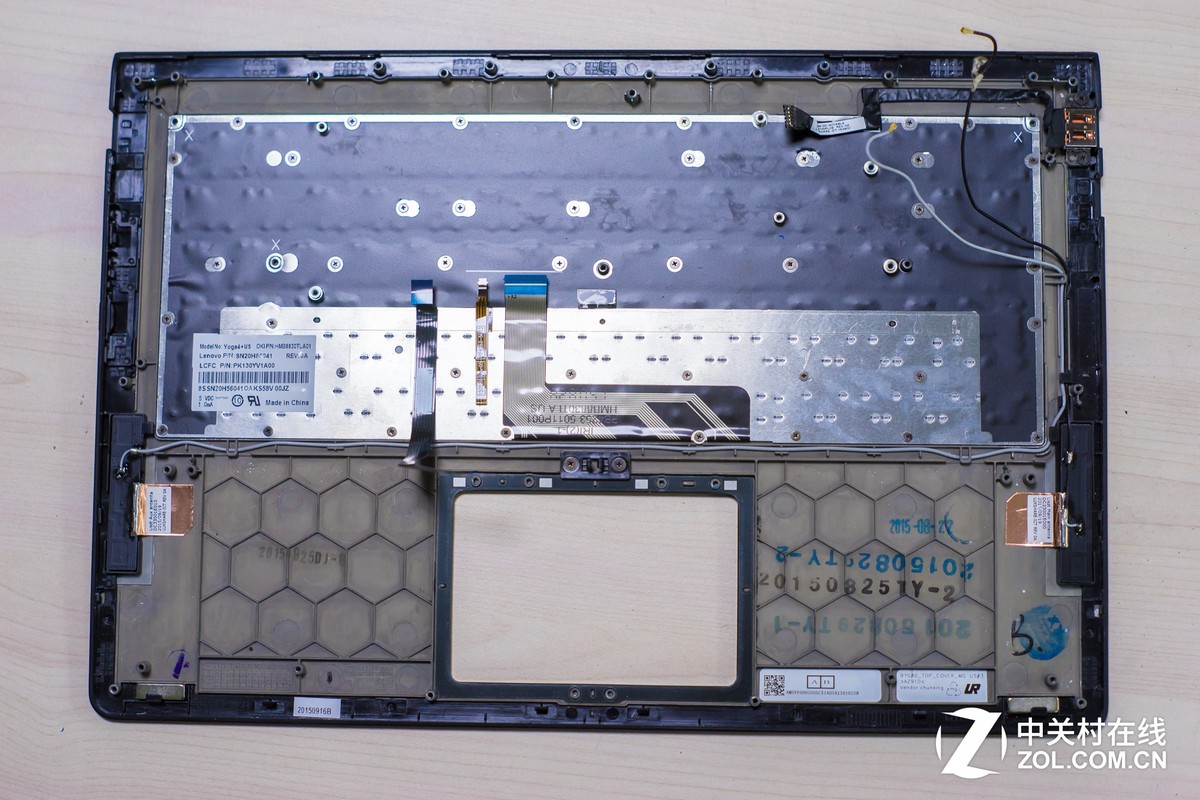
Lenovo Yoga 900 palm rest (including keyboard)
For more guides, check out the Lenovo Yoga 4 Pro (Yoga 900) device page.
If I only want to replace the screen, do I need to remove all other parts?
You do not need to remove all the parts. The replacement process is very similar to Yoga 2, please see the video https://www.youtube.com/watch?v=WdZ-iZzW6V8
Thanks! Is the digitizer also glued to the screen, or is it not glued?
Yes, the touch digitizer is glued to the screen.
I have the same question as Eugene. There are virtually no bezels hiding the screws for the 900’s display. How do you separate the digitizer from the display case?
I suspect it’s glued. One might need a hot air gun to melt the glue. This one is going to be very hard to replace. Lenovo charges over $600 for this screen replacement.
Can the keyboard be replaced separately from the palm rest?
Yes! You can remove the keyboard from the palm rest and replace it.
Thanks for the fast response. Would you say it was somewhat easy to disassemble the computer? I’m comfortable upgrading my computer’s hard drives, RAM, etc. However, I have never disassembled my computer this much. It seems like it’s just a lot of screws to keep track of. Can you comment on this?
Where can one buy a replacement keyboard for the Yoga 900? I’ve googled around quite a bit, and I can’t seem to find one. Thanks!
You can try Aliexpress, eBay, and Amazon.
I am considering taking the back off to check for any signs of damage to the USB internals. Last week, all of my USB ports suddenly quit working. I’ve tried every solution I can find, but nothing has worked. I’ve turned off the power-saving feature, checked the registry key, checked the BIOS for any USB settings, performed a system restore, and performed a clean reinstall of Windows 10 Pro. Nothing has worked. It won’t even light up when something is plugged in. So, considering everything, I think it is probably hardware-related. However, I don’t have the luxury of spending 30-45 days without a laptop since I use it for work.
There are two things that give me pause about it being hardware-related. 1) The charging/USB 2.0 port will still charge the laptop, but it won’t read any USB devices plugged into it. 2) The MicroSD card slot still functions fine. From your pictures, it looks like it is on the same component as the USB-C Port and one of the USB 3.0 ports. So why would it still be working while the other ports are down?
Any advice that anyone can offer would be greatly appreciated at this point. Thank you!
The screen and digitizer need to be replaced as a single unit. They are inseparable without a high risk of breaking, which would be a huge expense.
There is a service available online that allows you to mail your laptop for repair for under $400. The part itself costs over $300, so don’t bother and just send it for repair. If you send it for repair to Lenovo, they charge much more.
Yes, separating the LCD from the digitizer would require some special equipment, which is not compatible with regular tools at all. It would be a waste to attempt. You need to buy the LCD/digitizer combo. If you buy anything on eBay for less than around $300, it is likely to be the LCD only. Be careful what you buy.
Does anyone know what size screwdrivers are needed for this?
Hi! Can anyone please tell me what material the outer cases (bottom and top covers) are made of?
They are made of metal, likely an aluminum or magnesium alloy.
Thanks, Eugene. The reason I asked is that different sources name different materials. Thanks for your response.
The USB ports stopped working, including the USB port to charge the laptop (Lenovo Yoga 900). I tried to back up as much as I could before the battery ran out, but now the battery is not charged. Can I externally charge the battery so I can troubleshoot the laptop?
I have tried every screwdriver bit I have in my precision set, and none fit well enough to remove the 10 screws on the back of the laptop. Can you please tell me what you used? Thanks in advance!
I have a replacement keyboard.
What is the best way to replace the keyboard that involves the least disassembly?
Does anyone know how to reset the BIOS on this, even though it doesn’t have a CMOS battery?