Lenovo LaptopLenovo Thinkpad T430u
Lenovo Thinkpad T430u Disassembly
In this guide, I’ll explain how to disassemble the Lenovo ThinkPad T430u to remove and replace the battery, SSD, hard drive, wireless card, RAM, keyboard, palm rest, screen module, cooling fan, and motherboard.
Want to stay connected to MyFixGuide.com? Follow us on Facebook to check out the latest teardown news.
Unlock the latch.
Lift up the back cover.
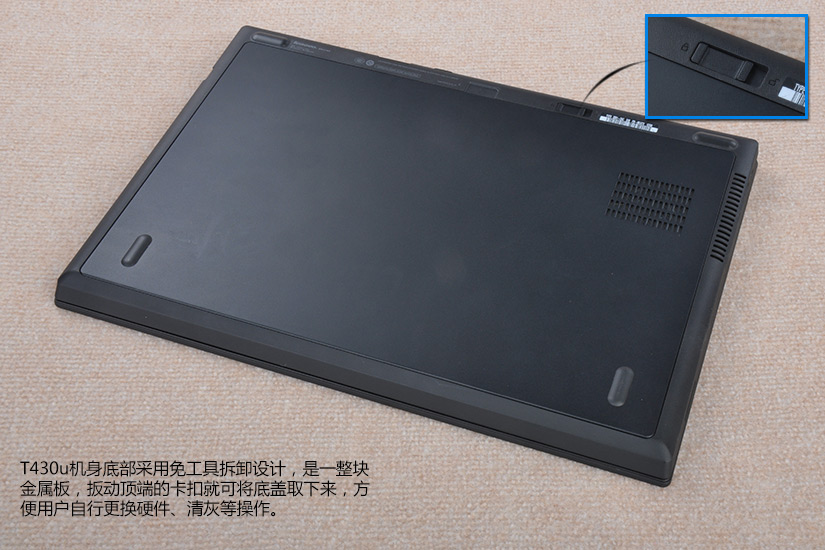
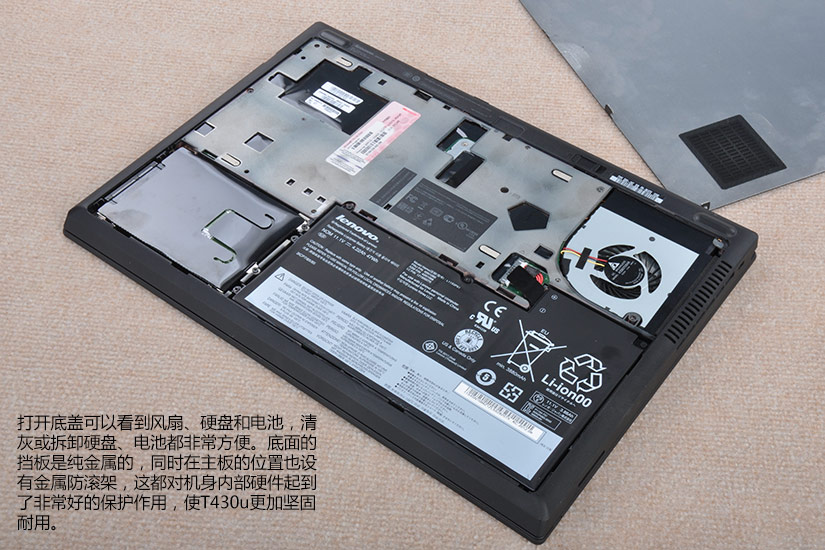
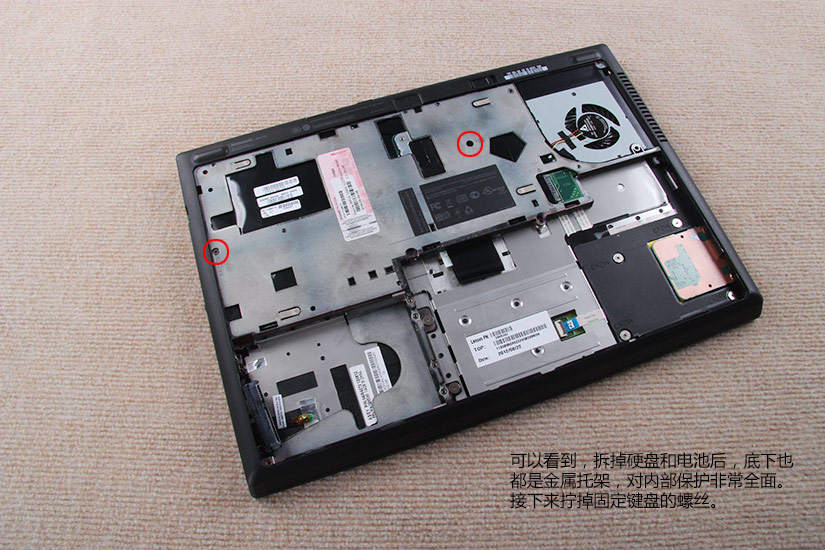
Remove the back cover. Now you can see the battery, hard drive, and cooling fan.
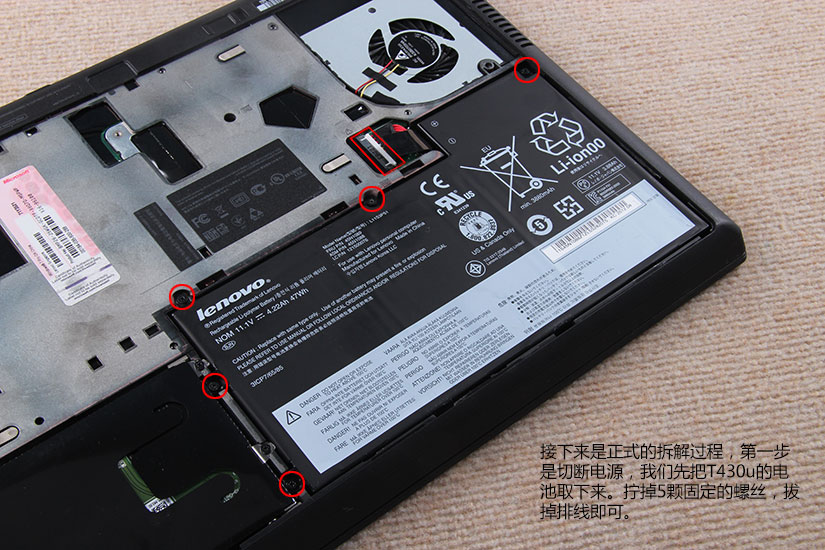
Remove five screws.
Disconnect the battery power cable.
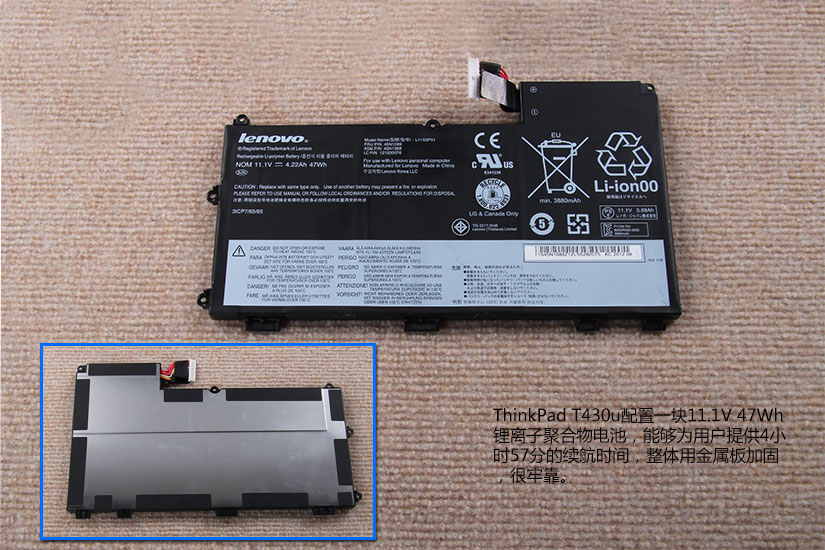
The Lenovo ThinkPad T430u uses an 11.1v 47wh lithium polymer battery.
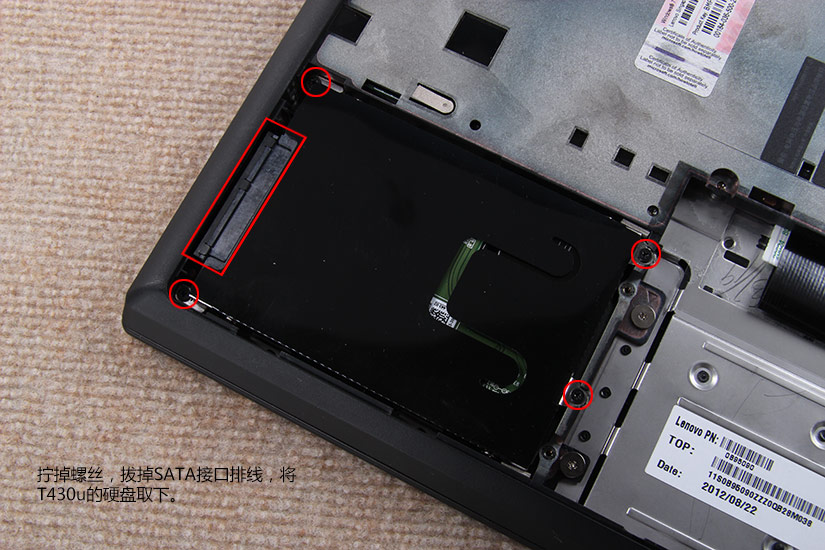
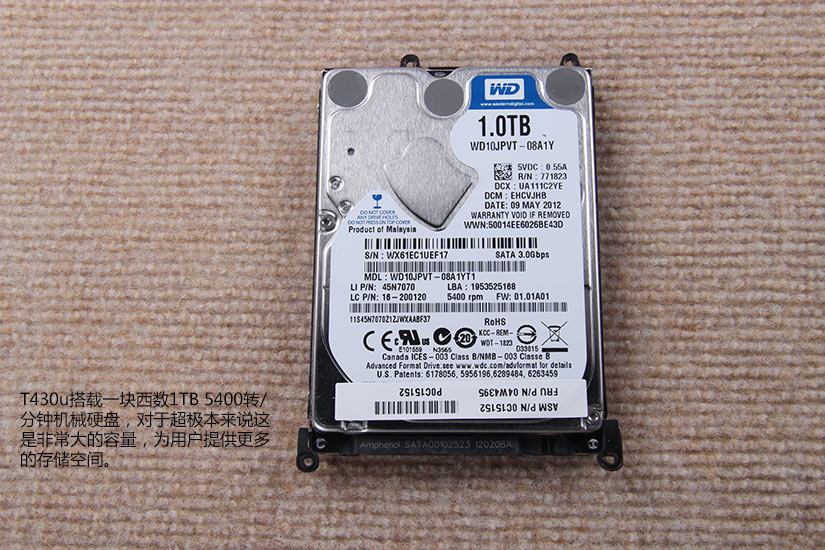
Remove four screws securing the hard drive. You can remove the hard drive.
Lenovo ThinkPad T430u installed a WD 1TB hard drive.
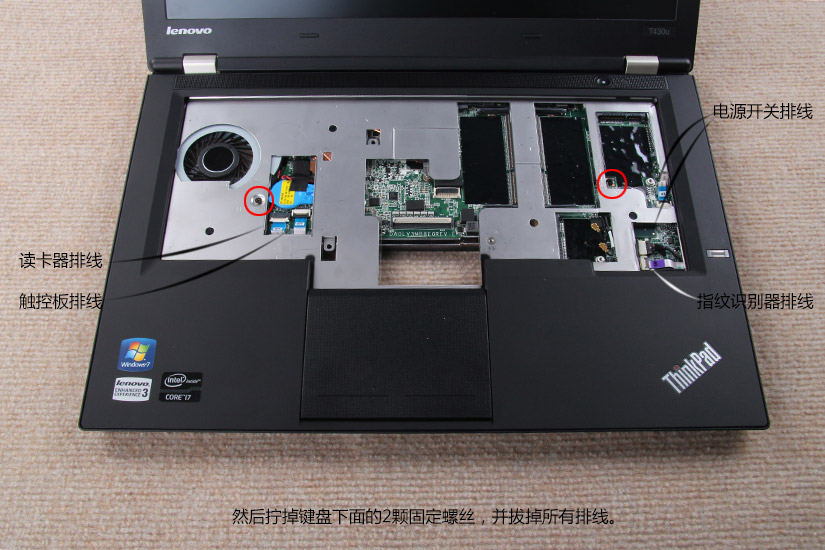
Remove two screws securing the keyboard.
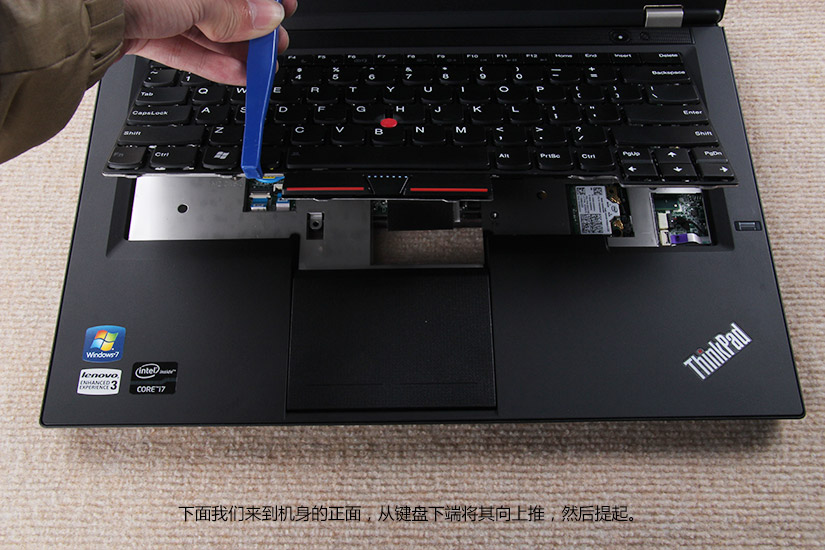
Flip over your laptop. Pry up the keyboard.
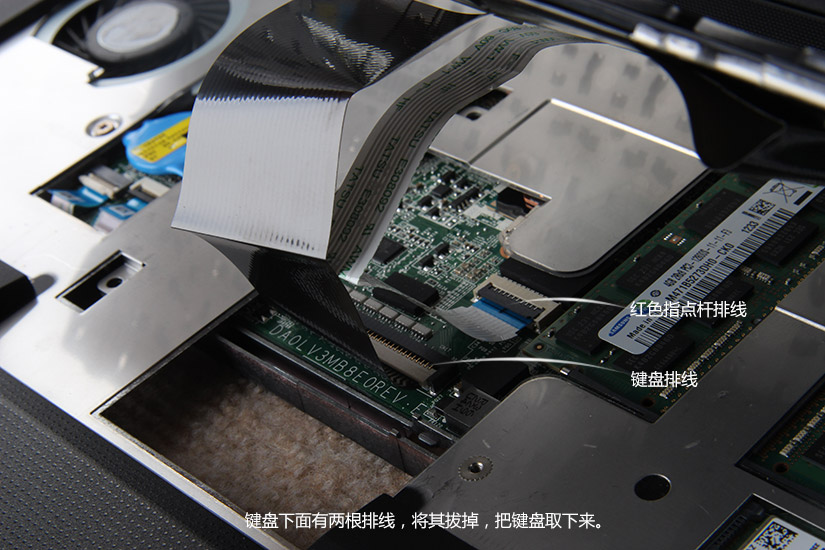
Disconnect two keyboard cables and remove the keyboard.
The ThinkPad T430u keyboard has been removed.

When the keyboard is removed, you can see the RAM, SSD, and wireless card.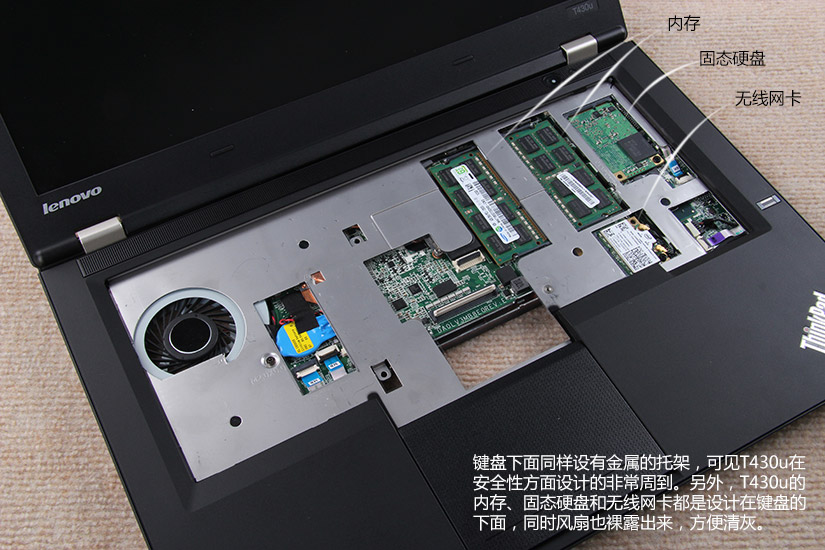
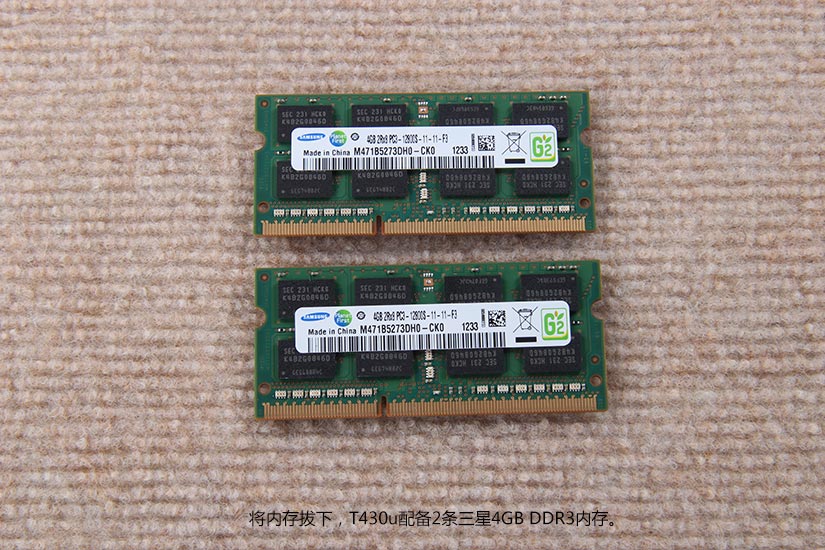
ThinkPad T430u installed two Samsung 4GB RAMs.
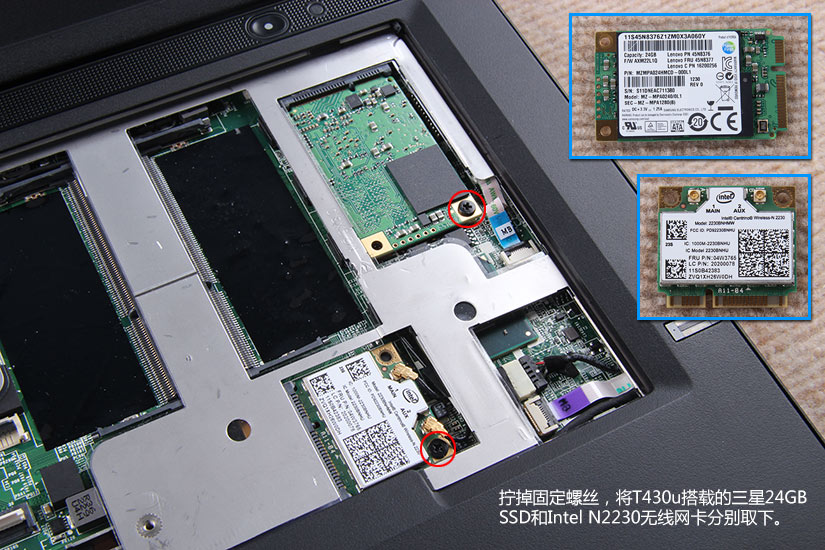
Remove the screw securing the SSD.
Remove the screw securing the wireless card.
Disconnect two antenna cables.
Remove two screws securing the palm rest.
Disconnect the touchpad cable, card reader cable, power switch cable, and fingerprint reader cable.
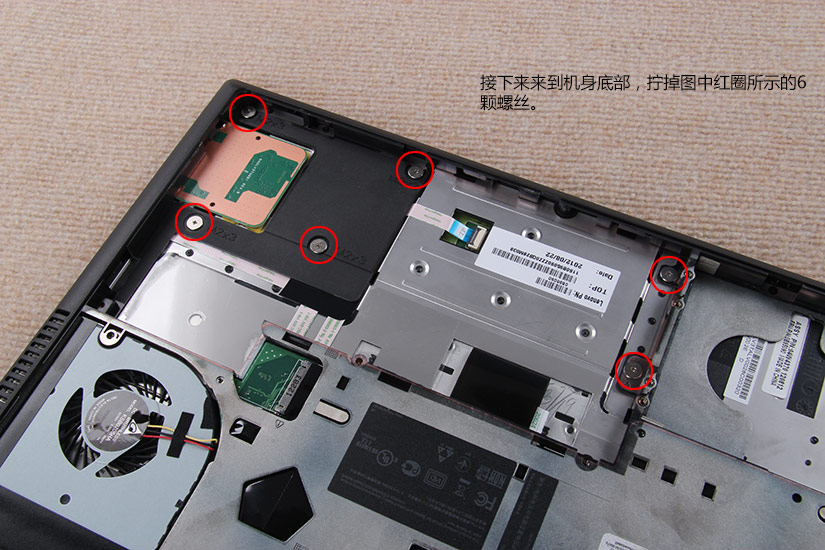
Flip over the laptop. Remove six screws.
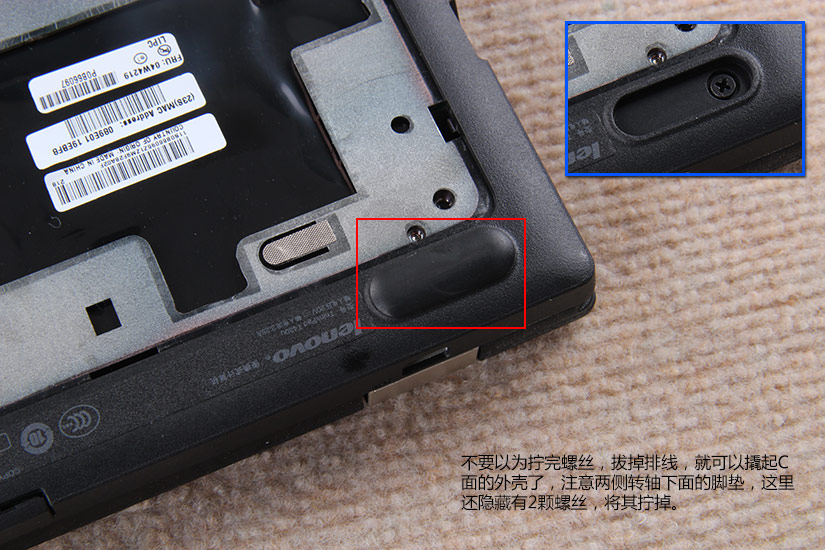
Remove two hidden screws.
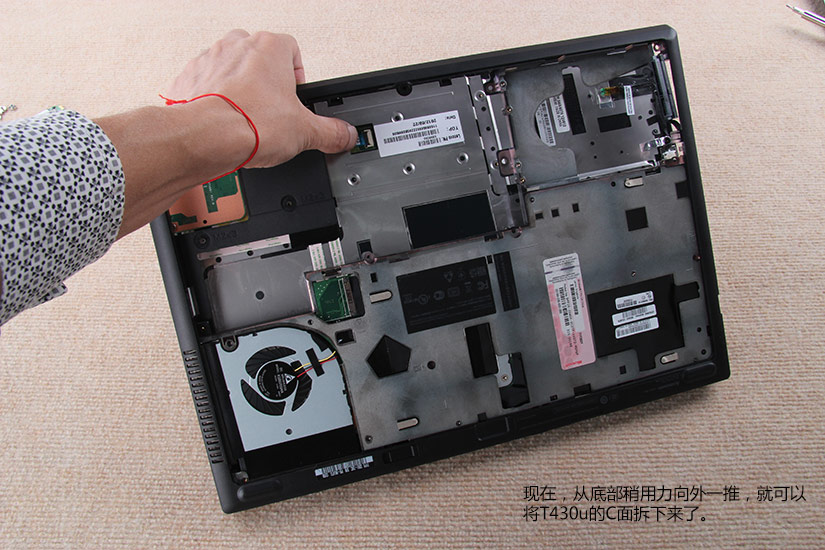
Pry up and remove the palm rest.
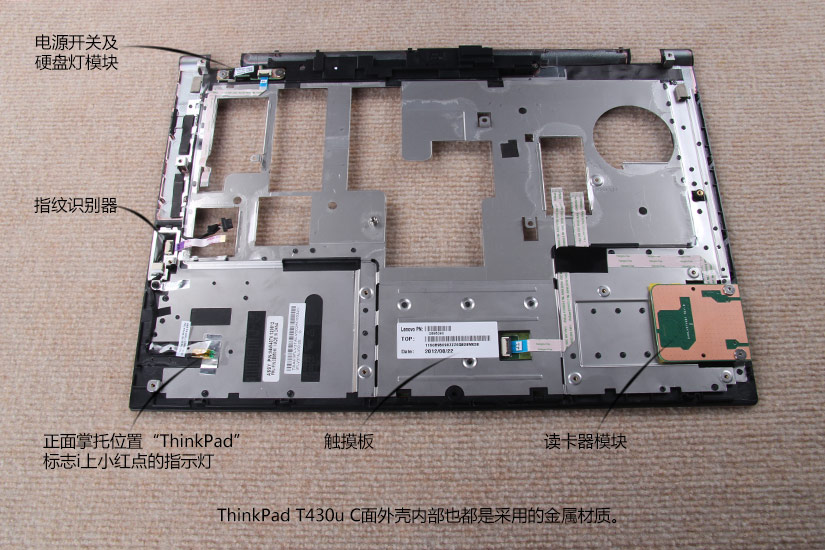
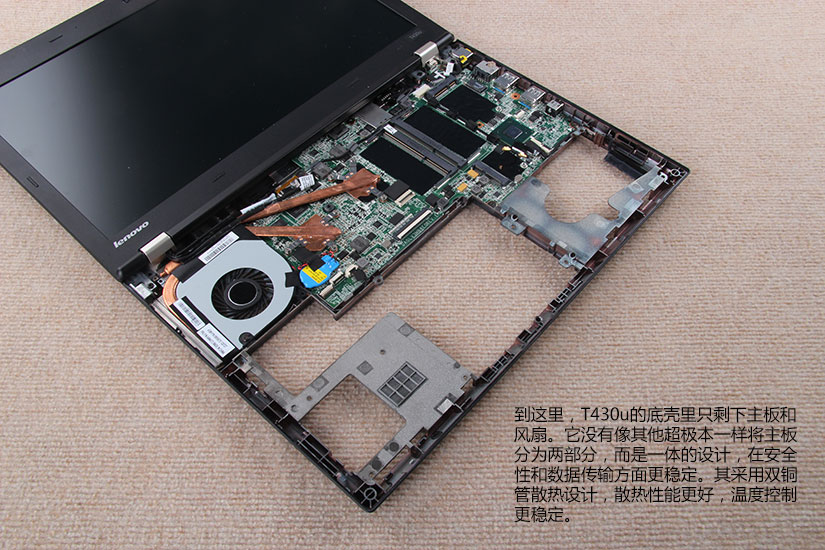
The Lenovo ThinkPad T430u palm rest was removed.
We will remove the screen module to remove the motherboard.
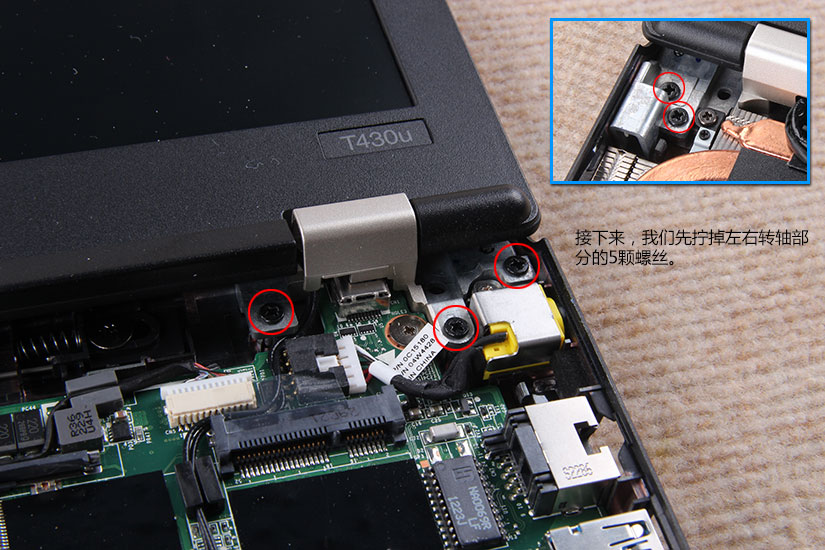
Remove five screws securing the LCD hinge.
Disconnect the LCD cable from the motherboard.
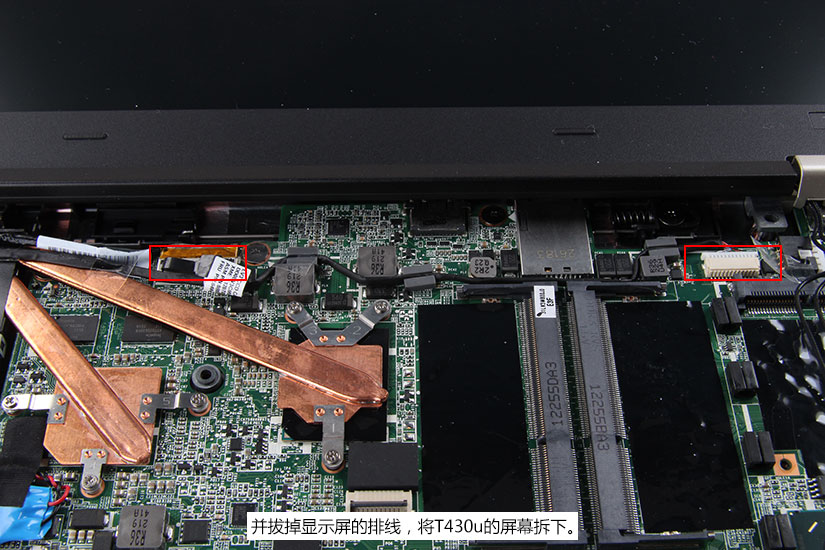
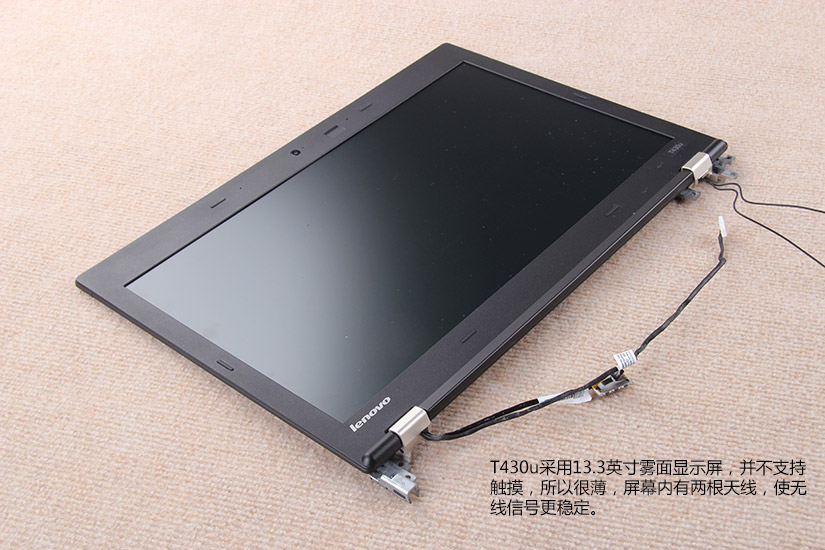
The ThinkPad T430u screen assembly has been removed.
Remove eight screws securing the heat sink and cooling fan. Disconnect the cooling fan cable.
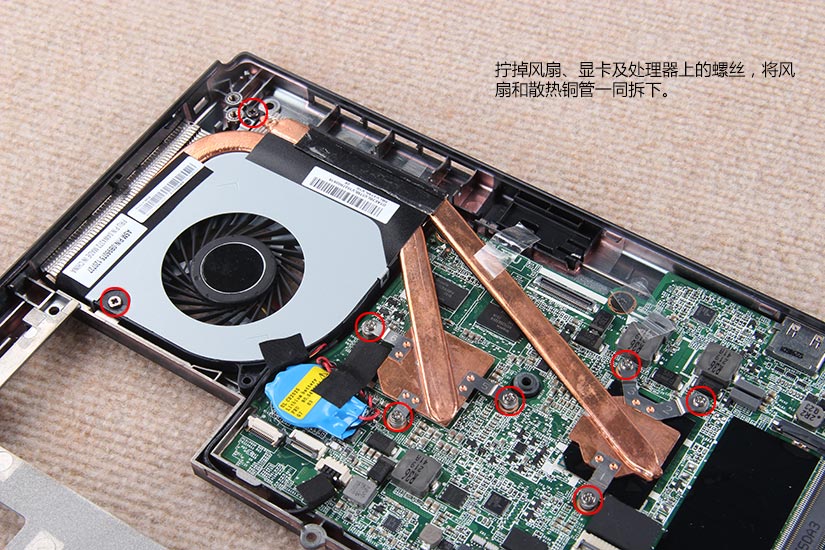
The heat sink/cooling fan module has been removed.

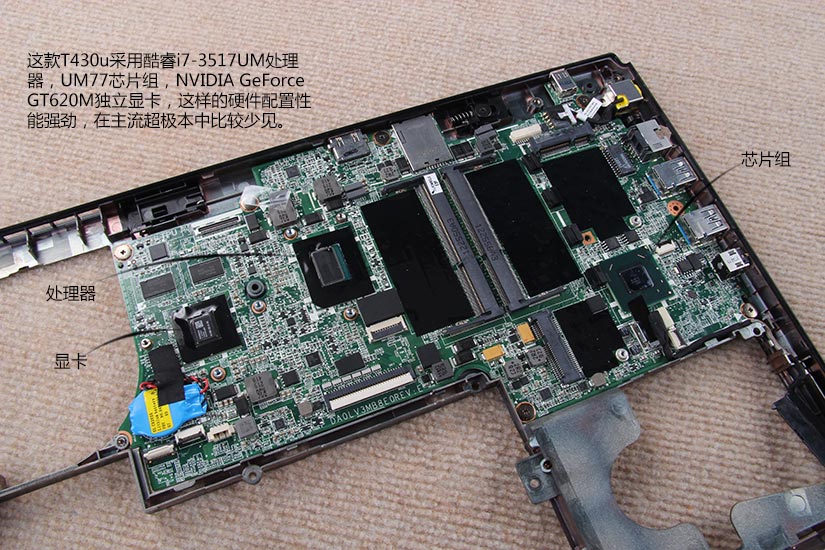
Motherboard
For more guides, check out the Lenovo ThinkPad T430u device page.