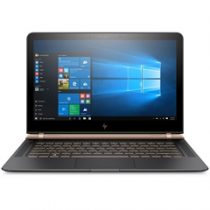
In this tutorial, I will show you how to disassemble an HP Envy X360 13-aq0000 series Convertible PC. I will remove the bottom cover, battery, SSD, Wi-Fi card, heatsink, and CPU fan.
For this disassembly, you will need only four tools: a Torx T5 screwdriver, a Phillips #1 screwdriver, a case opener tool, and tweezers.
Here are some HP Envy X360 13-aq0000 Features:
The laptop only has one M.2 SSD slot.
The RAM is soldered to the motherboard.
The cooling fan and heatsink are removable.
The keyboard is attached to the top cover.
Teardown is what we do! Follow us on Facebook for the latest repair news.
Remove the back cover
Like most laptops, the internal structure of the Envy 13 is accessible by removing the bottom cover, and the disassembly process is not complicated.
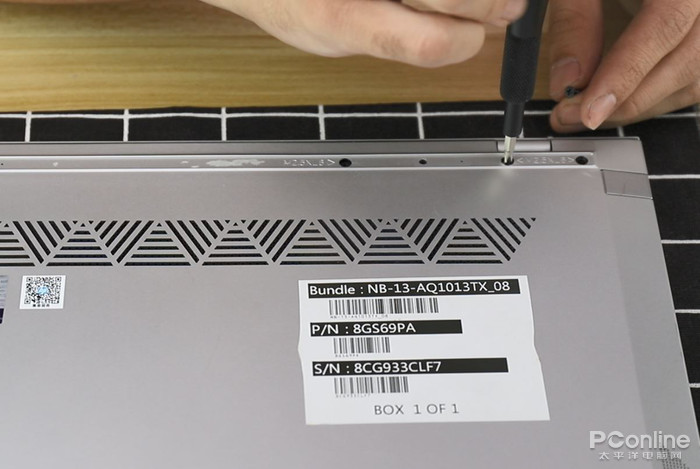
First, remove all visible screws from the bottom cover.
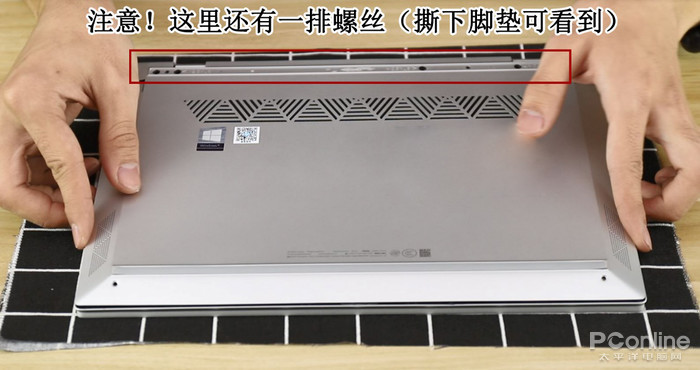
When removing the back cover, please note that only two screws are visible on the bottom cover. Most of the screws are hidden under the anti-slip pads, which are secured with double-sided tape. You can access the five screws by removing the anti-slip pads with tweezers.
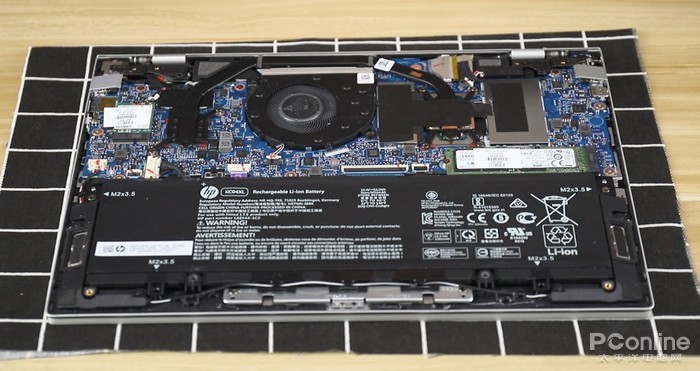
After removing the screws, use a case opener tool to gently lift the bottom cover from the edge of the body. At this point, you can access the internal components. To be honest, ultrabooks are easier to disassemble than traditional laptops, making it very easy to clean dust, upgrade the M.2 SSD, wireless card, and battery.
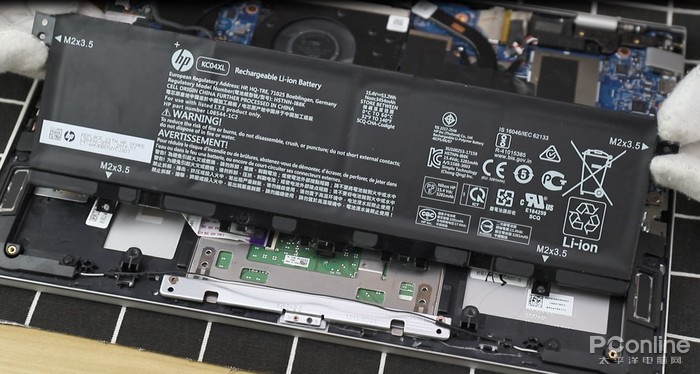
Remove the battery
To prevent accidents, we must take care to prevent the generation of static electricity before disassembly. In addition to wearing anti-static gloves, we must also unplug the battery cable from the motherboard.
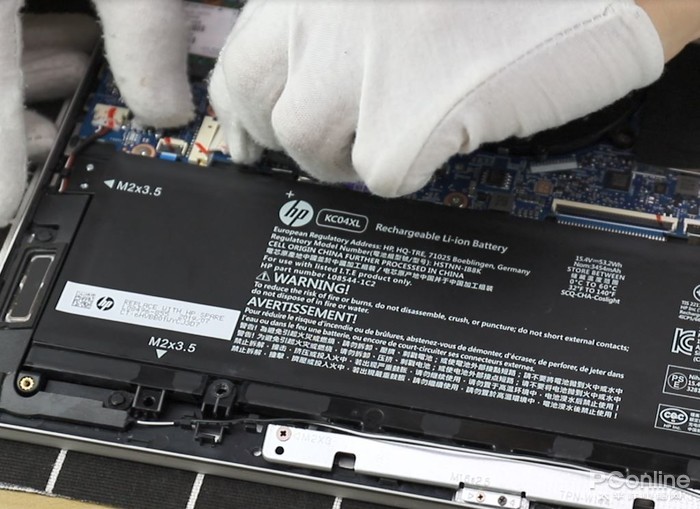
Remove all screws securing the battery, and the battery can be easily taken out. The ENVY 13 comes with a 53Wh battery. For a 13-inch laptop, this is considered a large-capacity battery, allowing up to 16.5 hours of battery life. In short, whether for travel or business trips, a laptop with long battery life always gives us more confidence. The HP ENVY 13 fully meets the professional office needs. It also supports fast charging, reaching 50% charge in just 45 minutes, so business users no longer have to worry about running out of battery.
Remove the CPU fan and heatsink
Remove the six screws securing the heatsink.
Remove one screw securing the CPU fan and disconnect the fan cable from the motherboard.
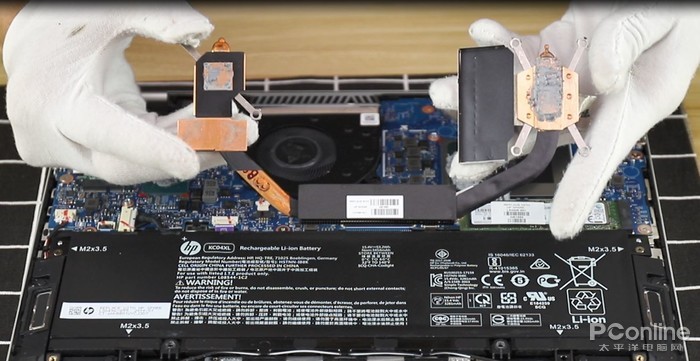
Its cooling system consists of a fan and a copper tube. The fan draws in cold air from the bottom of the chassis and expels heat through the hinge of the LCD screen. This is a relatively traditional cooling design. The advantage is that it can conduct heat from the hardware in a timely and efficient manner, further accelerating heat conduction and ensuring that the internal temperature of the laptop remains stable.
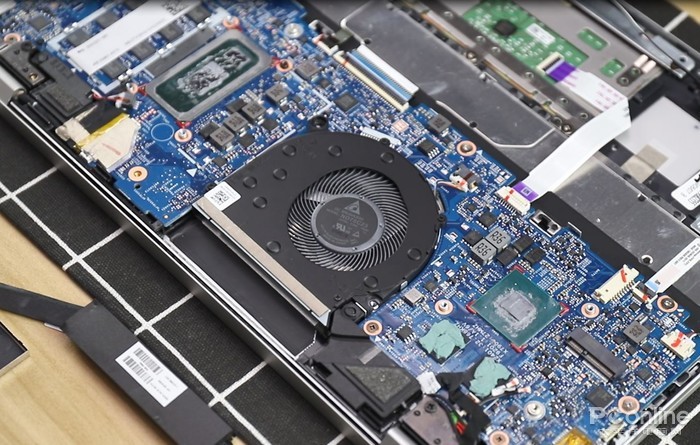
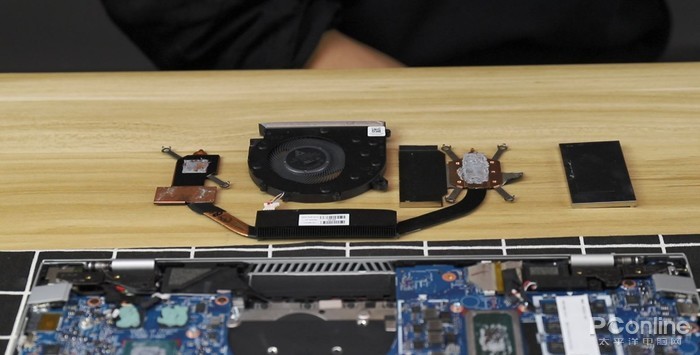
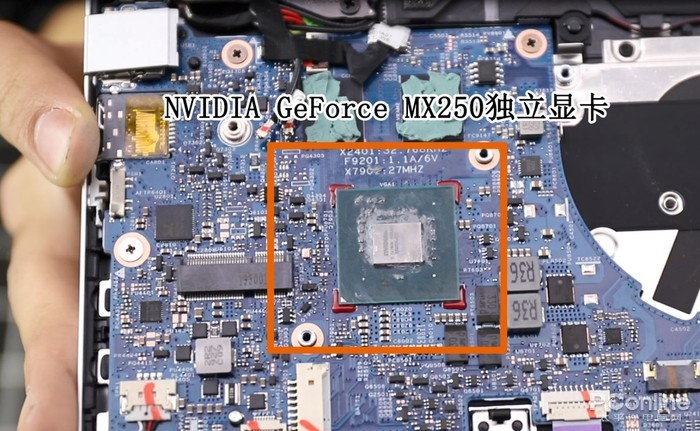
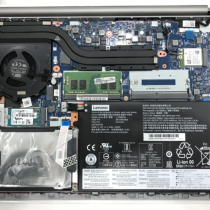
We carefully removed the cooling module and then accessed the 10th-generation Core processor and MX250 graphics card. The NVIDIA GeForce MX250 graphics card comes with 2GB of video memory. With proper cooling ensured, running online games with it is completely fine.
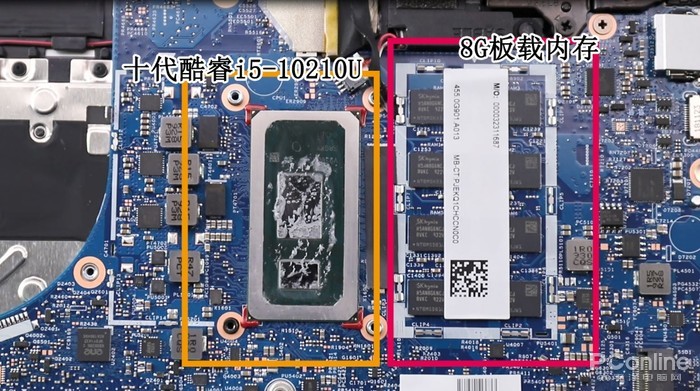
The yellow rectangular area represents the 10th-generation Intel Core i5-10210U processor, which features a base frequency of 1.6 GHz and a core frequency of 4.2 GHz. Its performance is approximately 16% higher than that of the 8th-generation processor of the same level. The ENVY 13 can provide a smoother user experience. Whether it is high-load multitasking or intensive tasks such as video and image editing, it can handle them comfortably and effectively reduces lag.
Next to the processor is the onboard 8GB DDR4 memory, which cannot be removed or replaced. But it is also sufficient to support the smooth operation of various work and entertainment tasks.
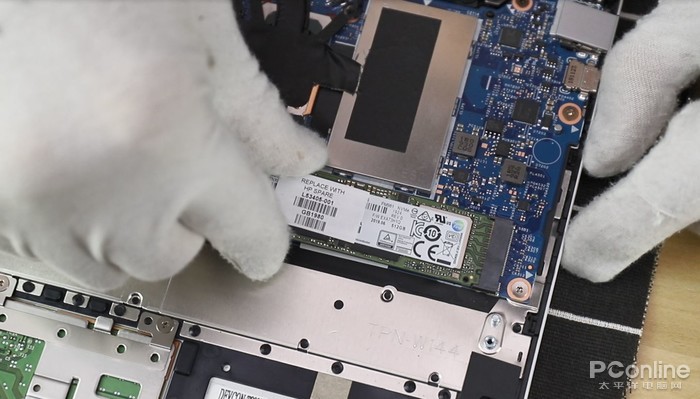
Remove the M.2 SSD
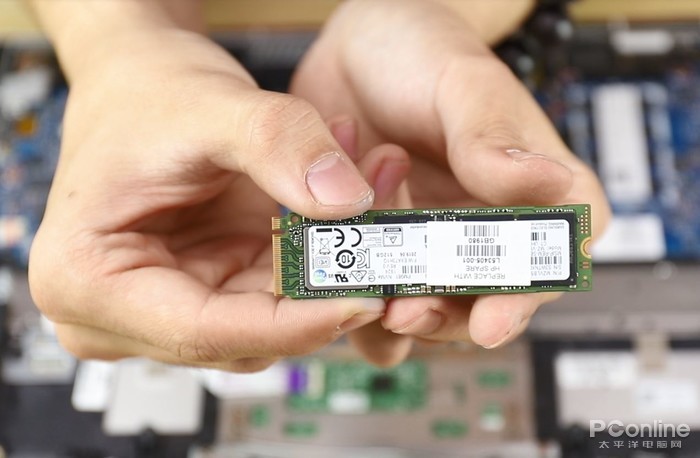
The ENVY 13 uses a 512GB Samsung M.2 SSD and supports the NVMe protocol. Its read speed can exceed 3000MB/s.
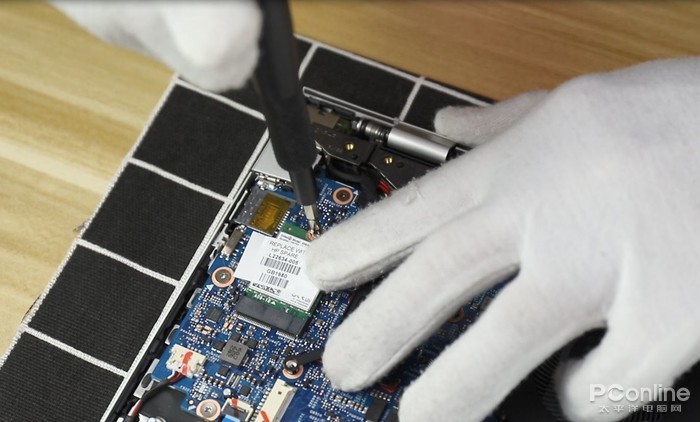
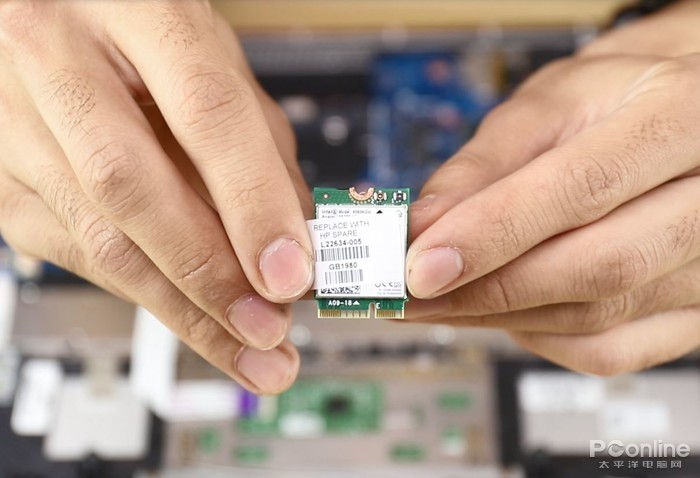
Remove the Wi-Fi card
The wireless network card can also be removed and replaced.
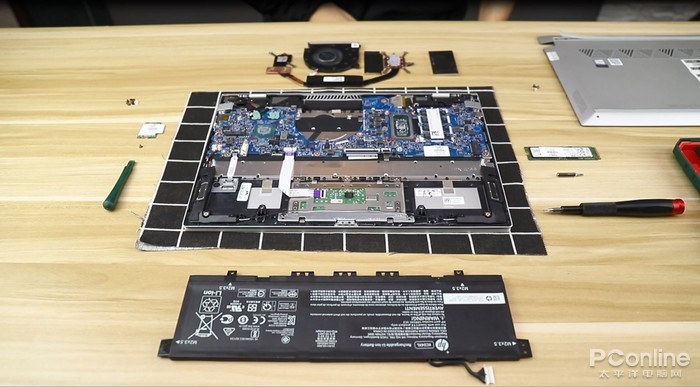
This is the internal parts of the ENVY 13. It is not difficult to disassemble. The M.2 SSD and wireless network card can be upgraded. However, the laptop comes with a 512GB SSD and a 53Wh battery, which basically meet the needs of most users, so upgrading is not necessary.
In which part of the motherboard is the CMOS battery located?
Hello there, is it possible to replace the Nvidia GeForce graphics card?
No, the graphics chip is soldered to the motherboard.