
Recently, Lenovo released a new product in the ThinkPad T series: ThinkPad T470. As a classic business laptop, the laptop has the same exterior design as other ThinkPad T-series laptops. Today, we will disassemble the ThinkPad T470 to explore its internal design and workmanship.
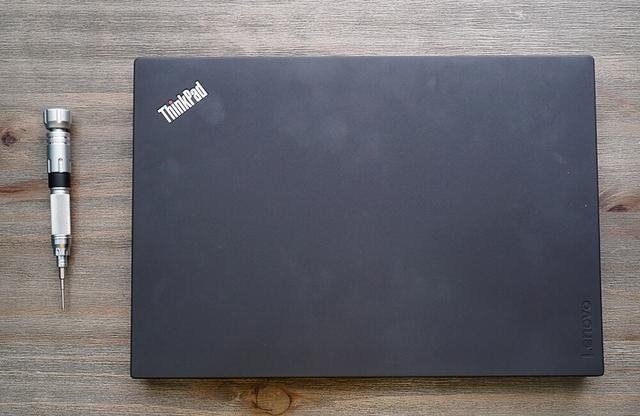 Many users consider ThinkPad to be a representative of the durable laptop brand. This is not only because they rate the workmanship and material quality of the ThinkPad series very highly but also because once the parts and accessories of the laptop are broken, they can easily replace it themselves.
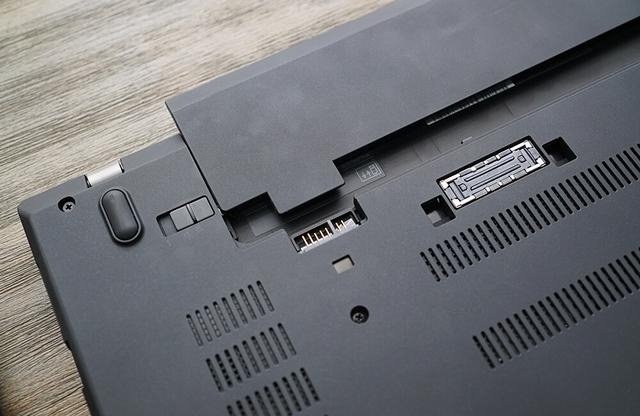
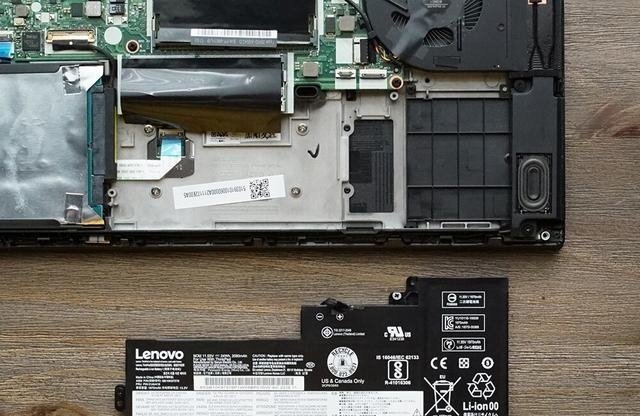
The disassembly process on the ThinkPad T470 is not difficult. First, remove the battery from the laptop body.
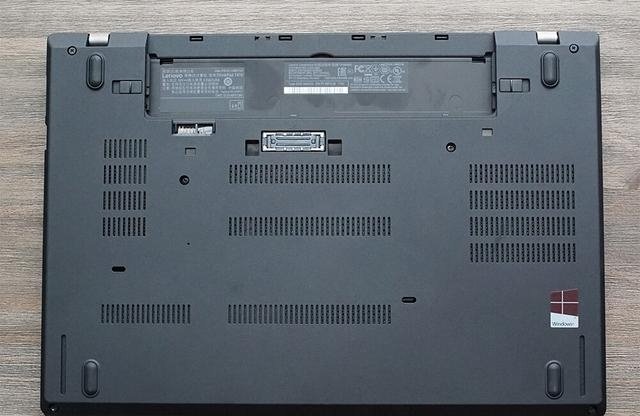
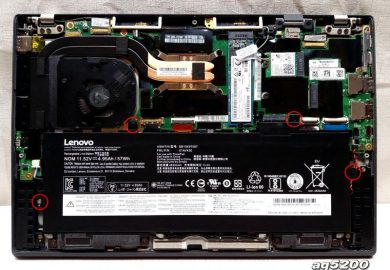
Then, we can directly disassemble the device. Remove six screws at the bottom to disassemble the ThinkPad T470’s bottom part.
After removing the screws at the bottom, the back cover can’t completely be separated from the laptop body. Next, use the metal pry to pry up the back cover along the verges directly.
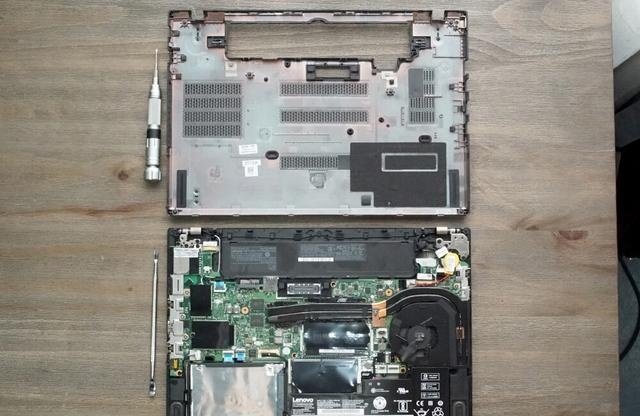
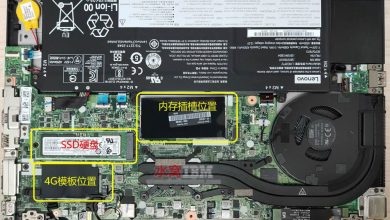
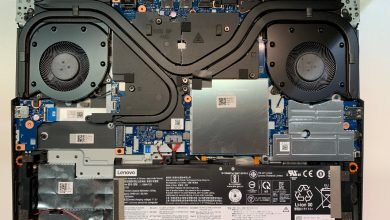
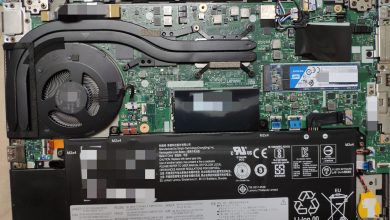
The ThinkPad T470 still adopts the internal layout design that the ThinkPad T series features. The left side is the heat dissipation area, which is mainly in charge of the heat dissipation of the CPU and graphics card. The battery, two DDR4 slots, and a 2.5-inch hard disk drive have been placed at the bottom.
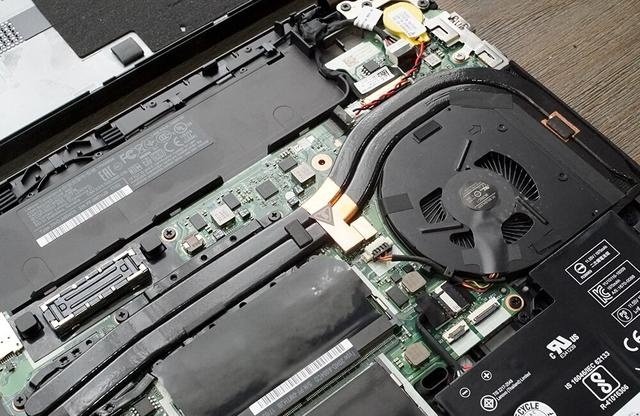
The CPU and GPU share the same set of heat dissipation equipment- dual-heat pipe and super thin PWM.
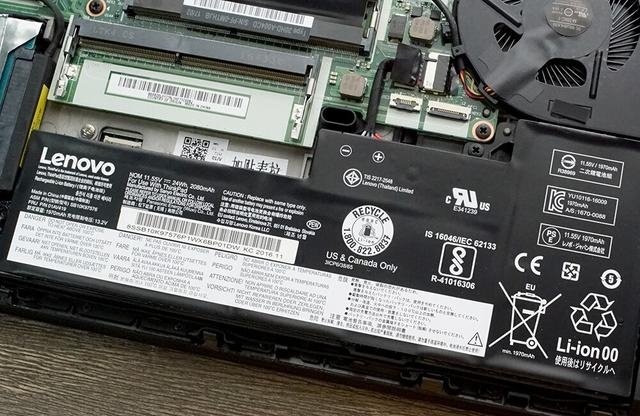
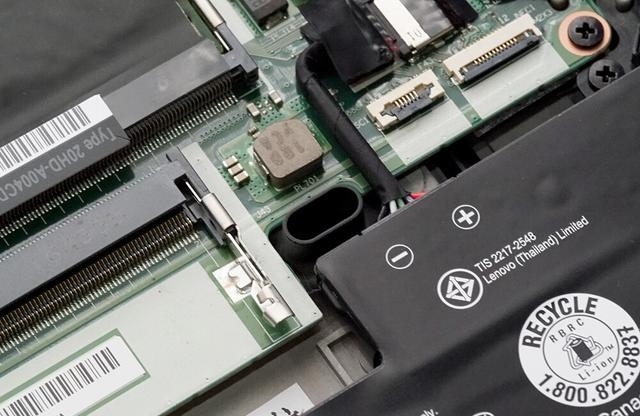
The laptop sports a 24Wh battery. Disconnect the battery connector to avoid short circuits or other problems during the disassembly process.
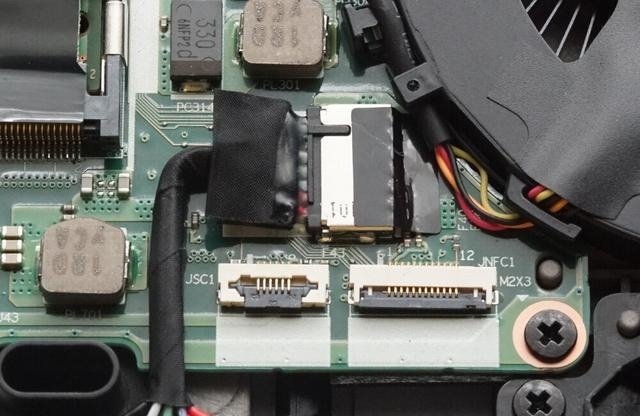
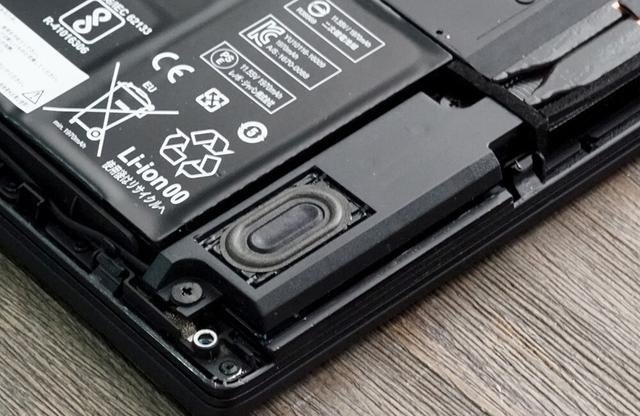
The ThinkPad has two holes with a diversion function, which can directly insulate circuit physics. Therefore, the user does not need to worry when water is poured into the keyboard.
Hello, can I put in 512G M.2 SSD?
Dear Kylie, Thank you for your guide. Can you tell me whether it is difficult to remove the flat cables from the power button and the trackpad without damaging them? These are glued to the bezel with double-sided adhesive tape. Thank you for the reply. Best regards, Otto
You only need to uncover it carefully, and it will not damage the cable.
Thank you for the details on the disassembly process. Was very useful today.